How to photograph the moon using a camera: techniques, kit, and settings
These are the techniques, times and tools you'll need to photograph the moon using a camera.
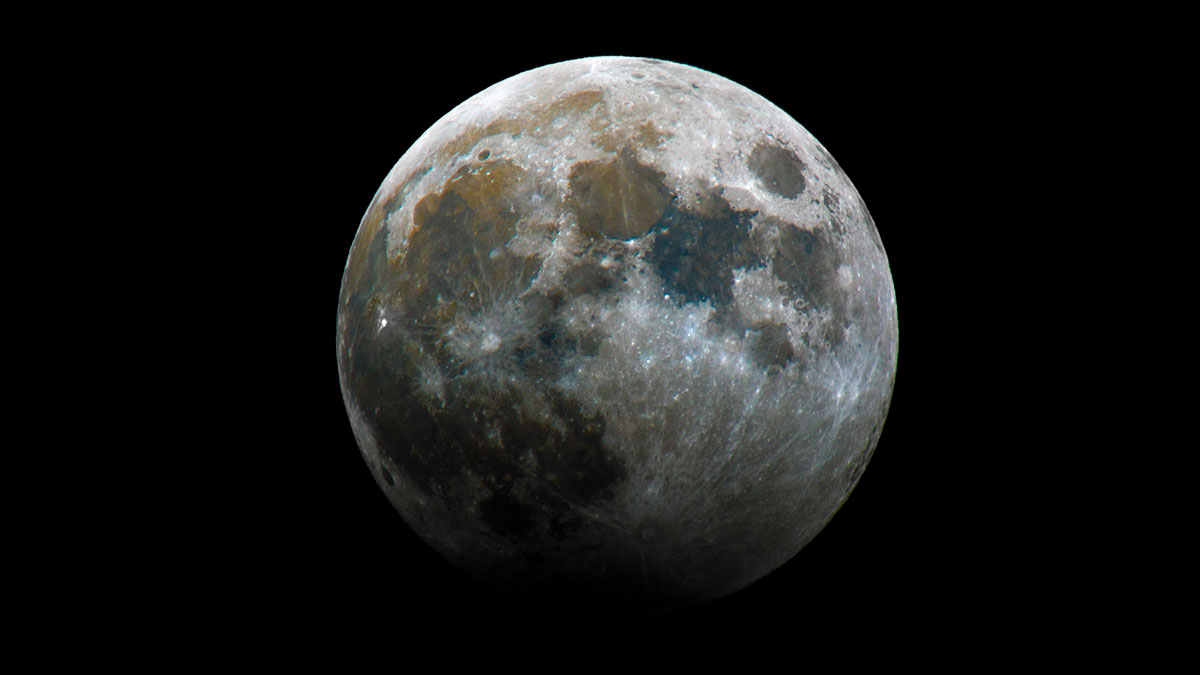
The moon has tantalized humanity since the dawn of time, and it remains an alluring sight worthy of being captured. However, taking images of our celestial neighbor requires some knowledge of techniques, tools and timing. This guide will help you learn how to photograph the moon.
With advancements in photographic and mobile technology, night-sky photography has grown in popularity. The moon is one of the most photographed celestial objects, and for good reason: It's a great place to get started. Although the moon might be considered an easy target, there are some techniques to know when you're photographing the moon and its changing phases. You also may want to check out our guide on how to photograph a supermoon.
All you need is a DSLR or mirrorless camera with a telephoto lens or even one of the best phone cameras for astrophotography. Technology is improving all the time, and the key to getting a good shot with a mobile device is to keep your phone as stable as possible. If you are looking for a clear image of the moon, you will need to invest in one of the best cameras for astrophotography. With a quality lens and a sturdy tripod, you will be taking quality images in no time.
Before you get started, it is worth acquainting yourself with the moon, the lunar features and the phases of the moon. This will help you formulate the style of image you are looking for and the equipment you will need.
Cameras and lenses: Things to consider
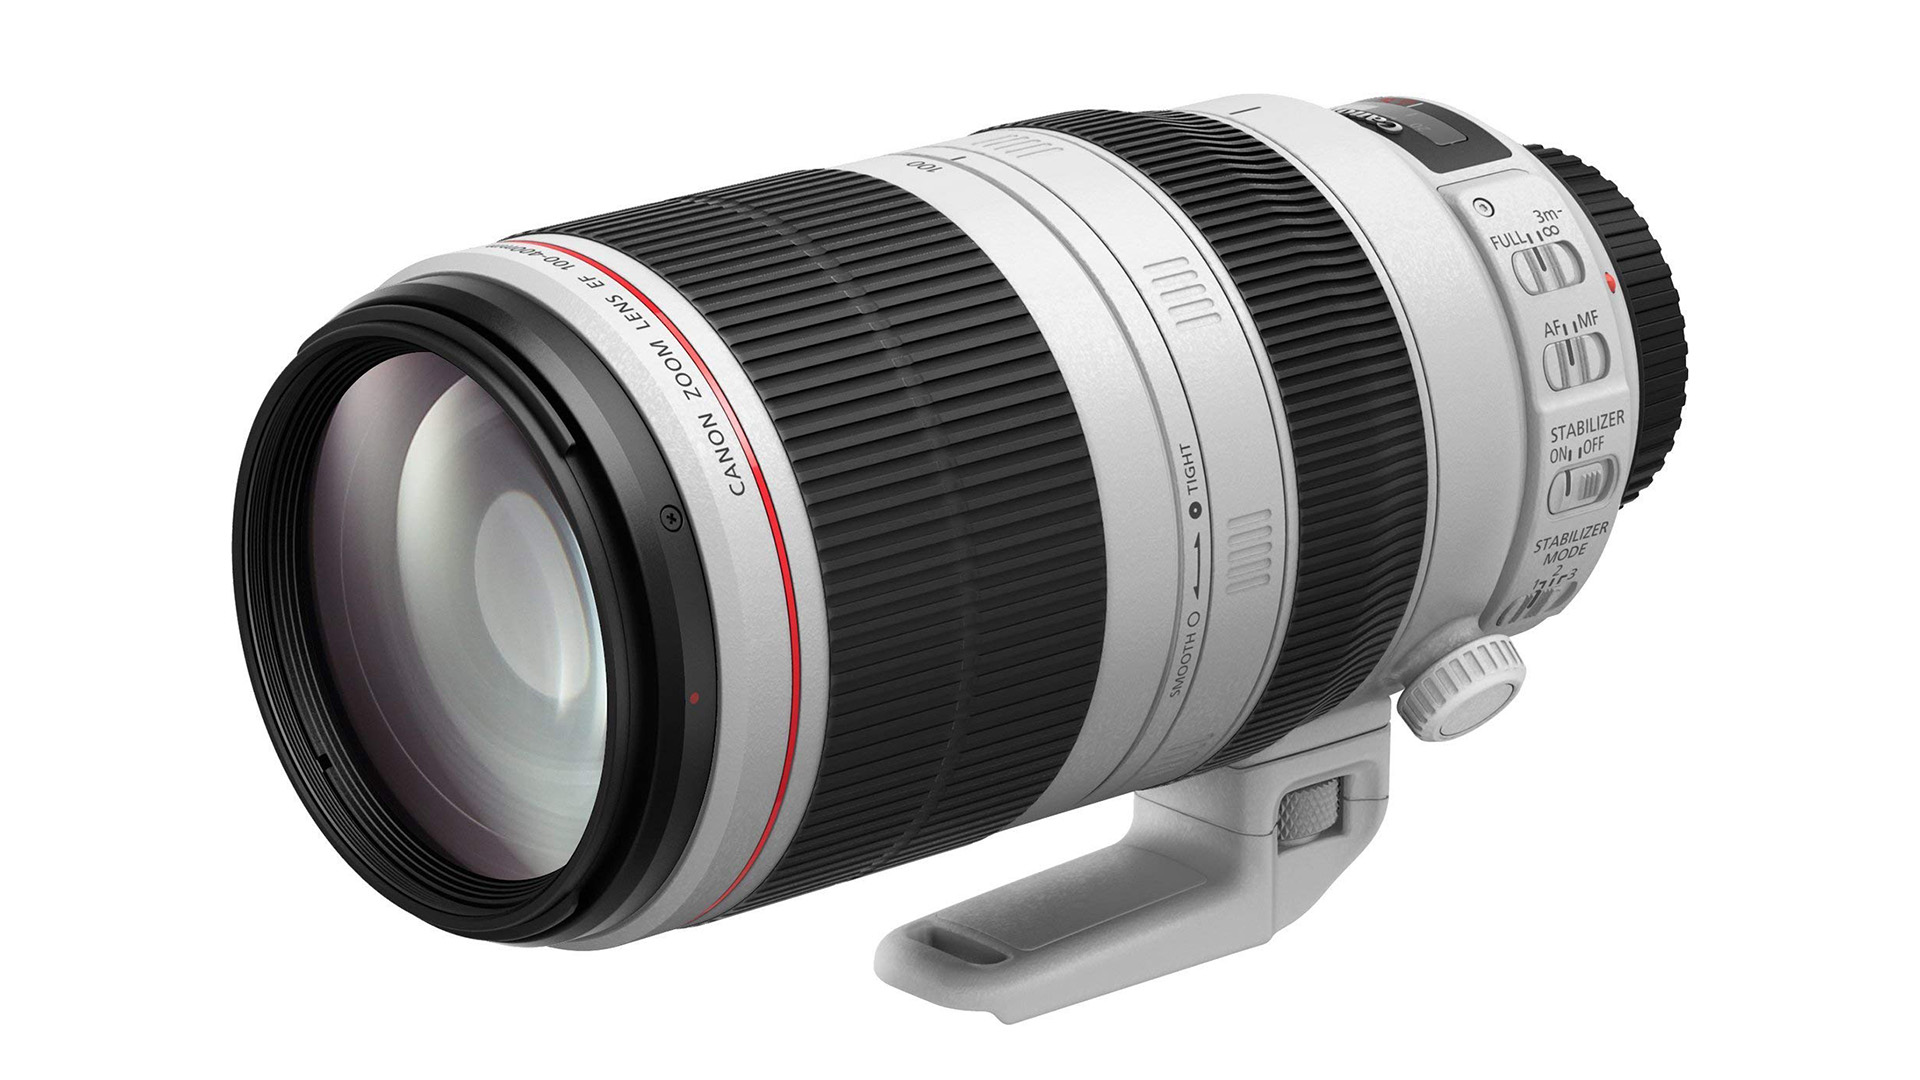
There are many areas to focus on in lunar photography, each of which requires different lenses and techniques. Here are some popular specialties:
- Wide-angle photography: This style involves landscape photography of the moon.
- Conjunctions: These events happen when the moon appears close in its orbit to another celestial object, such as Venus, Mars, Jupiter or Saturn.
- High-resolution lunar photography: This technique uses a teleconverter or a telescope to capture a collage of images blended into a single image.
- Celestial events: Eclipses and occultations are popular targets for astrophotography.
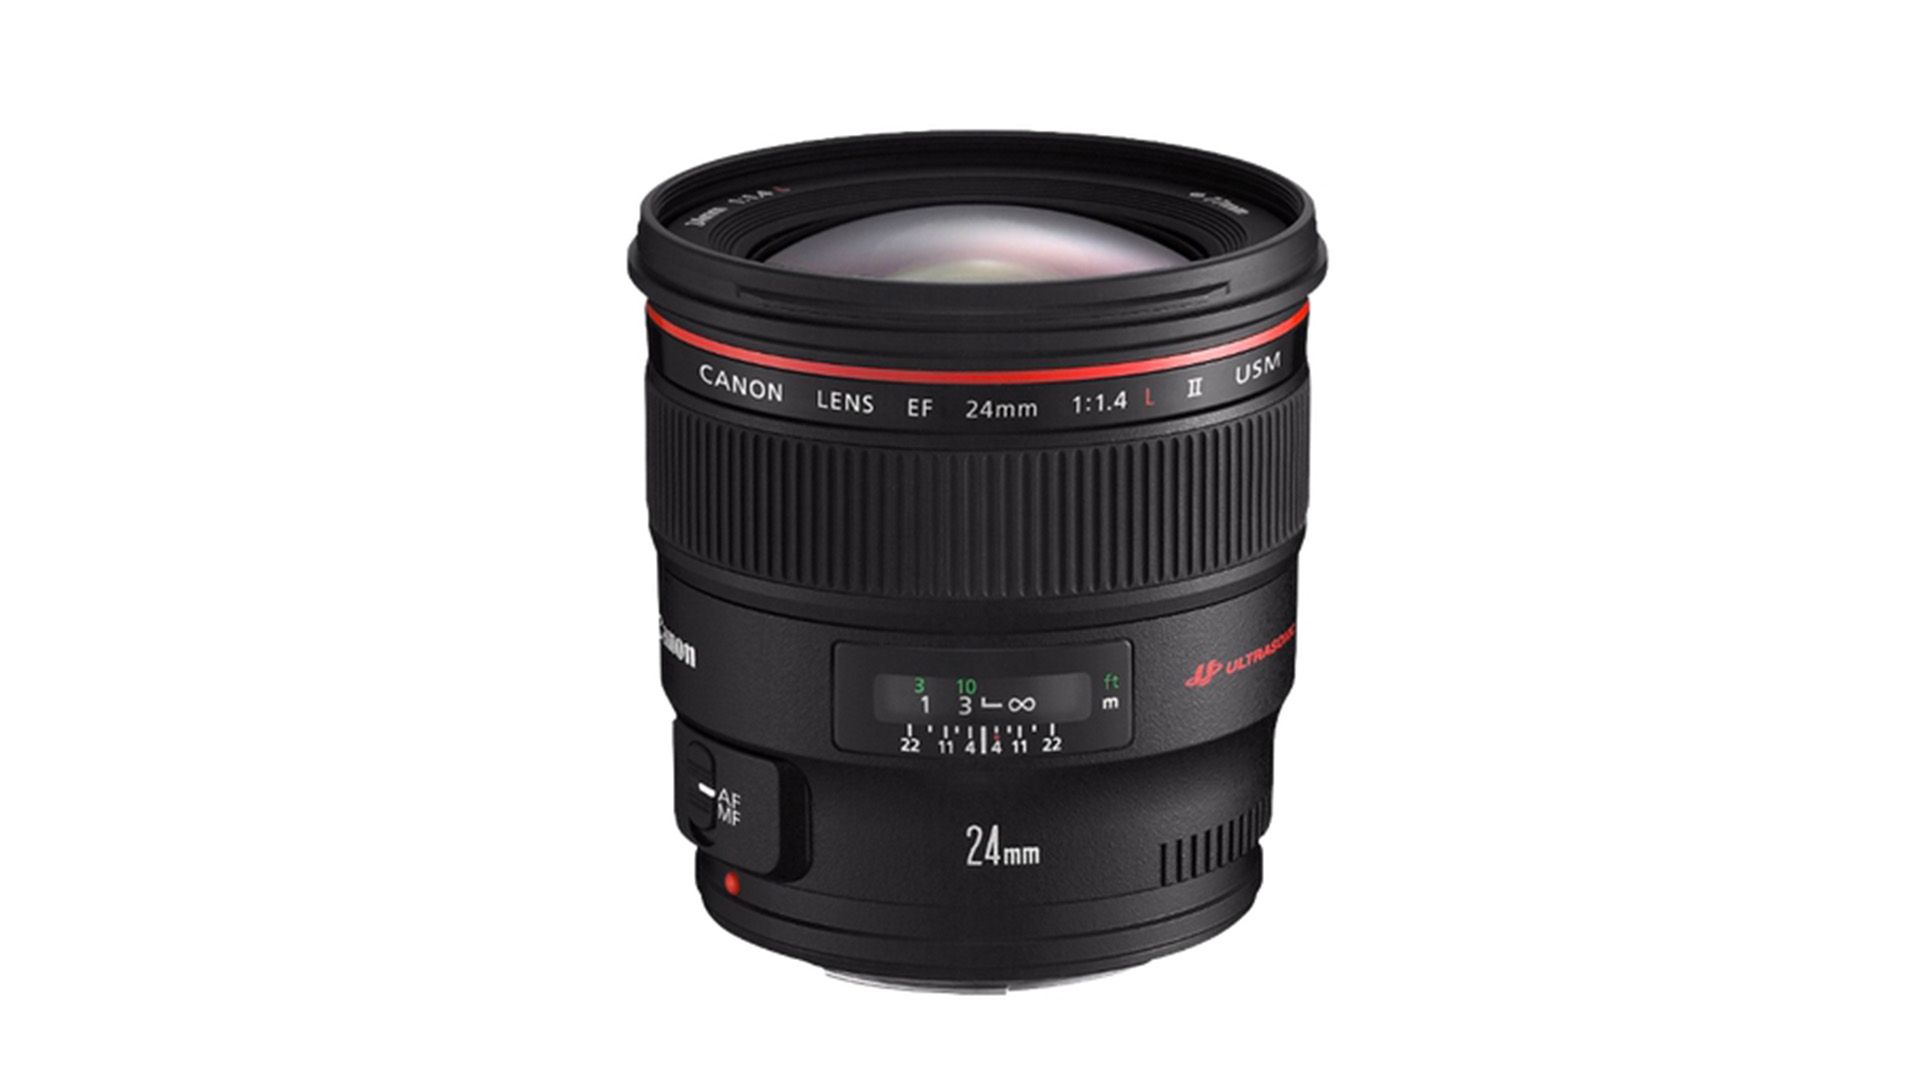
You do not necessarily need the latest camera to photograph quality images of the moon; any DSLR with a crop or full-frame sensor will work. But if you're looking for clarity, a full-frame sensor is the better choice. It is worth searching the market for a decent lens of quality optics. Your choice of lens will depend on what you are looking to photograph. A focal length between 50 and 100 millimeters is suitable for incorporating the moon with landscape photography, whereas a focal length with a minimum of 400 mm is needed to capture the subtle details on the lunar surface.
While the moon can be tantalizing to photograph during its fuller phases, dynamic images can be captured anytime the "lunar terminator" is visible. This is the divide between day and night on the moon, and it can be exhibited between phases from the crescent to gibbous phases, bringing out the rough topography of the moon, including shadow-filled craters, bright highlands and dark valleys.
Equipment and accessories
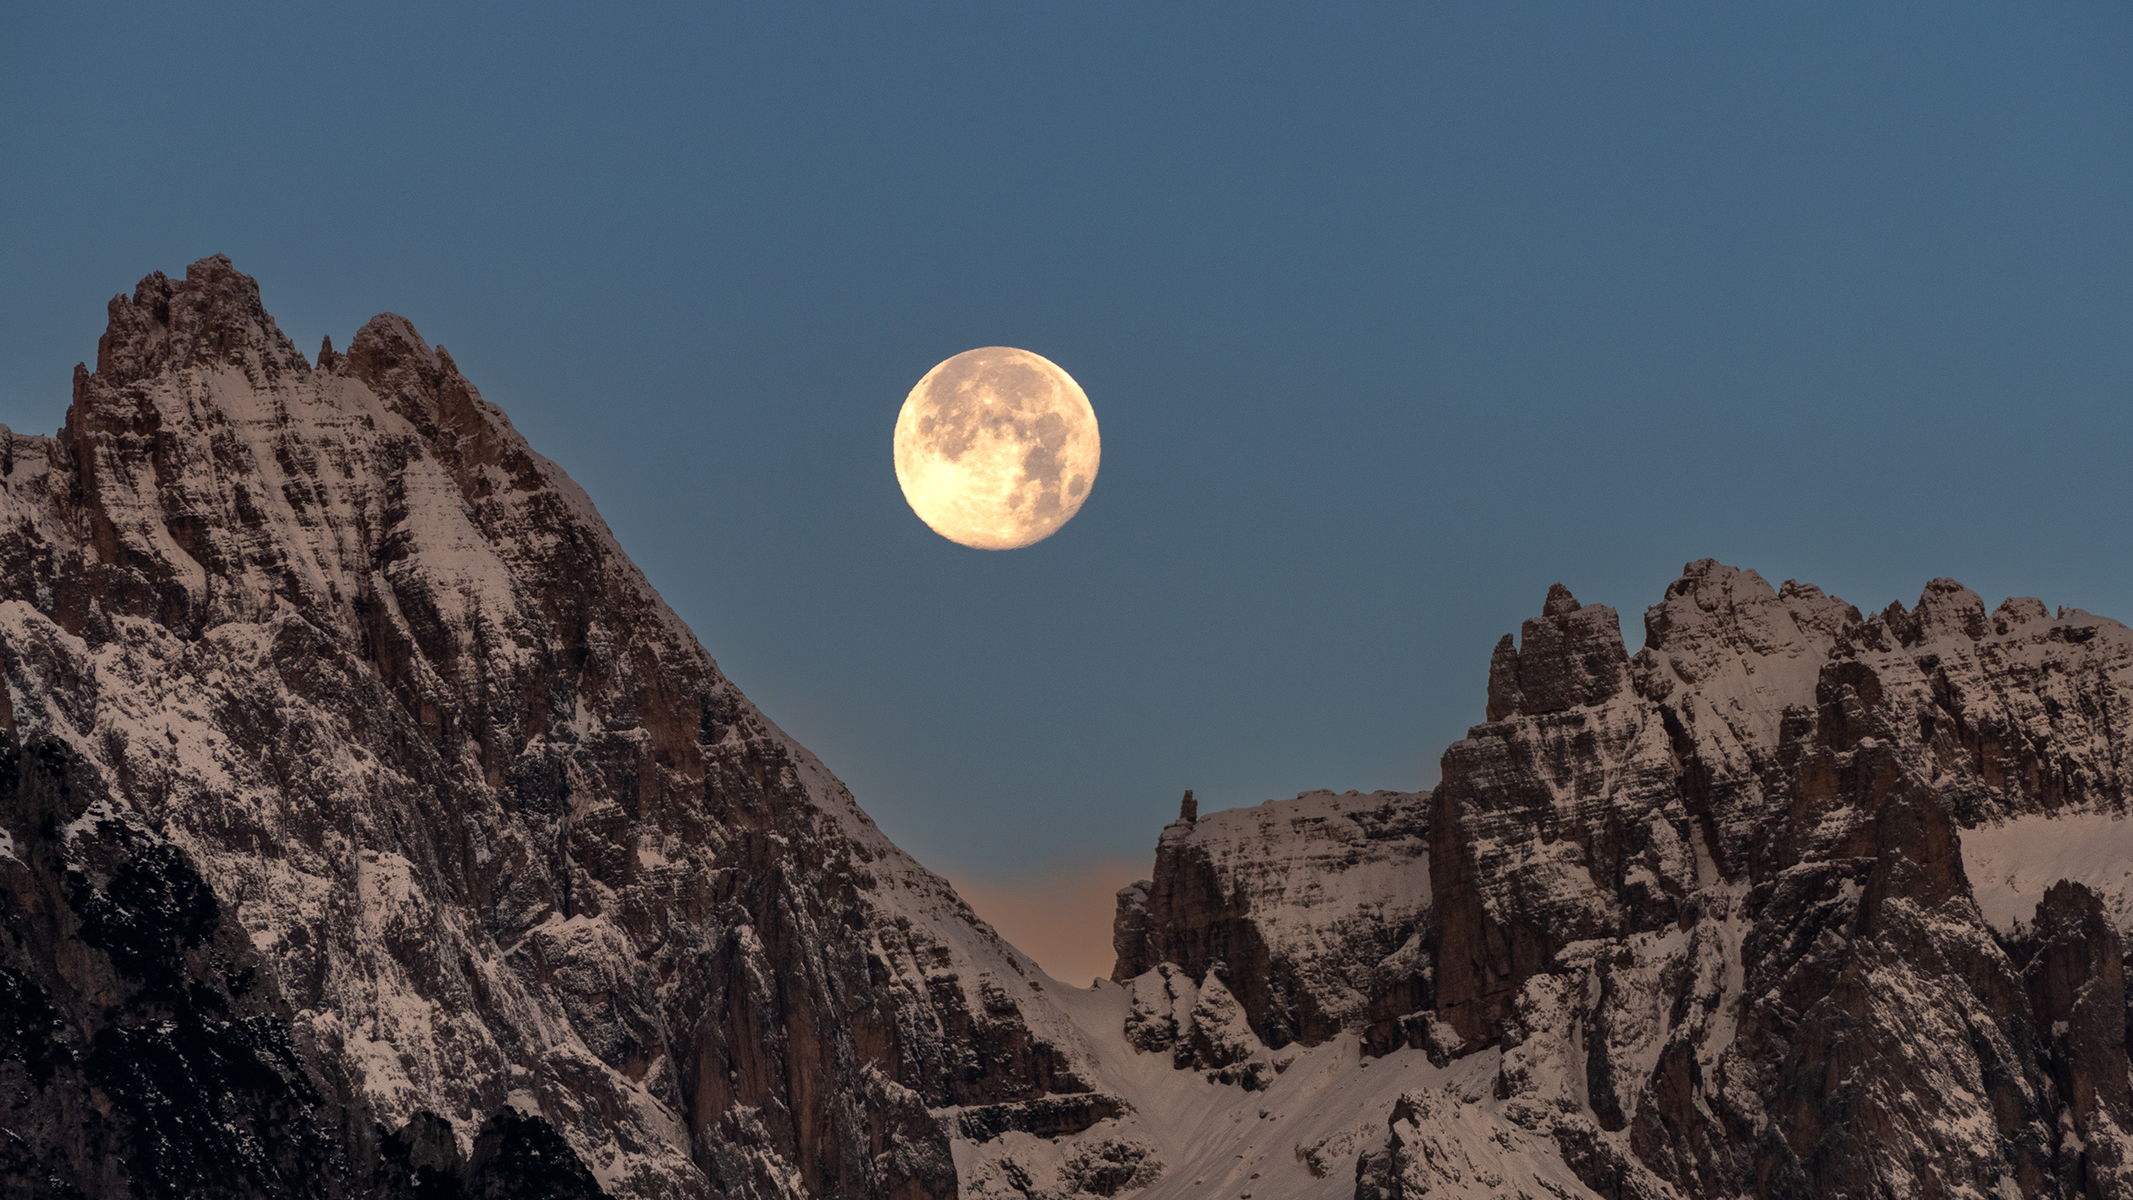
Alongside photographic equipment, the best apps to explore the night sky can be used to plan your photoshoot of the moon, find out where it will be in the night sky, and check the rising and set positions.
In addition, a sturdy tripod is an essential part of capturing your image. You need a stable, durable, lightweight design that can easily be set up or taken down while supporting heavier telephoto lenses. The Benro Tortoise 24C is a good example of such a tripod that provides reliability and a portable, ergonomic design.
If possible, stay away from cheap, low-quality lenses. The quality of the glass makes the difference between a high- and low-quality image. A good lens will result in fewer image defects, including chromatic aberration, vignetting and soft images. High-contrast edges can suffer from spurious colors through different wavelengths of light, resulting in different focus positions.
A remote shutter-release cable is advised, but not necessary, for photographing the moon, as your camera's self-timer can be used and will provide a significant delay to prevent camera movement in your exposure.
Photographing the moon with a wide-angle lens — landscapes, planets, and constellations
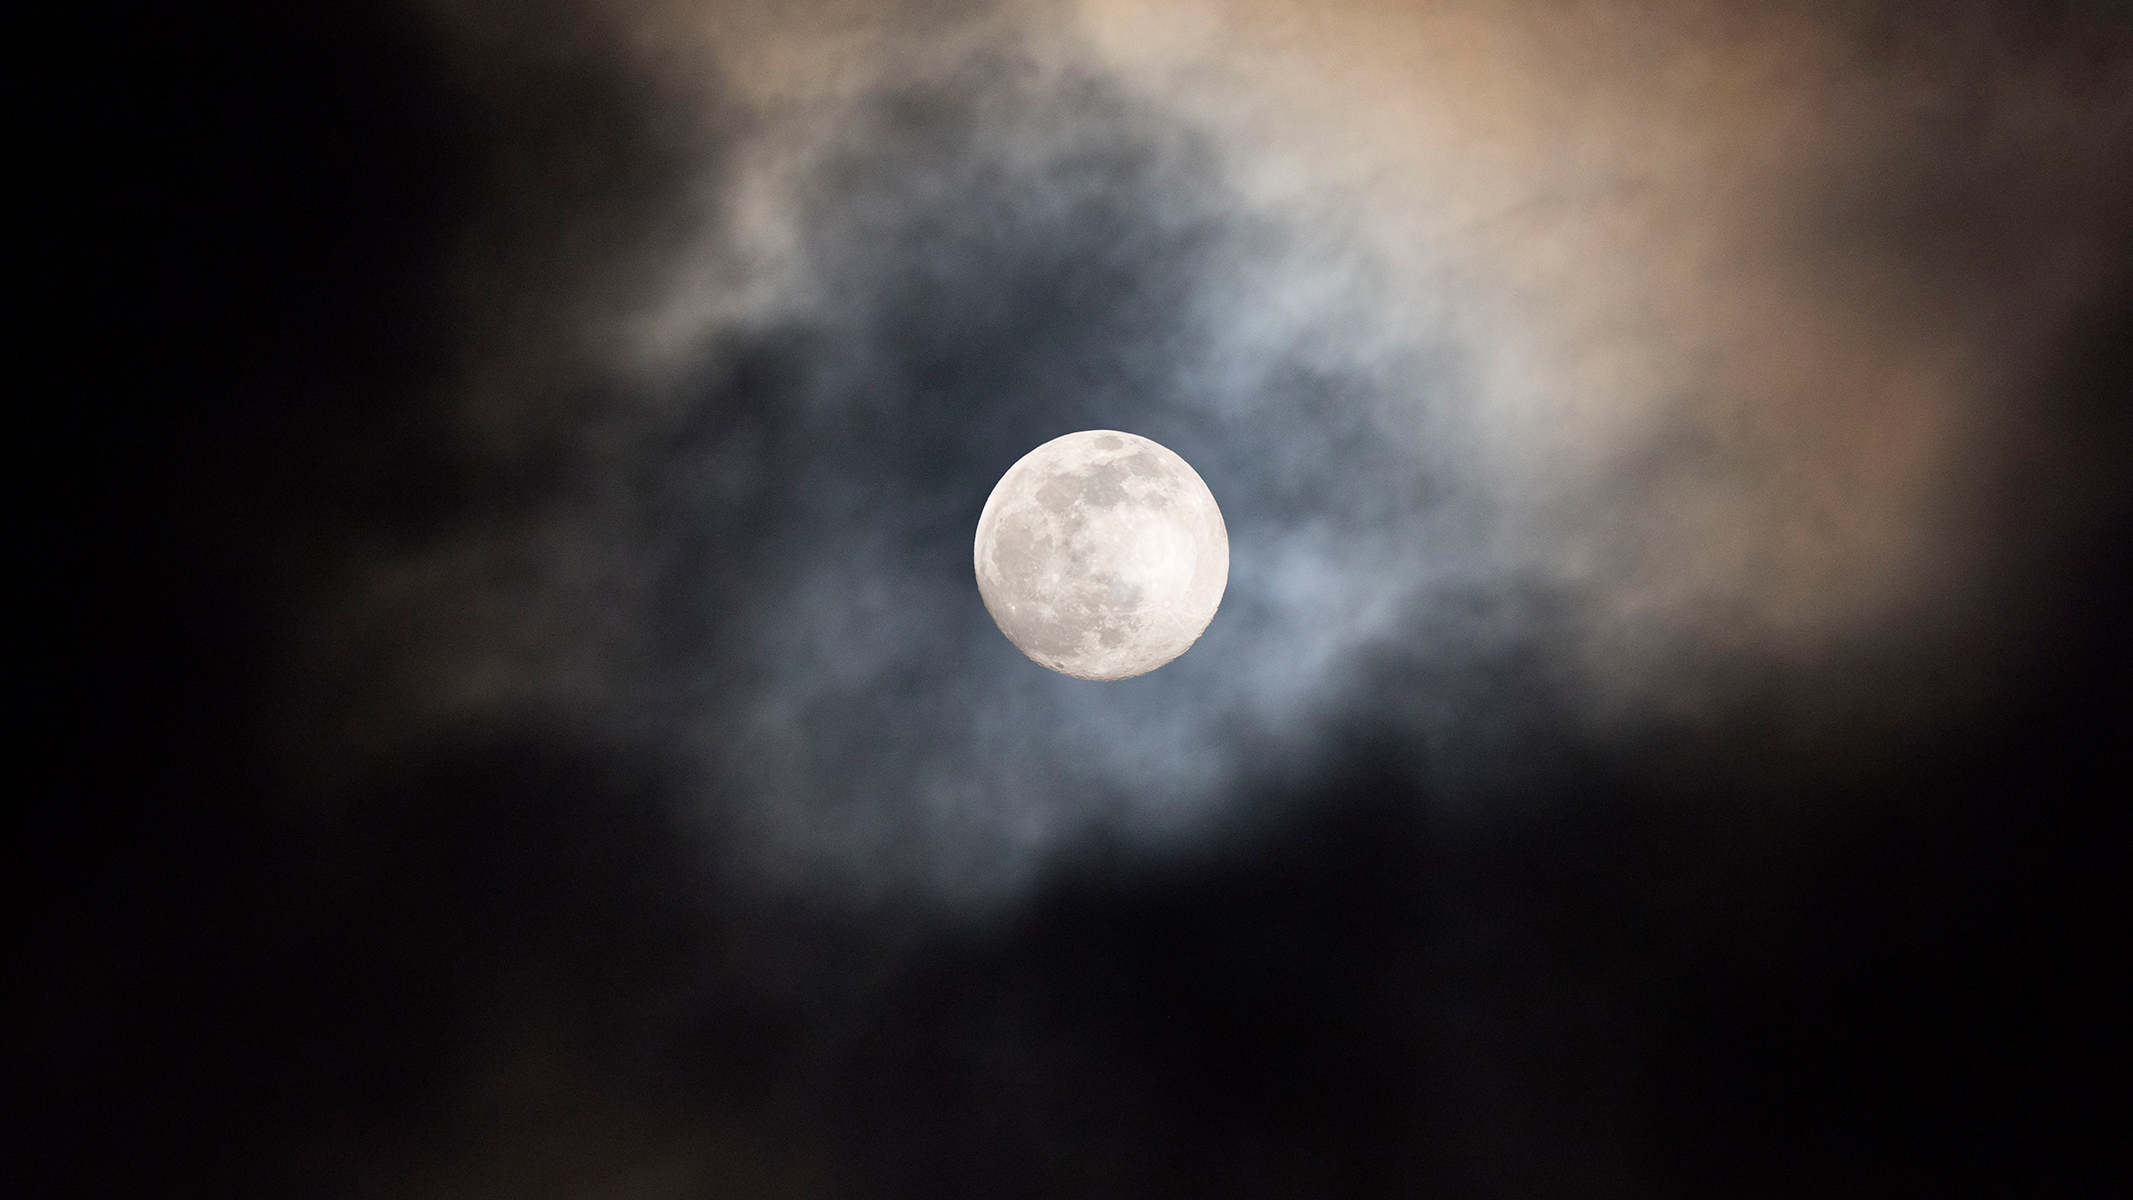
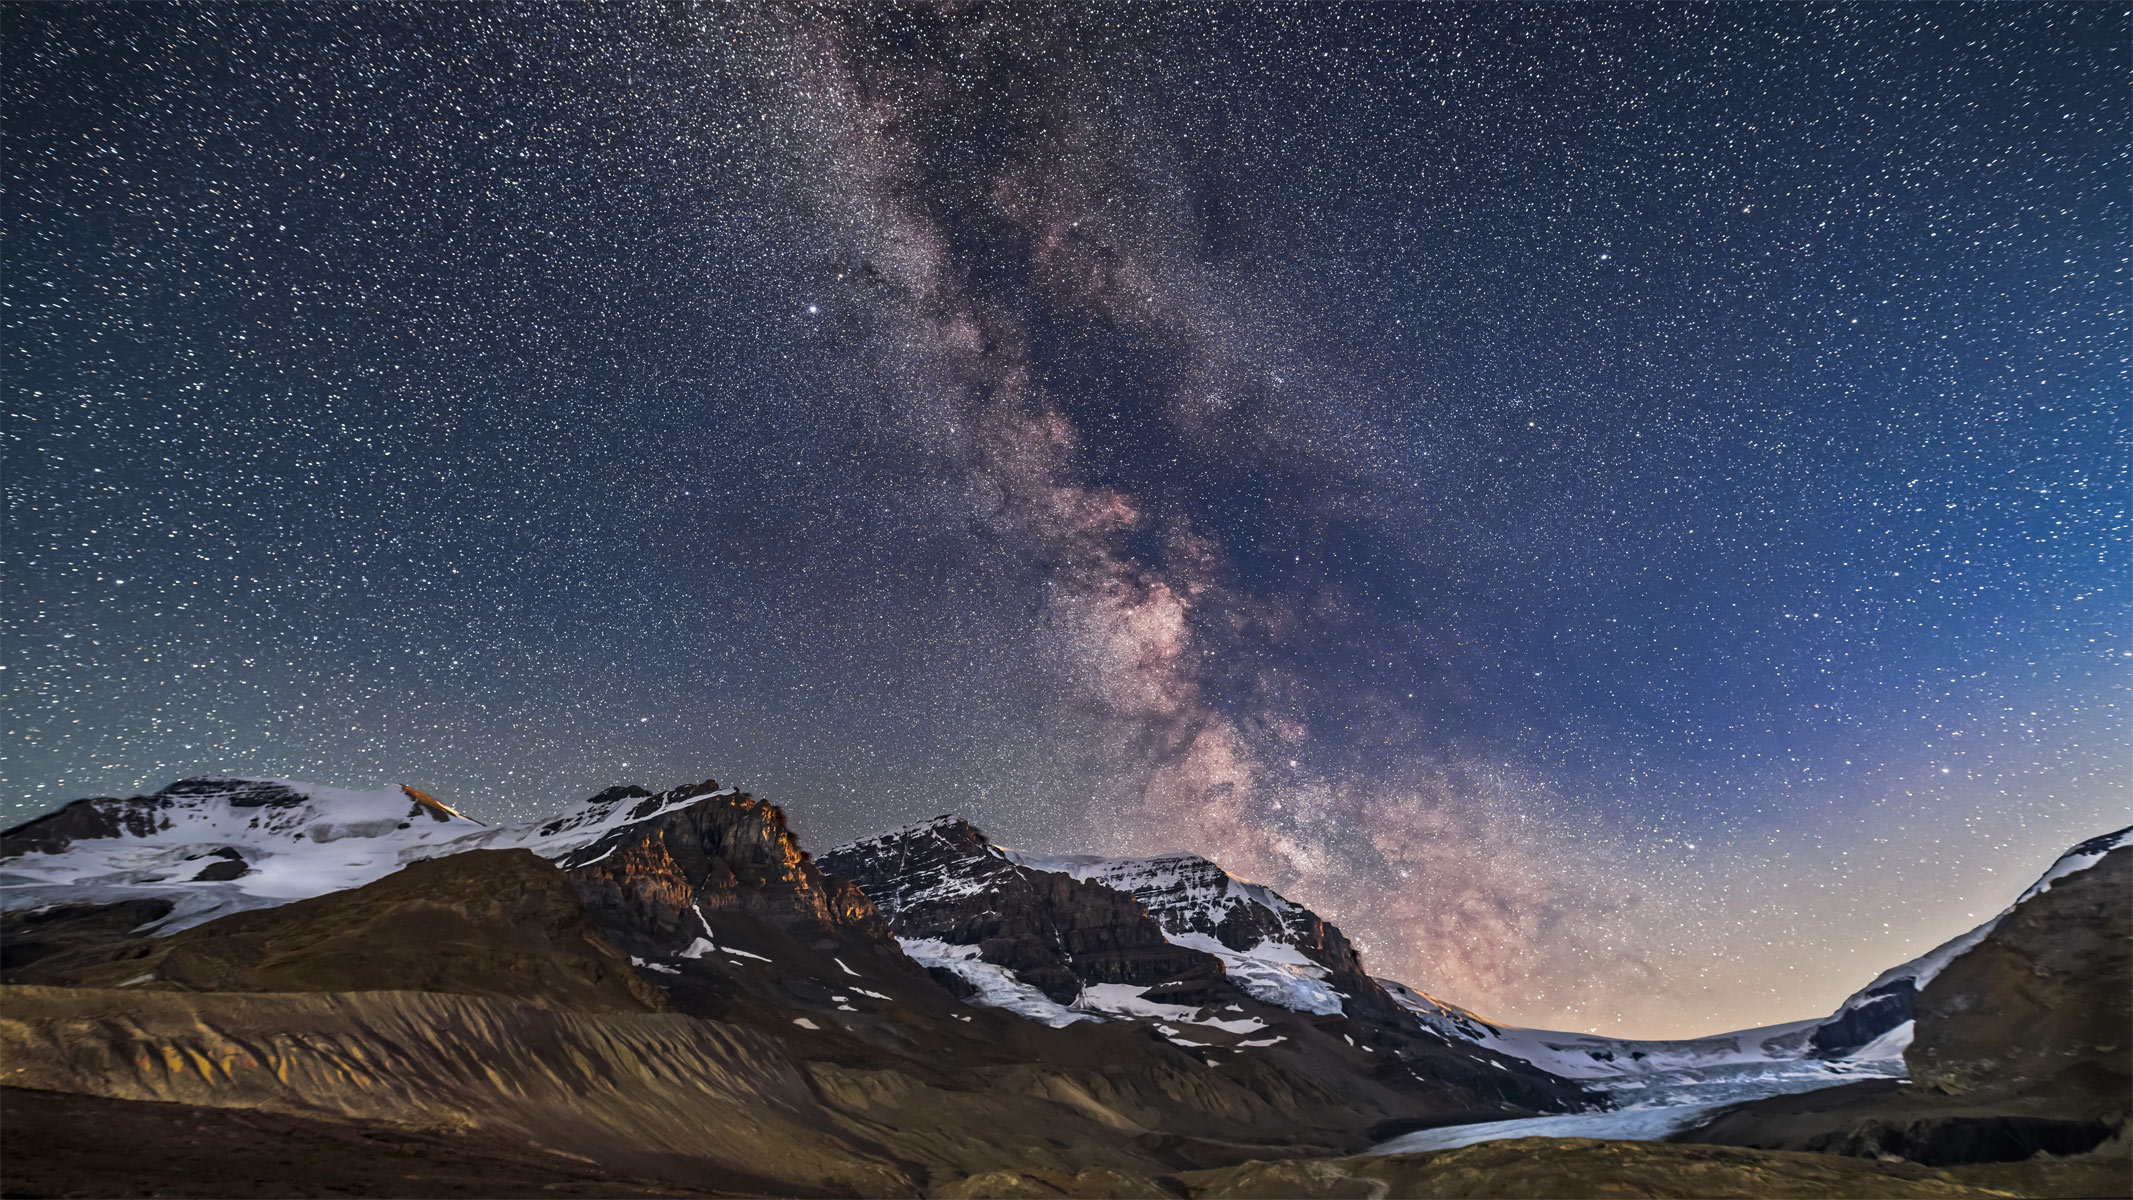
For terrestrial images of the moon, it does not matter if you are taking images from a dark sky or a light-polluted area. But naturally, dark-sky places lend themselves to a more natural scene. With this in mind as covered in the sections above, use a firm tripod to prevent the camera from shaking when executing your images. Then, you can then adjust the composition for the scene with basic photographic techniques, from the rule of thirds and leading lines to address the narrative.
Settings
A focal length of anywhere from 12 to 50mm is suitable for incorporating the moon within landscapes, and an aperture range between f/1.8 and f/4, alongside a low ISO between 100 and 400, will allow you to capture a darker scene in relation to the moon. Because the moon is naturally bright, you do not need to introduce "noise" into your images by using a high ISO.
Focusing
Depending on your shooting mode, you may want to use autofocus when photographing the moon, but it is not always recommended. With astrophotography, the general rule is to be in full control of the camera and thus opt for manual focus. With autofocus, you do not necessarily locate the sweet spot of your lens, whereas the back-and-forth movement of your lens' focus ring will help you fine-tune the focus. Use your camera's built-in digital zoom magnifier to locate a focus point. For example, look for a lunar limb or a bright lunar feature, such as a crater of a lunar sea.
Preparation - Time and location
Depending on the lunar phase, the moon can be photographed anytime from moonrise or moonset on a given day, weather permitting. The moon will rise when it is full just as the sun sets, and some daylight will be introduced to your image, leading to a lower shutter speed. As it reaches its crescent phases, the moon can be photographed among the light of dawn and dusk, allowing for opportunities to photograph Earthshine.
Sometimes, the moon appears close to other planets (known as a conjunction) — and planets can even pass behind the moon from certain geographical locations (called occultations). These events make for highly striking images and help us appreciate the true extent of our solar system and beyond.
Photographing the moon with a telephoto lens — focal length and field of view
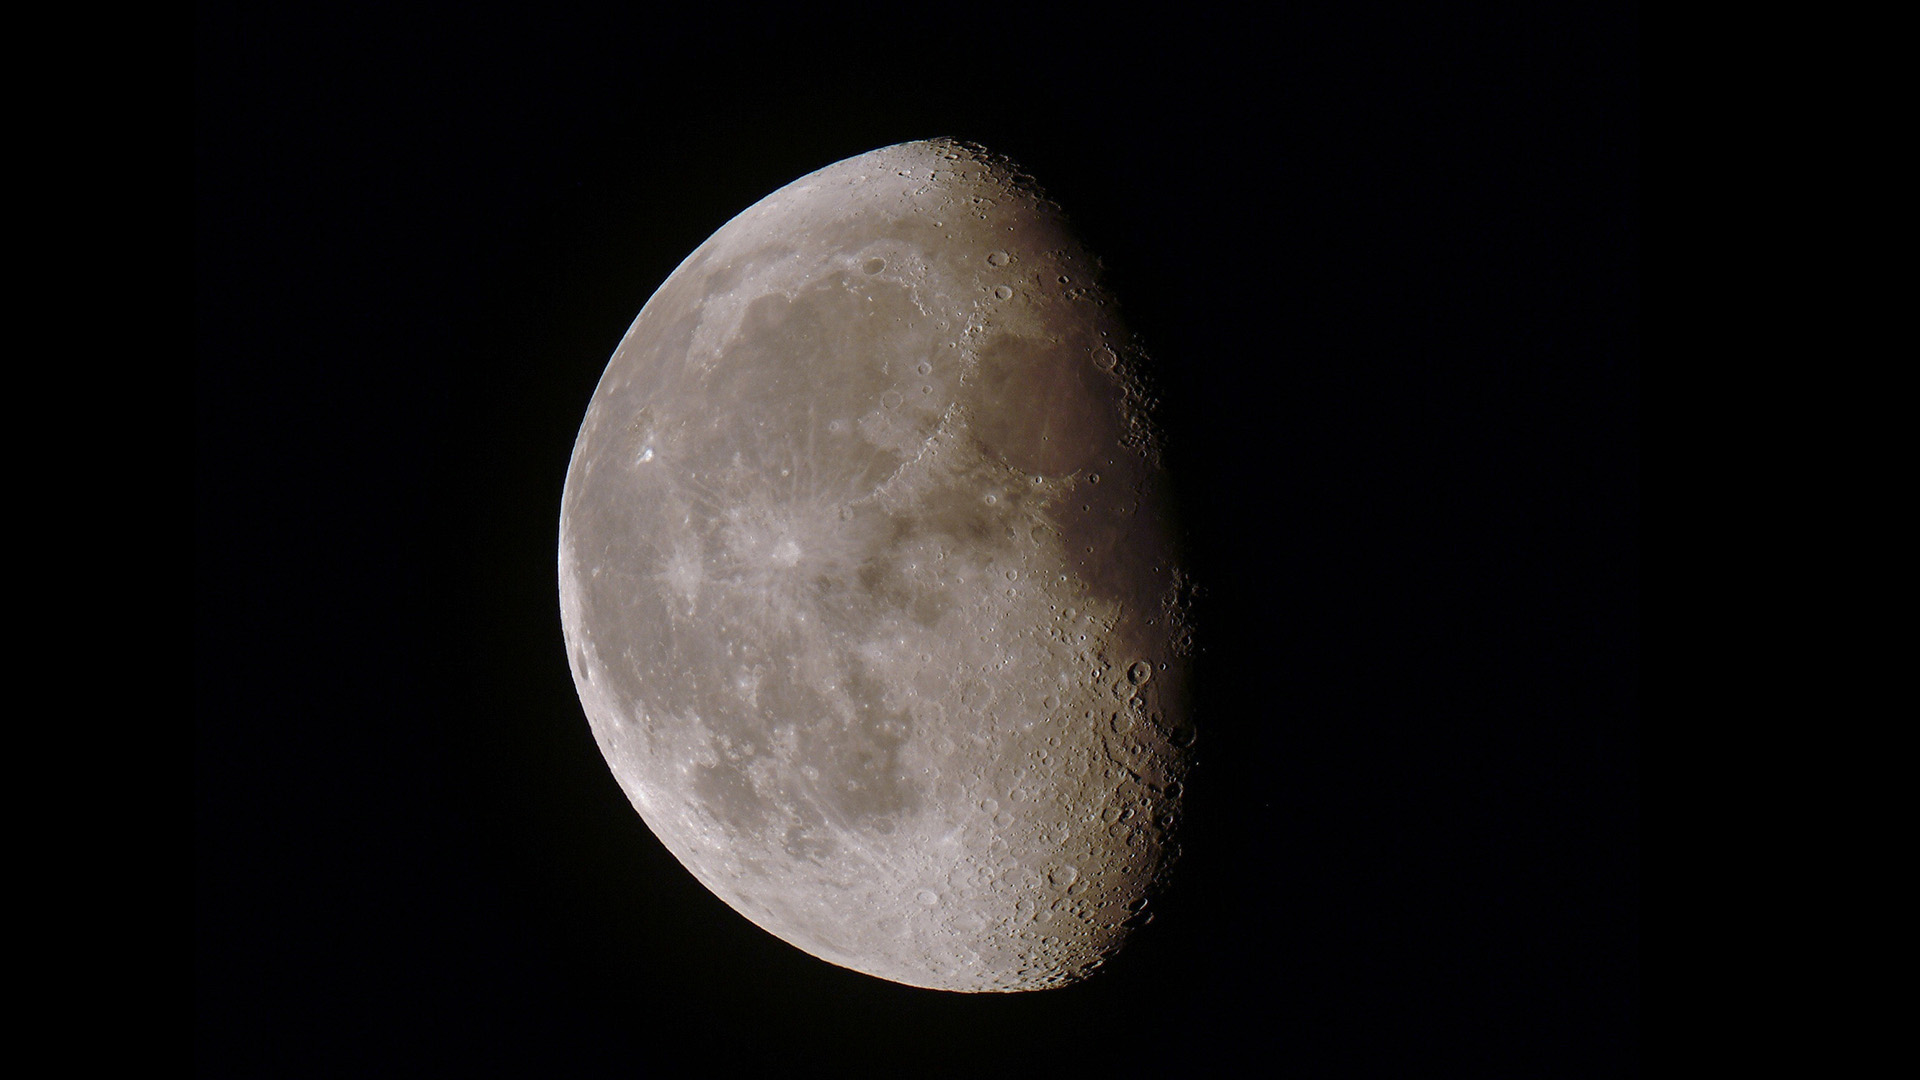
The next stage up is to use a telephoto lens to zero in on the moon as the primary target. Telephoto — or "zoom" — lenses use a much longer focal length, effectively reducing the field of view to obtain a greater image scale. A naturally good lens is the Sigma 150-600mm f/5-6.3 OS HSM lens, which is within the range of 150 to 600 mm, has a reasonable aperture of f/5 to f/6.3, and includes a fine-tuning focus ring.
What does a teleconverter do?
If you are looking for an even greater image scale, you can introduce a teleconverter, which effectively doubles the magnification of the lens, depending on the degree of magnification. The only caveat to this imaging technique is that it reduces the amount of light that enters the camera and introduces more glass. As a result, the imaging setup is at risk of producing softer images. The benefit of this setup, however, is that a teleconverter is much cheaper than a high-focal-length lens.
Do I need a tripod for moon photography?
Now that we have covered the basics of being close up to the moon, we have a tricky situation on our hands. Such focal lengths make even the smallest movements to the tripod very noticeable. Focusing the lens also can be challenging while the moon "wobbles" as you perfect your focus. This is why we recommended a sturdy tripod — to minimize these effects as much as possible. We think the Benro Mach3 is the best tripod overall, with its whopping payload of 35 pounds and simple set-up.
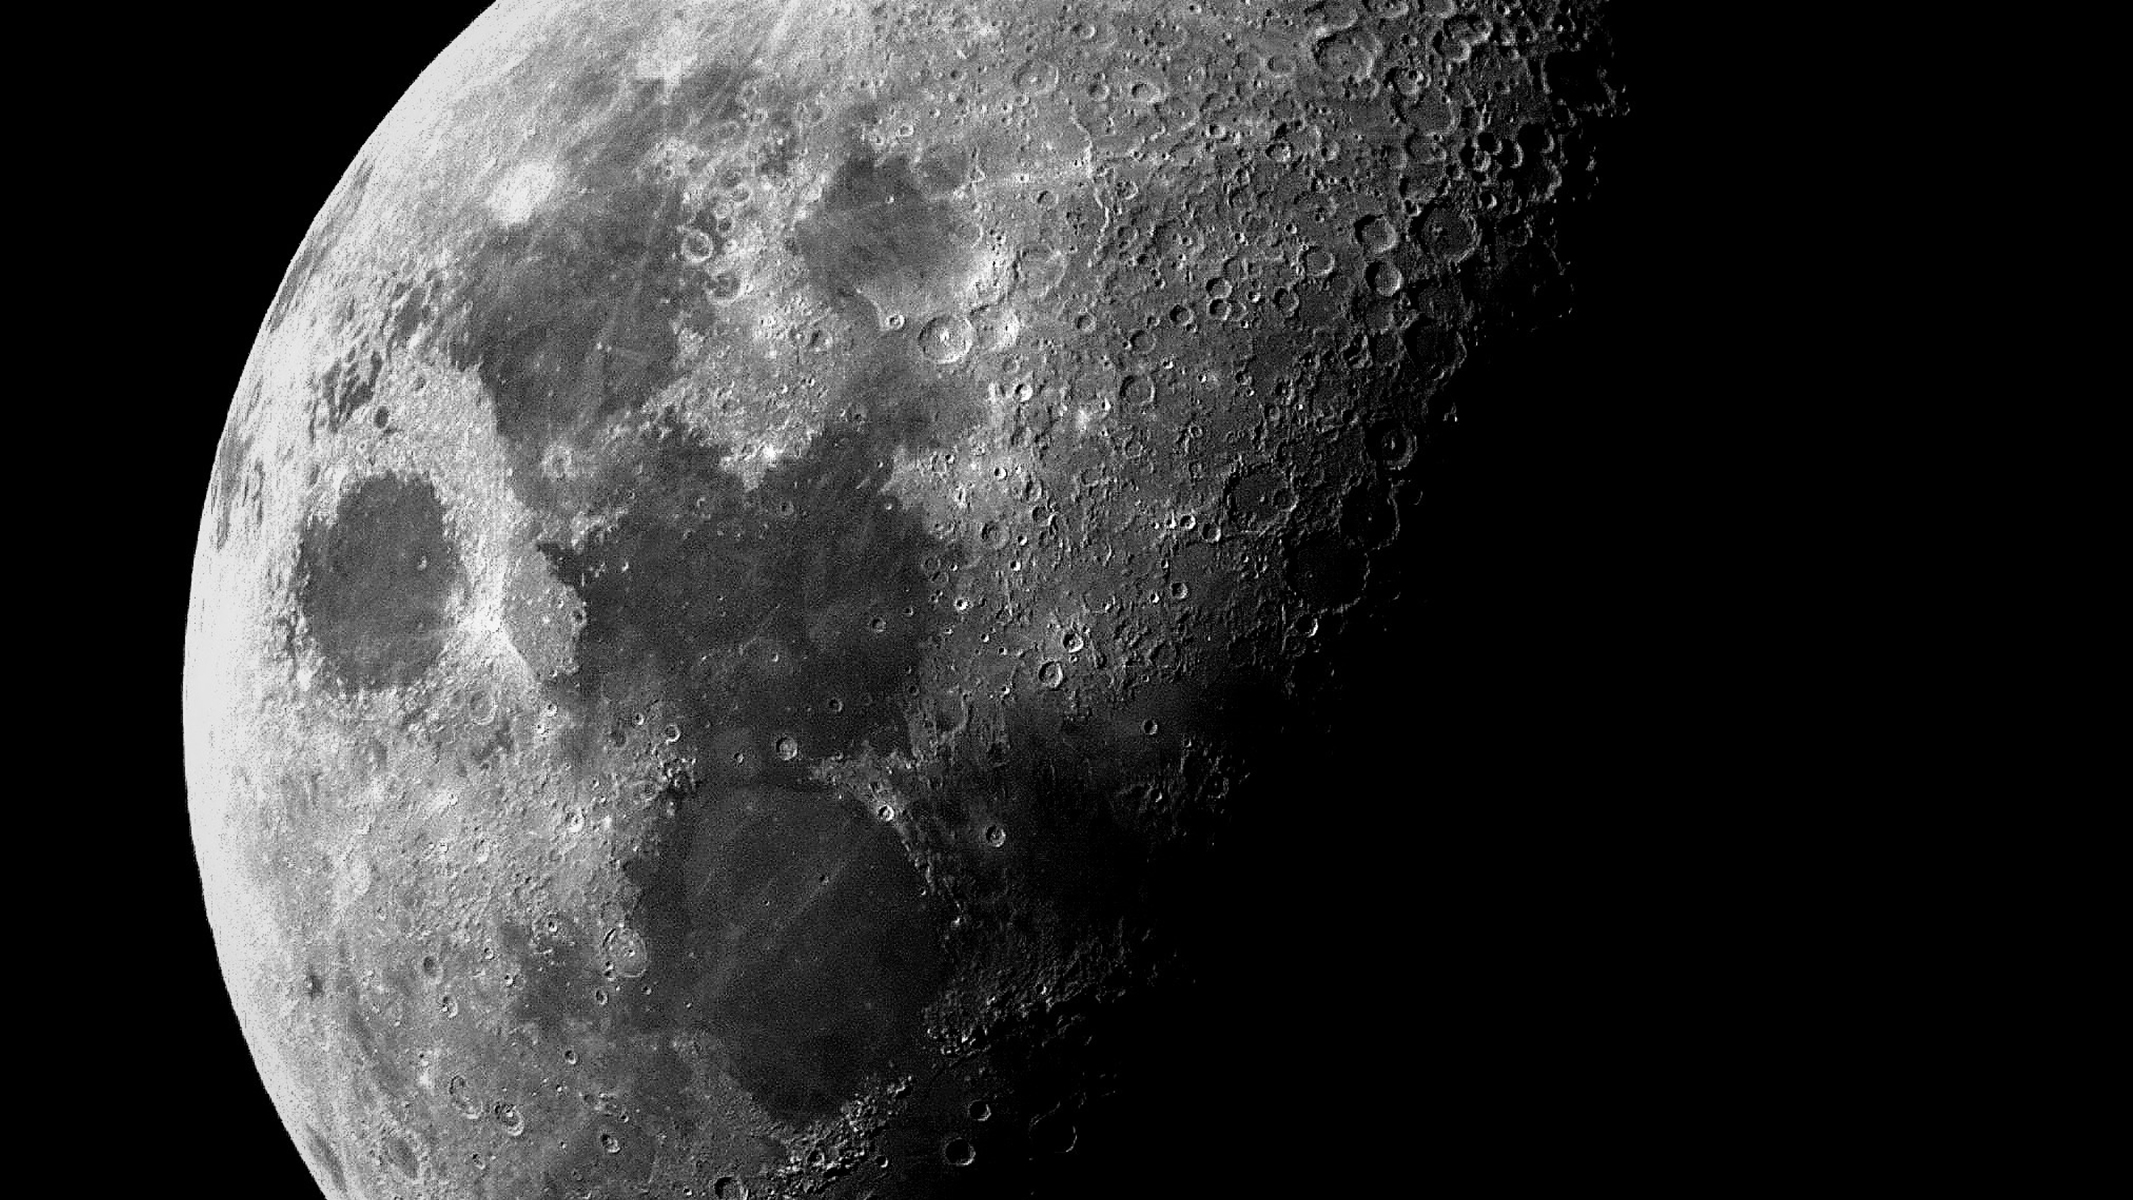
What settings do you use for the moon in telephoto photography?
Notice how longer focal length images now let less light into the camera. To combat this darkening of the images there are a few techniques to employ. Increasing the length of the exposure with longer shutter speeds is not recommended on a static tripod because the longer the exposure the more moon movement is documented. We recommend adjusting the aperture to a wider value. An aperture of f/2.8 will result in softer images where as an aperture between f/4 and f/9 will yield the sharpest images. The next option is to then increase the sensitivity of the camera sensor, the ISO. However, this introduces noise. Astrophotography is all about finding a happy medium between your camera settings and the photographic situation to produce a correct exposure. Look for an image where surface details are present and not overexposed; use the histogram on your camera's LCD monitor to make it peak off-center to the left.
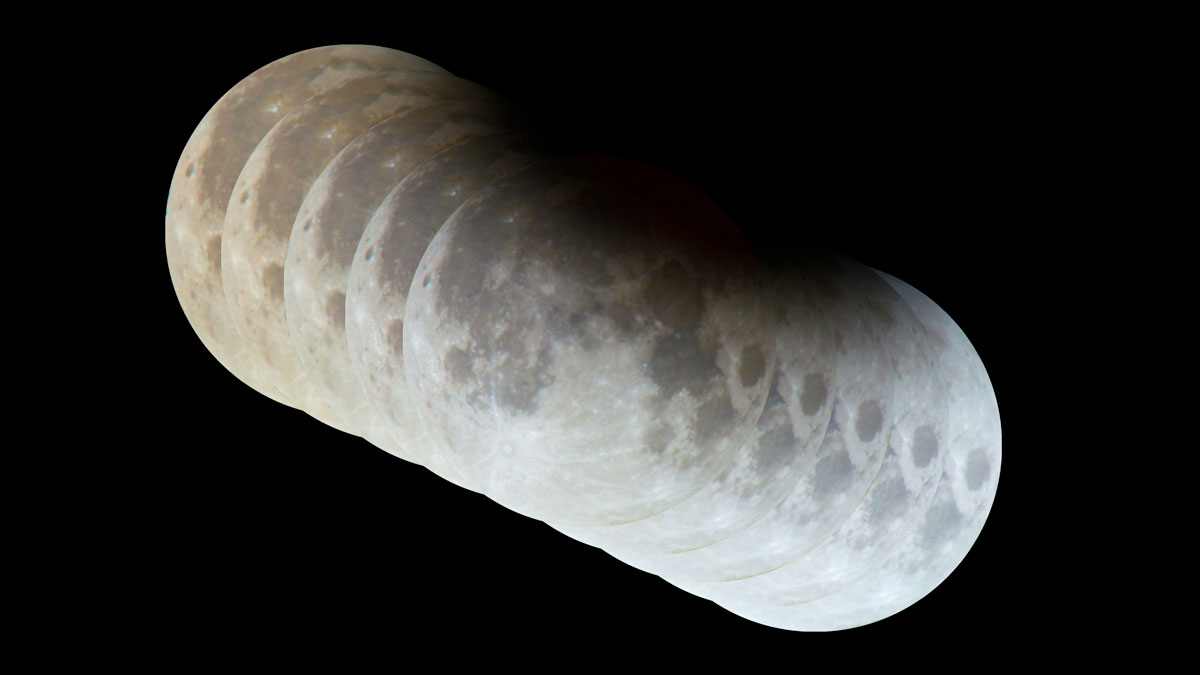
How to take a photo of a lunar eclipse
When photographing lunar eclipses, the aim is to capture the light of the moon as it enters Earth's shadow. For this, you may need to increase all of your camera settings to reveal the refracted red tones of light from the moon and, if necessary, deploy a star tracker to utilize longer exposures while tracking the movements of the sky.
Learn more about the moon
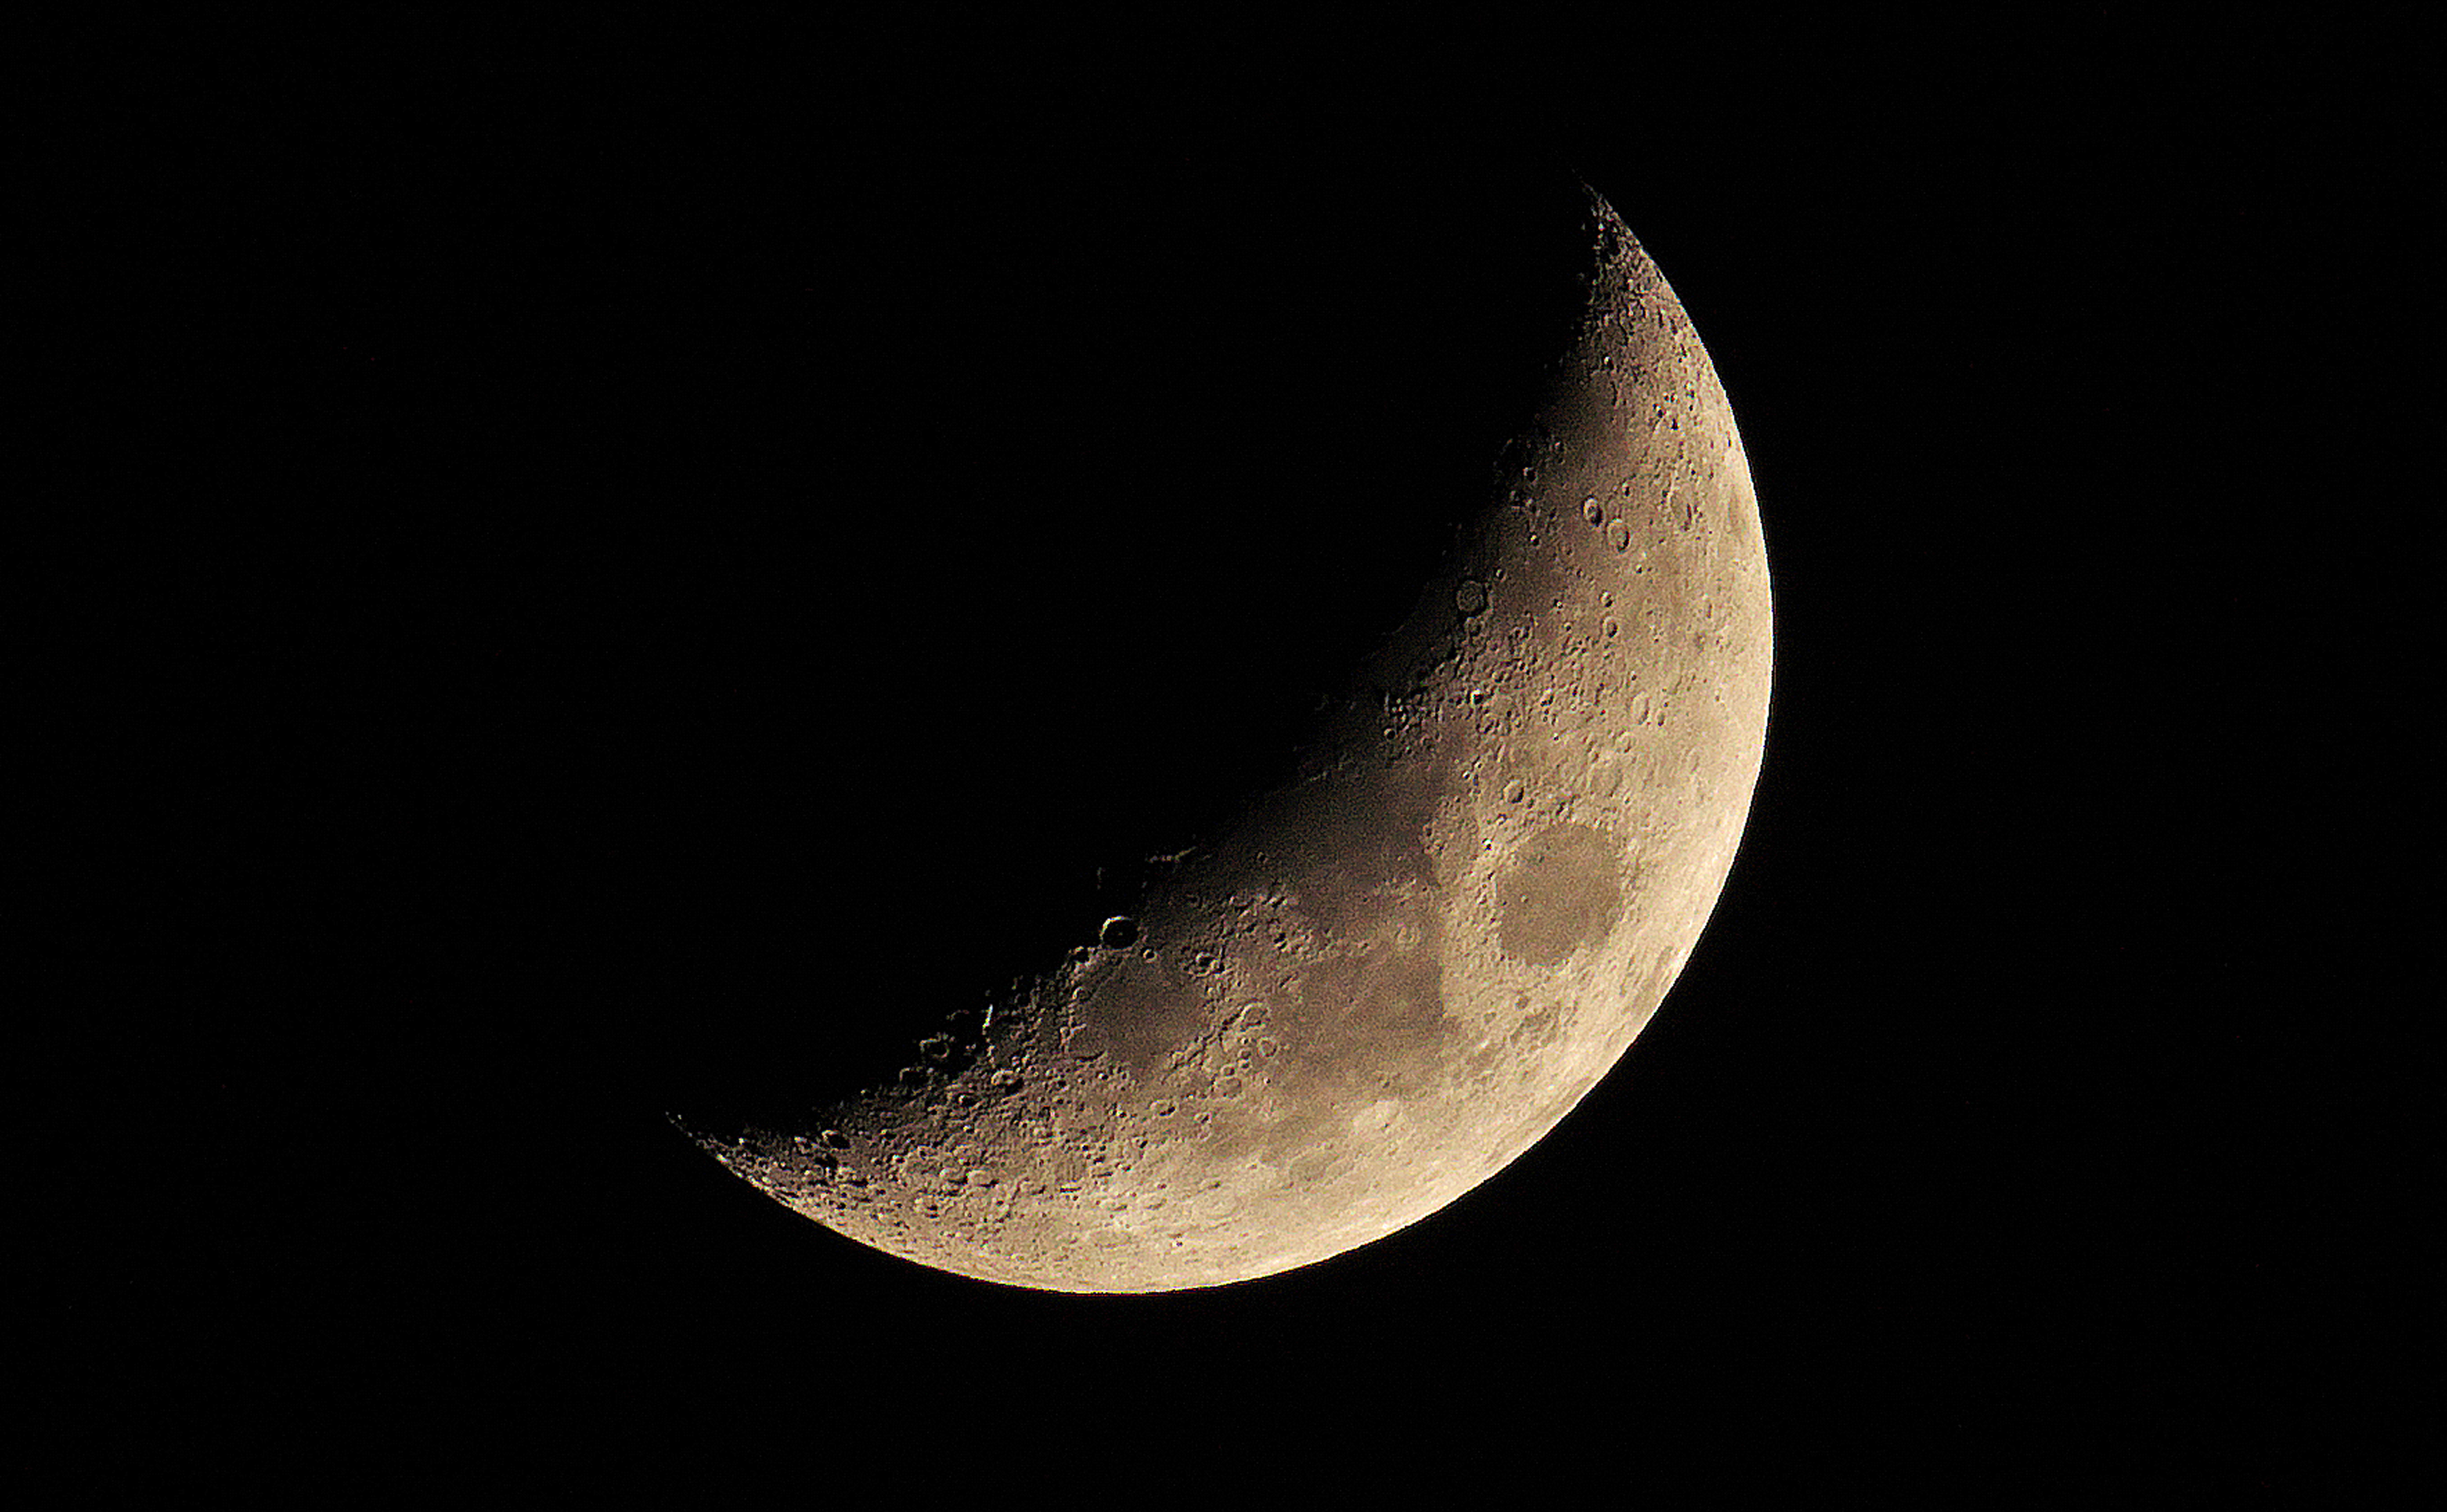
The moon is a perfect target to build and practice your astrophotography skills. It's a celestial object that brings us back to the time of our ancestors, who used the moon to understand the link to the eternal mystery of our place in the universe. Whether we photograph the moon within landscape images, in conjunction with other planets or by itself, the stunning images give us glimpses into our solar system and allow us to appreciate our place within it.
The phase of the moon plays a role in the appearance of the lunar features that are visible in close-up photos. When the moon is close to full, the disk can look flat due to sunlight falling directly onto it. A better time to try taking close-up photos is when the moon is away from being full — around half phase — so that the sun's rays are perpendicular to the surface, which brings out its rugged topography and layers that are dotted with shadow-filled craters, bright highlands and dark valleys. Check out our moon observation guide for the best features to spot on the moon, and for those interested in spotting signs of space exploration, we also have an observer's guide to the Apollo landing sites.
Join our Space Forums to keep talking space on the latest missions, night sky and more! And if you have a news tip, correction or comment, let us know at: community@space.com.
Get the Space.com Newsletter
Breaking space news, the latest updates on rocket launches, skywatching events and more!
Josh Dury (B.A. FRAS) is an Award-Winning Landscape Astrophotographer, Presenter, Speaker and Writer based in Somerset, UK. His work has been recognized by NASA, Astronomy Picture Of The Day, BBC, CBS, and CNN, amongst others. With endorsements from Apollo 11 Astronaut Buzz Aldrin and ESA British Astronaut Tim Peake. His work has been recognised by major photographic and astronomical bodies, including The World at Night (TWAN), Astronomy Photographer of the Year, Historic Photographer of the Year and PetaPixel, whilst collaborating with photographic brands: Canon, Sigma, Benro, NiSi and Tenba. As a Delegate of The International Dark-Skies Association (IDA) he uses astrophotography as a platform, in raising awareness of dark-sky conservation and the impacts of light pollution to the natural environment.
You must confirm your public display name before commenting
Please logout and then login again, you will then be prompted to enter your display name.
