Photographer Brenda Tharp's new book, Expressive Nature Photography, is a guide for photographers to creatively photograph nature using a variety of techniques, exposures and filters. In this excerpt from Chapter 8, "Seeing in the Dark," Tharp discusses how to set up, frame and calculate exposure for photographs of the stars.
Night is the new day. Just take a look online at any popular photosharing site and you'll see that the sky has become the new craze for many photographers. It appears that we've only just recently awakened to the fact that we have this amazing ceiling over our heads! One could think we've gone mad in our pursuit of the Milky Way in our compositions, but I invite you to take a step outside, when you're in a very dark area, and see for yourself what the excitement is all about.
Photographing at night is a special part of what I do as a nature photographer. When I am out in the night in a remote area, I feel the earth resting from the intensity of the sun; it is to me one of the most tranquil and peaceful times. And amidst all the calculations and careful setup for making a nighttime photograph, I don't stop appreciating the beauty. I invite you to take a step outside, when you're in a very dark area, and look up in amazement at the wondrous site overhead. To experience the night while photographing it is simply awesome. Be ready to feel very small. [The 100 Best Space Photos of 2016]

My first exposures of stars were failed attempts. I was guessing, using film, and had to factor in reciprocity, and well, I just wasn't getting great results. But a few years later in Utah's Canyonlands National Park, a very dark place, I made an eight-hour exposure, pointing south. When I awoke at 4:30 AM to close the shutter, it was 17 degrees F! Back home I had the film processed, and I finally had star trails, but they were mostly horizontal, and the film was green! The lab determined the green was likely due to the film freezing, as normal reciprocity shifts were red. And, I didn't have nice arcs in the star trails, because I had pointed south. It was an epic fail, and I had much to learn.
Undaunted, I read more articles and tried again, this time with a digital camera. As star photography had become popular, there was more information about how to do it right, along with discussions about must-have lenses, motorized tracking gear, and formulas for exposures. I was a bit overwhelmed. Did I really need tracking gear? I just wanted to make some images of the night sky when I was out camping and exploring. I knew if I was going to keep photographing stars, the process had to be easy to remember and apply without using a lot of technical gear. I started writing down formulas and laminating charts I made for what I wanted to do. It was exciting, and I discovered that you don't have to be very technically inclined to get good results. You can certainly become more technical about your approach, and do things like multirow panoramas, or nine-hour exposure composites, or capture an eclipse, but the simple act of getting star trails or points of light is not difficult. With a chart as a reference tool, and some notes, you can have success in getting good exposures and sharp stars. Many resources for getting much deeper into stars and moonlight photography are available on line and in books. This chapter will get you started in photographing during the night. Away we go, into the night! Bring caffeine, as you're likely to need it. [How to Film or Photograph the 2017 Solar Eclipse Like a Pro]
Composing with Starry Skies

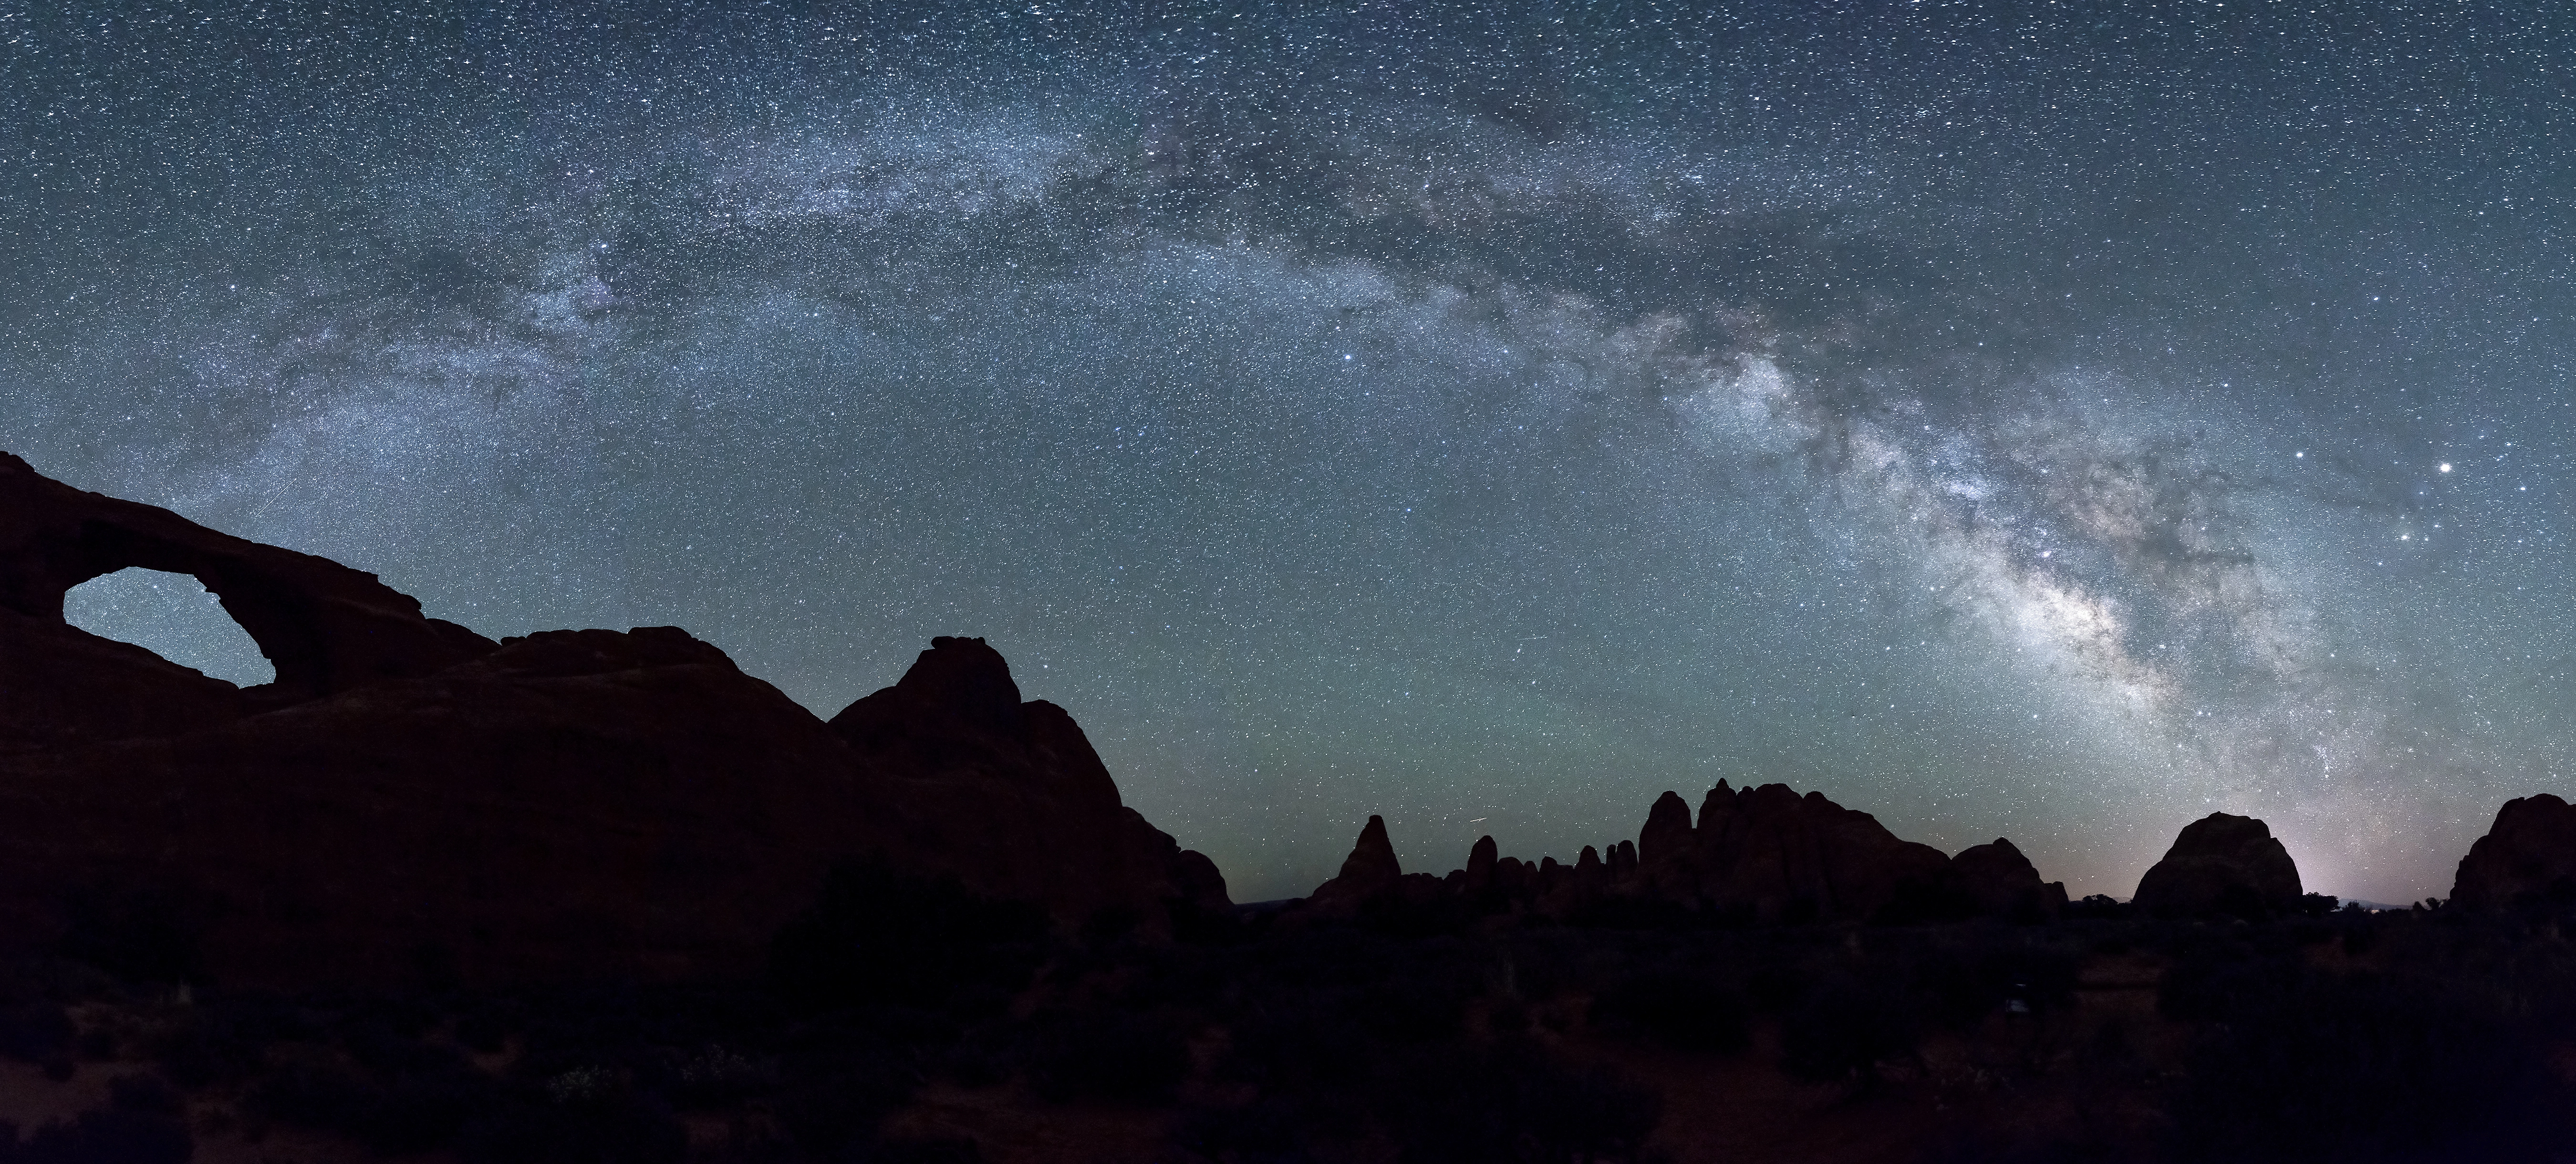
You can simply point the camera directly overhead and photograph a star-filled frame, but it's better to include something else in the frame, such as a tree, an arch, a mountain ridge, or a lake, to act as a visual counterpoint to the sky. If you can scout while it's daylight, look for compositions that can utilize a foreground object or find a strong landscape that will match the beauty of the sky above. To keep your star photos from being cliché, don't just make silhouettes of your foregrounds. Some of the most exciting expressive images are combinations of starry skies and moonlit landscapes.
When you include the Milky Way, especially the core of it, as points of light, the sky becomes an important element in the composition. When doing star trails, all those lines become a pattern that makes the sky a very strong component. Because of this, you need to think carefully about how to arrange your sky with your foreground, and about how much of the sky versus foreground you want to include. For example, you may want to off-center a circular pattern of star trails rather than centering it above the subject. General concepts of composition still apply for night photography, but remember to try different compositions. [Best Space Photography books]

Preparing the Camera for Night Photography
The checklist items below are the same for most night photography techniques.
Before you get out in the dark, set up your camera as follows:
- Use a fast lens, such as f/2.8, or f/1.4, with a lens hood (helps keep dew off the lens).
- Generally, use a focal length from 14—28mm.
- Set your camera for RAW.
- Turn off long-exposure noise reduction (use software later for this).
- Turn off high-ISO noise reduction (this only affects JPEGs).
- Turn off any vibration-reduction features on your lenses and/or your camera.
- Switch to "Manual Focus" on the lens.
- Attach a programmable remote release to the camera (or a locking one). Use a smartphone to time your exposures if you don't have a programmable release.
- Use a sturdy tripod.
- Have a rocket blower with you (helps keep dew off lens).
- Have extra batteries close at hand to switch out quickly if needed.
Calculating Exposures for Star Photographs
Let's assume you are working around the new moon, so moonlight is not affecting your exposures. Start by setting your ISO to 6400 with your aperture set to f/2.8 and the shutter set to 30 seconds. Focus on infinity just to have a relatively sharp picture, and make an exposure. Check your histogram. The majority of the tonal values should fall within the first and third panels in from the left side, depending on whether you have any light on the land or if your subject/foreground is simply a silhouette. If you need more exposure, increase your ISO until the exposure looks good, as changing the aperture would affect how many stars show, and changing the shutter would affect the star movement. When you achieve a good exposure for the stars, you are ready to extrapolate settings that will work for your singular star trails, and for the multiple, shorter exposures to be later composited.
This is an excerpt from Expressive Nature Photography by Brenda Tharp, published by Monacelli Studio, an imprint of The Monacelli Press, 2017. Reprinted here with permission of the publisher.
Email Sarah Lewin at slewin@space.com or follow her @SarahExplains. Follow us @Spacedotcom, Facebook and Google+. Original article on Space.com.
Join our Space Forums to keep talking space on the latest missions, night sky and more! And if you have a news tip, correction or comment, let us know at: community@space.com.


