Observing the Fascinating Full Moon Using Mobile Apps: Part 2 — Supermoon
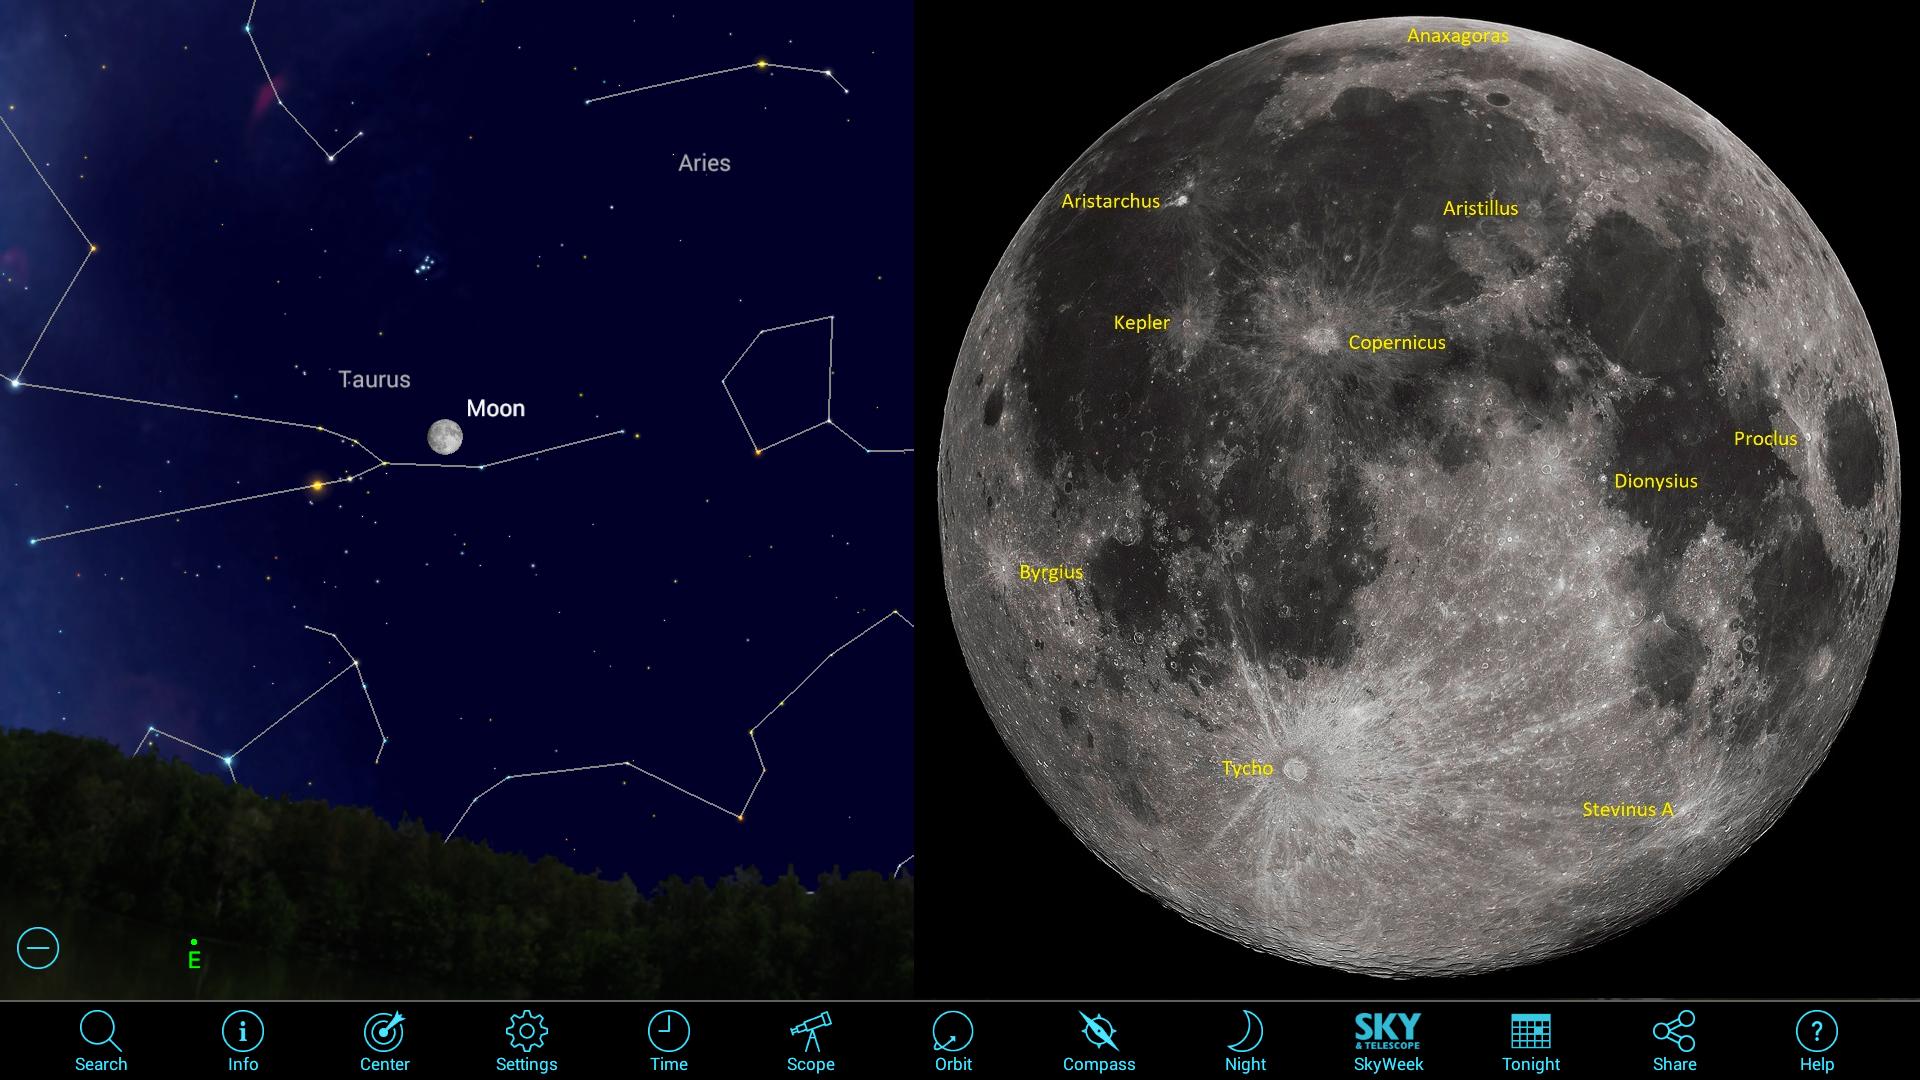
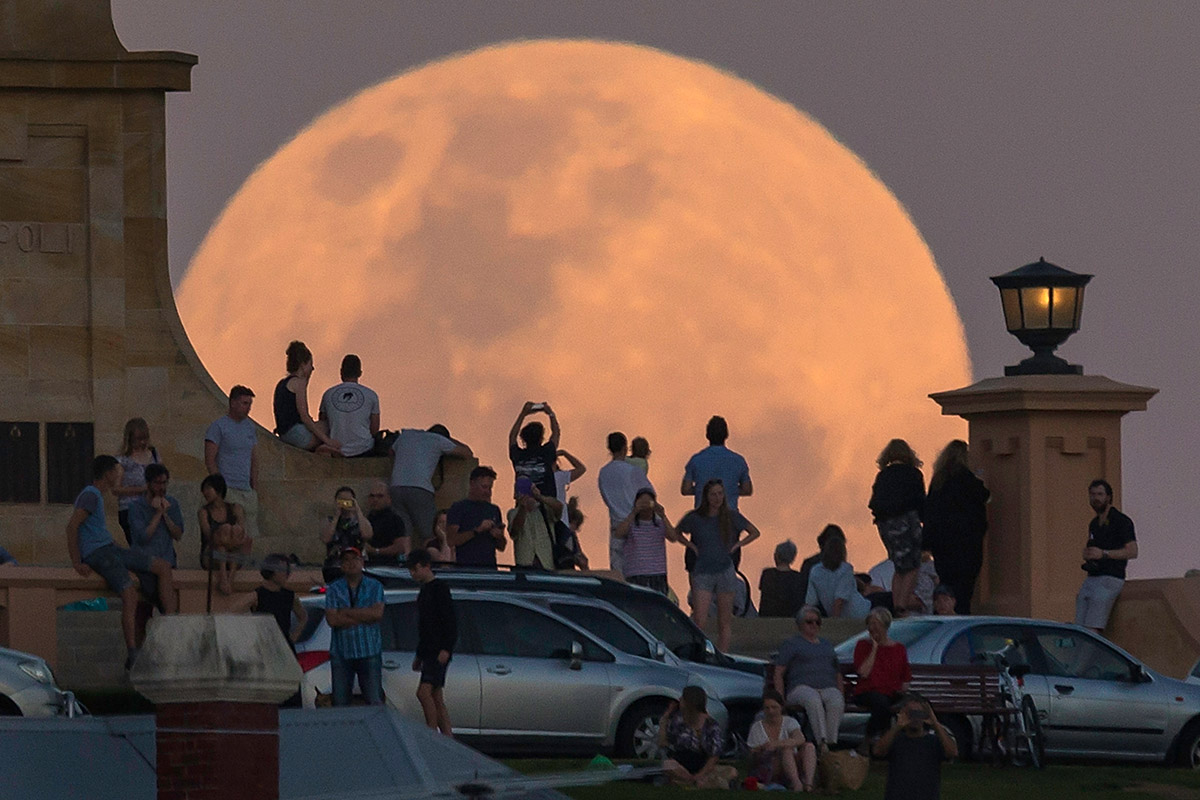
This weekend's full moon, traditionally known as the Oak Moon, Cold Moon, Long Nights Moon and the Moon before Yule, occurs less than one day before perigee, the point in the moon's orbit when it is closest to Earth — making this full moon the largest and brightest supermoon for 2017. With the moon 7 percent larger than average, there's no better time to take a closer look at the moon.
In Part 1 of Full Moon Mobile Astronomy, we discussed using unaided eyes and binoculars to see the large-scale surface geology of the moon. In Part II, we'll cover what to look at with your telescope, and offer some tips for making the most of observing the full moon. We'll highlight the best mobile apps for finding lunar features. And if you enjoy sharing your enthusiasm for astronomy with school groups or at public star parties, we'll suggest some fun full moon activities that will make it worth your while to set up your telescope during that part of the monthly lunar cycle. [Supermoon 2017 Guide: When to See December's Cold Moon]
Lunar brights and darks
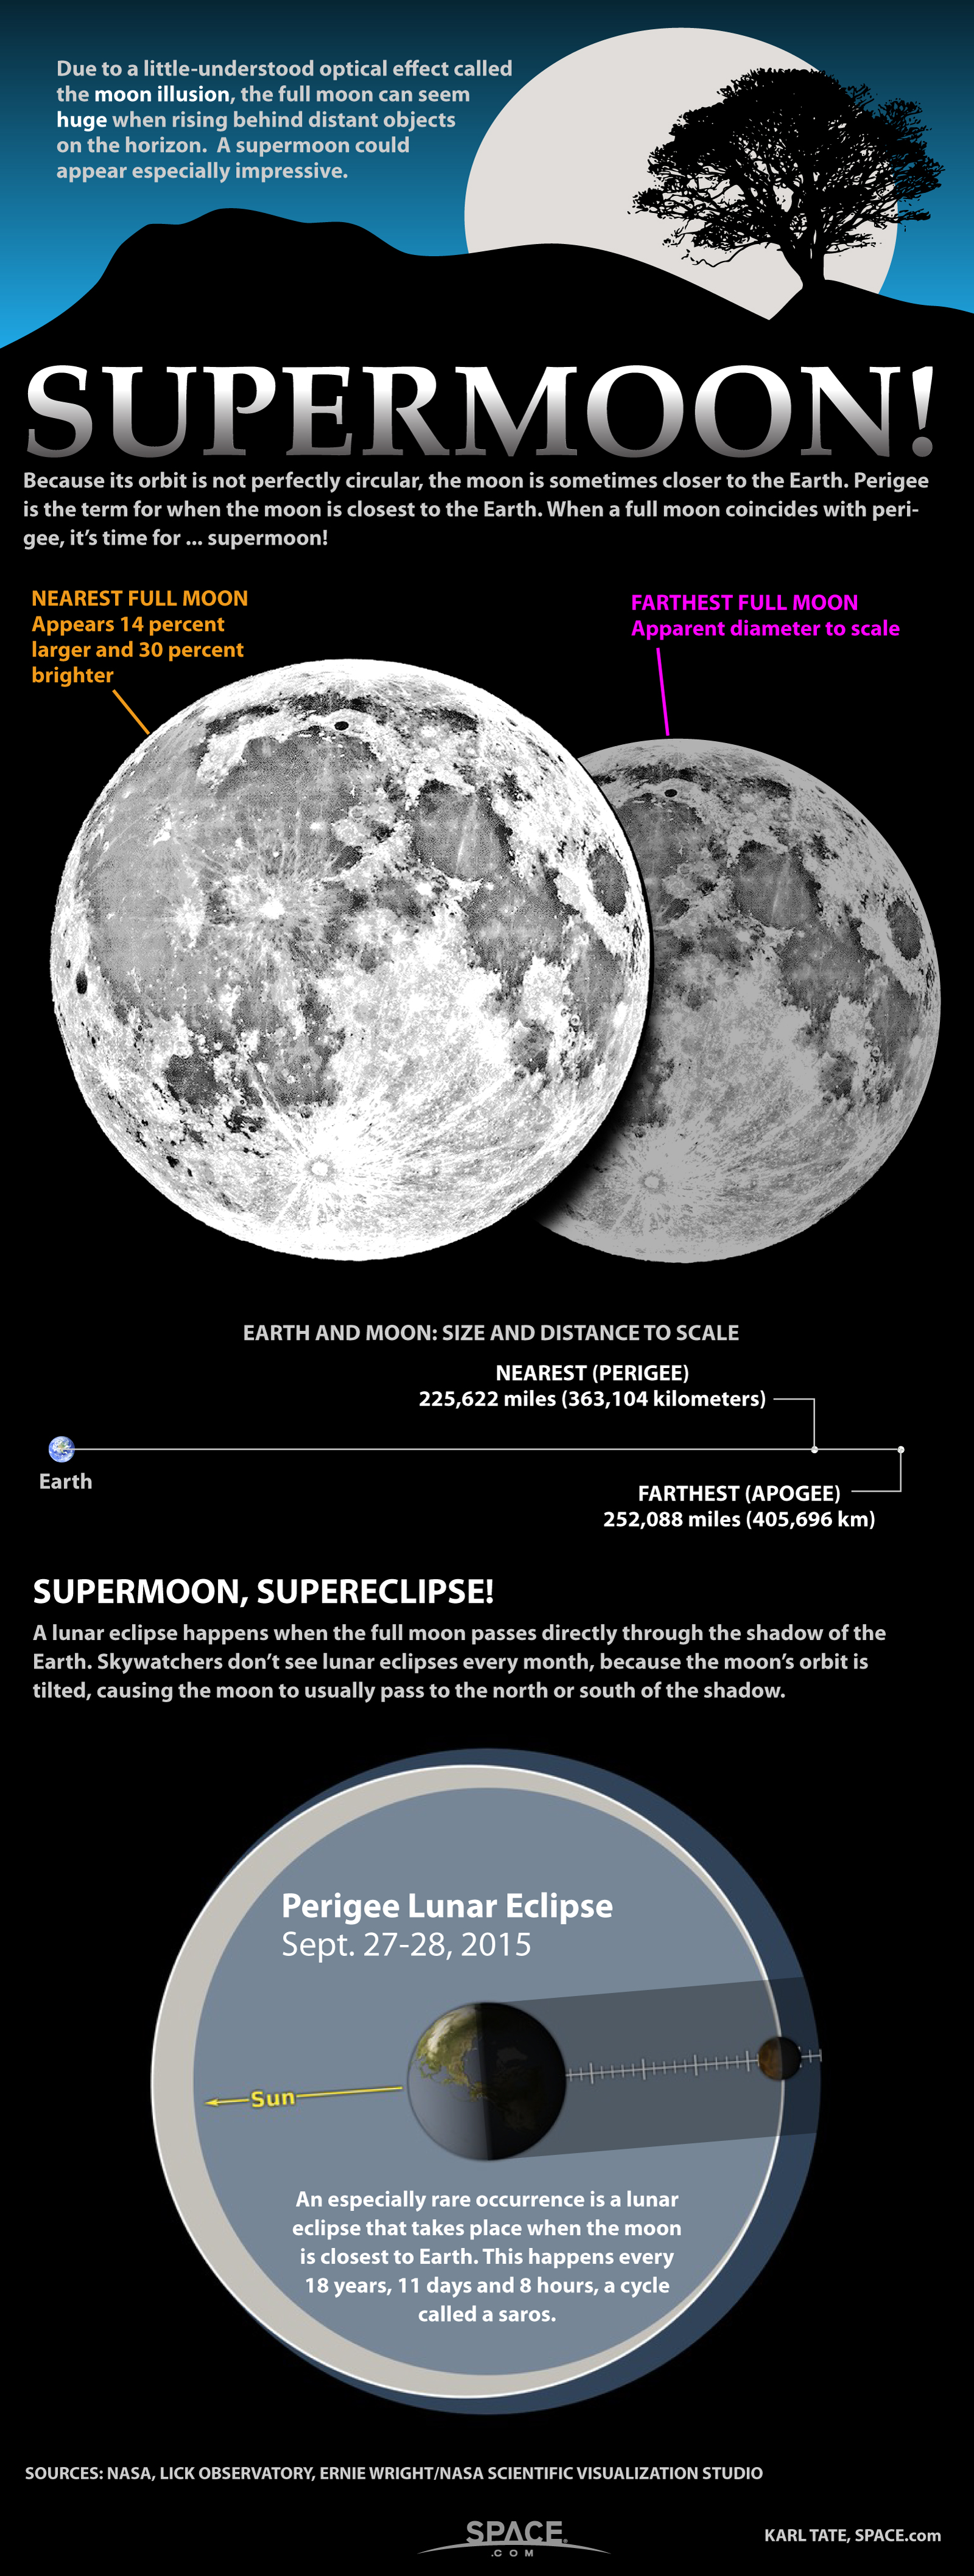
As we covered in Part 1, the sun's light shines vertically downward onto the lunar surface during full moons, so no shadows are being cast by the moon's topography. Instead, all the variations in brightness are caused by differences in albedo, the amount of sunlight being reflected off the various rock types and textures.
The moon's bright regions are heavily cratered highlands composed mainly of a fine-grained and low-density rock called anorthosite. The dark areas on the moon are composed of a dense, iron-rich, coarse-grained rock called basalt. Several billion years ago, some event, possibly a massive impact on the moon's far side, caused the dark basalts to flow upward and out, covering large areas of low-lying anorthosite and creating the flat "seas," or maria, that we see today. The maria basalts are about 0.62 to 2.5 miles (1 to 4 kilometers) thick.
Since the maria formed, objects have continued to bombard the moon's surface. Planetary scientists can read the history of the moon (and other solar system worlds) by noting how new craters, and the material they eject, overwrite existing craters and other landforms. Bright debris from impacts into the highlands gets spread over the dark maria as rays of ejecta, visual proof that they happened after the basalts were emplaced. Conversely, impacts into the basalts can spread dark rays onto the highlands. And some impacts have been energetic enough to punch through the basalt, exposing and spreading the buried anorthosite.
These albedo differences, including bright- and dark-floored craters, craters with bright or dark haloes, and ray systems, are most obvious during the full moon periods. Many features are best viewed through a telescope — any size will do. Below, we'll highlight some of particular interest.
When pointing out individual features on the moon, it's important to remember that observers in Earth's Southern Hemisphere see the moon flipped upside-down. So rather than express locations using top and bottom, and left and right, it's better to use the universal system of north, south, east and west. But there's a twist that's unique to the moon. We'll look at that next.
Get the Space.com Newsletter
Breaking space news, the latest updates on rocket launches, skywatching events and more!
Asking for directions on the moon
Just as Earth has a defined coordinate system to map locations on its surface, so do all of the major bodies in our solar system, including the moon. We use the axis of rotation to define the poles and then define an equator by drawing an imaginary line, at right angles to that axis, around the middle of the object. For someone looking from Earth's northern hemisphere, north on the moon is up, and the number of degrees north or south of the moon's equator denotes a feature's selenographic latitude.
For longitudes, we select a point somewhere on the equator and draw a line from pole to pole that runs through it. This defines the zero degree, or central, meridian. On Earth, the Central Meridian was arbitrarily chosen to pass through Greenwich, U.K. All longitudes on Earth are measured in degrees east and west of that meridian. For the moon's selenographic coordinates, the central meridian runs through the point on the moon's equator that, on average, points toward the center of Earth. (We have to use an average because the moon wobbles.)
As on Earth, selenographic longitude is measured in degrees from the central meridian. By definition, east on a planet or moon is the direction toward sunrise — but this creates a bit of confusion for Earth-bound moon watchers. For an observer on Earth, sunrise on the moon, which occurs while the moon is waxing in the days after a new moon, happens on the observer's western side. For someone standing in the Northern Hemisphere on Earth, east on the moon will be to the viewer's right, while east on Earth will be to the viewer's left. A crater located in the southwest region of the moon's disk will therefore be to the viewer's lower left. To state it simply, east and west are swapped when looking at the moon from Earth.
Seeing more using magnification and mobile apps
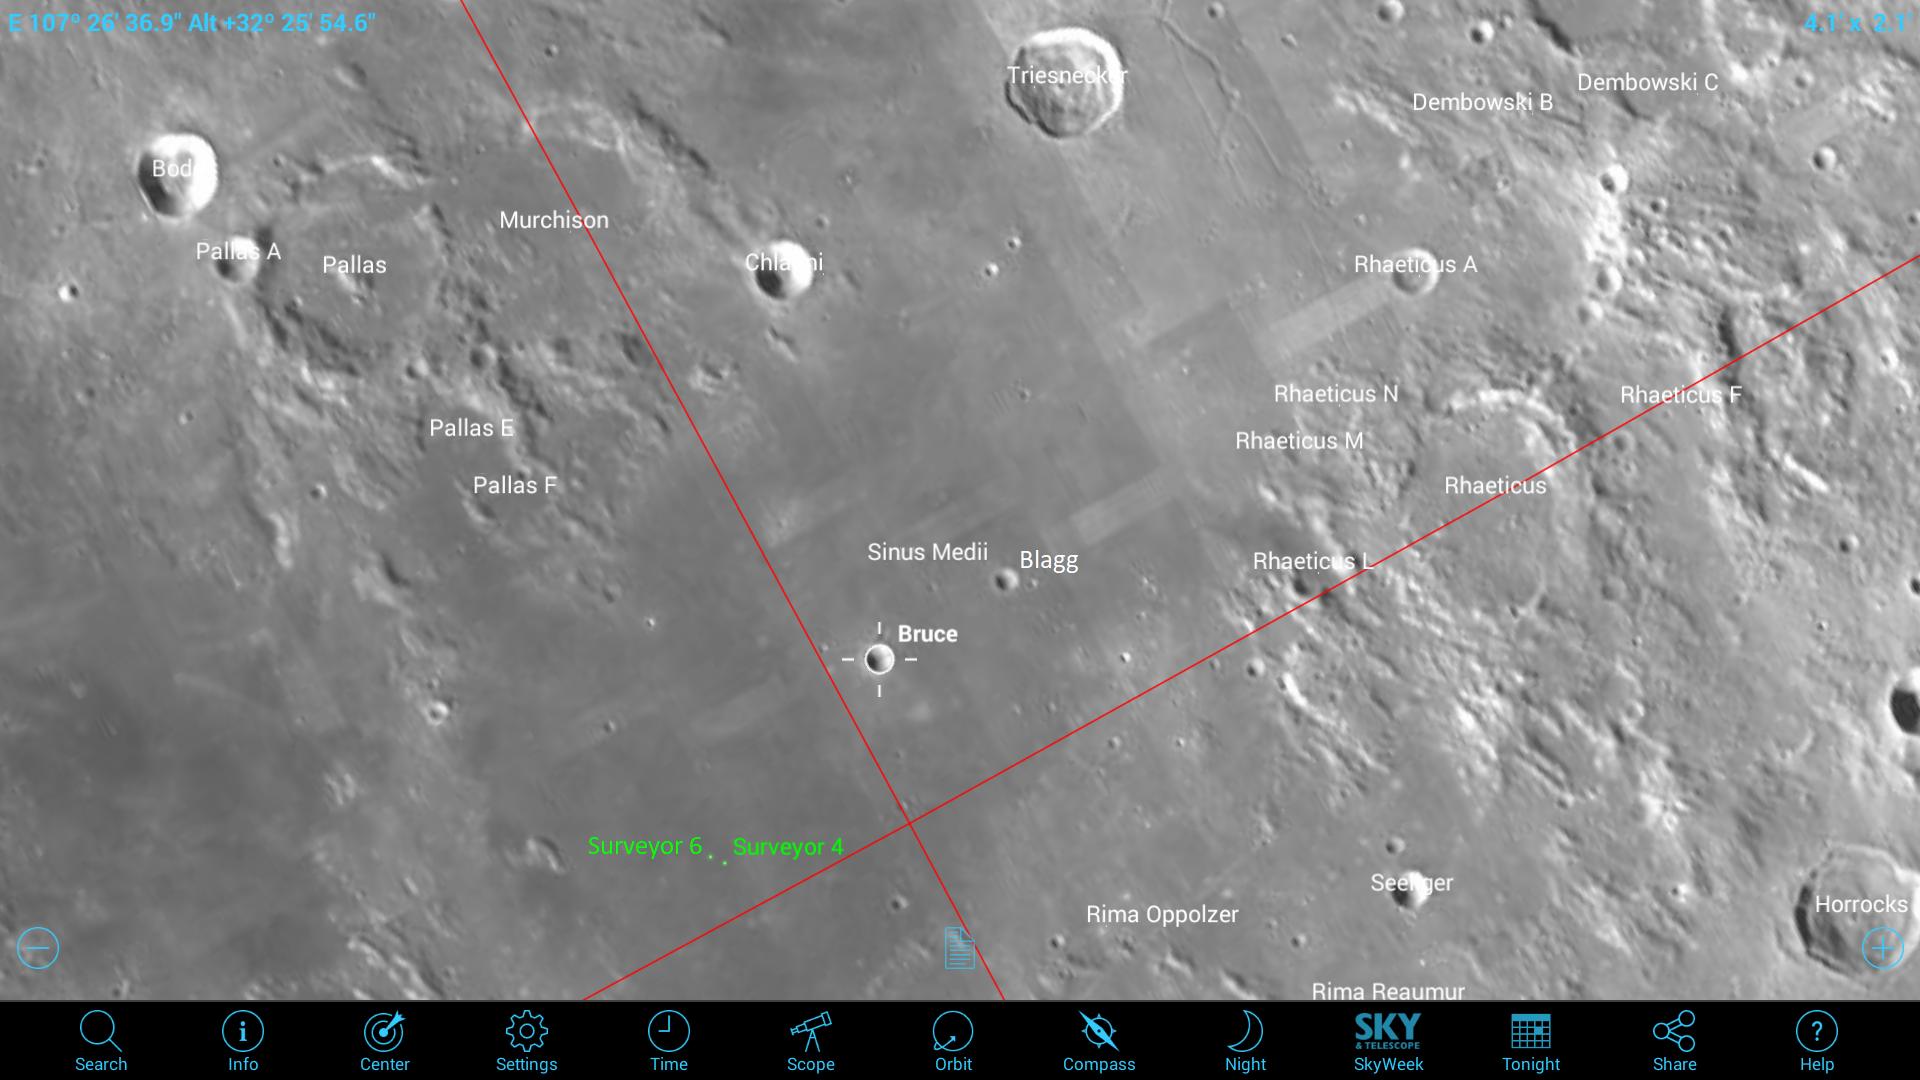
The best apps for helping you find specific features on the moon are SkySafari 5 Plus (or Pro) for Android and iOS and LunarMap HD for Android. Both apps display labels and provide additional information, such as size and the origin of the name. The free LunarMap Lite app omits smaller features, but will work just as well for our purposes. Apple users can also check out Moon Globe HD app and its free Moon Globe Lite version.
By default, the feature labels are disabled in SkySafari 5. Look in the app's Solar System Settings menu for the option to switch them on. The LunarMap HD app allows you to adjust how many labels are being displayed — using the object size, or the object type, as the cutoff. Both apps allow you to search for features by name.
While binoculars do not, most telescopes mirror-image and/or flip what you see. In SkySafari 5, tapping the upper right corner of the display opens a pop-up box with Flip settings — None, Horizontal (i.e., left-right), Vertical (i.e., up-down) and Both. It's a good idea to find out what your telescope does and select the option that matches it. (Remember to revert to no flipping when you are finished.) The same options for the LunarMap HD app are in the Observing Equipment setting.
The moon is a breathtaking sight under magnification, especially using a backyard telescope. A low power eyepiece that fills the field of view with the entire moon is a perfect way to start your full moon observing. This will nicely show the differences in albedo. Note that some maria are darker than others. For example, Oceanus Procellarum (Ocean of Storms) and Mare Imbrium (Sea of Showers), both situated toward the western (left-hand) region of the moon, are lighter gray than the maria on the moon's eastern (right-hand) side. Other maria have uneven shades of gray. Mare Serenitatis (Sea of Serenity) is darker along its southern edge because the basalts are of a different age and composition.
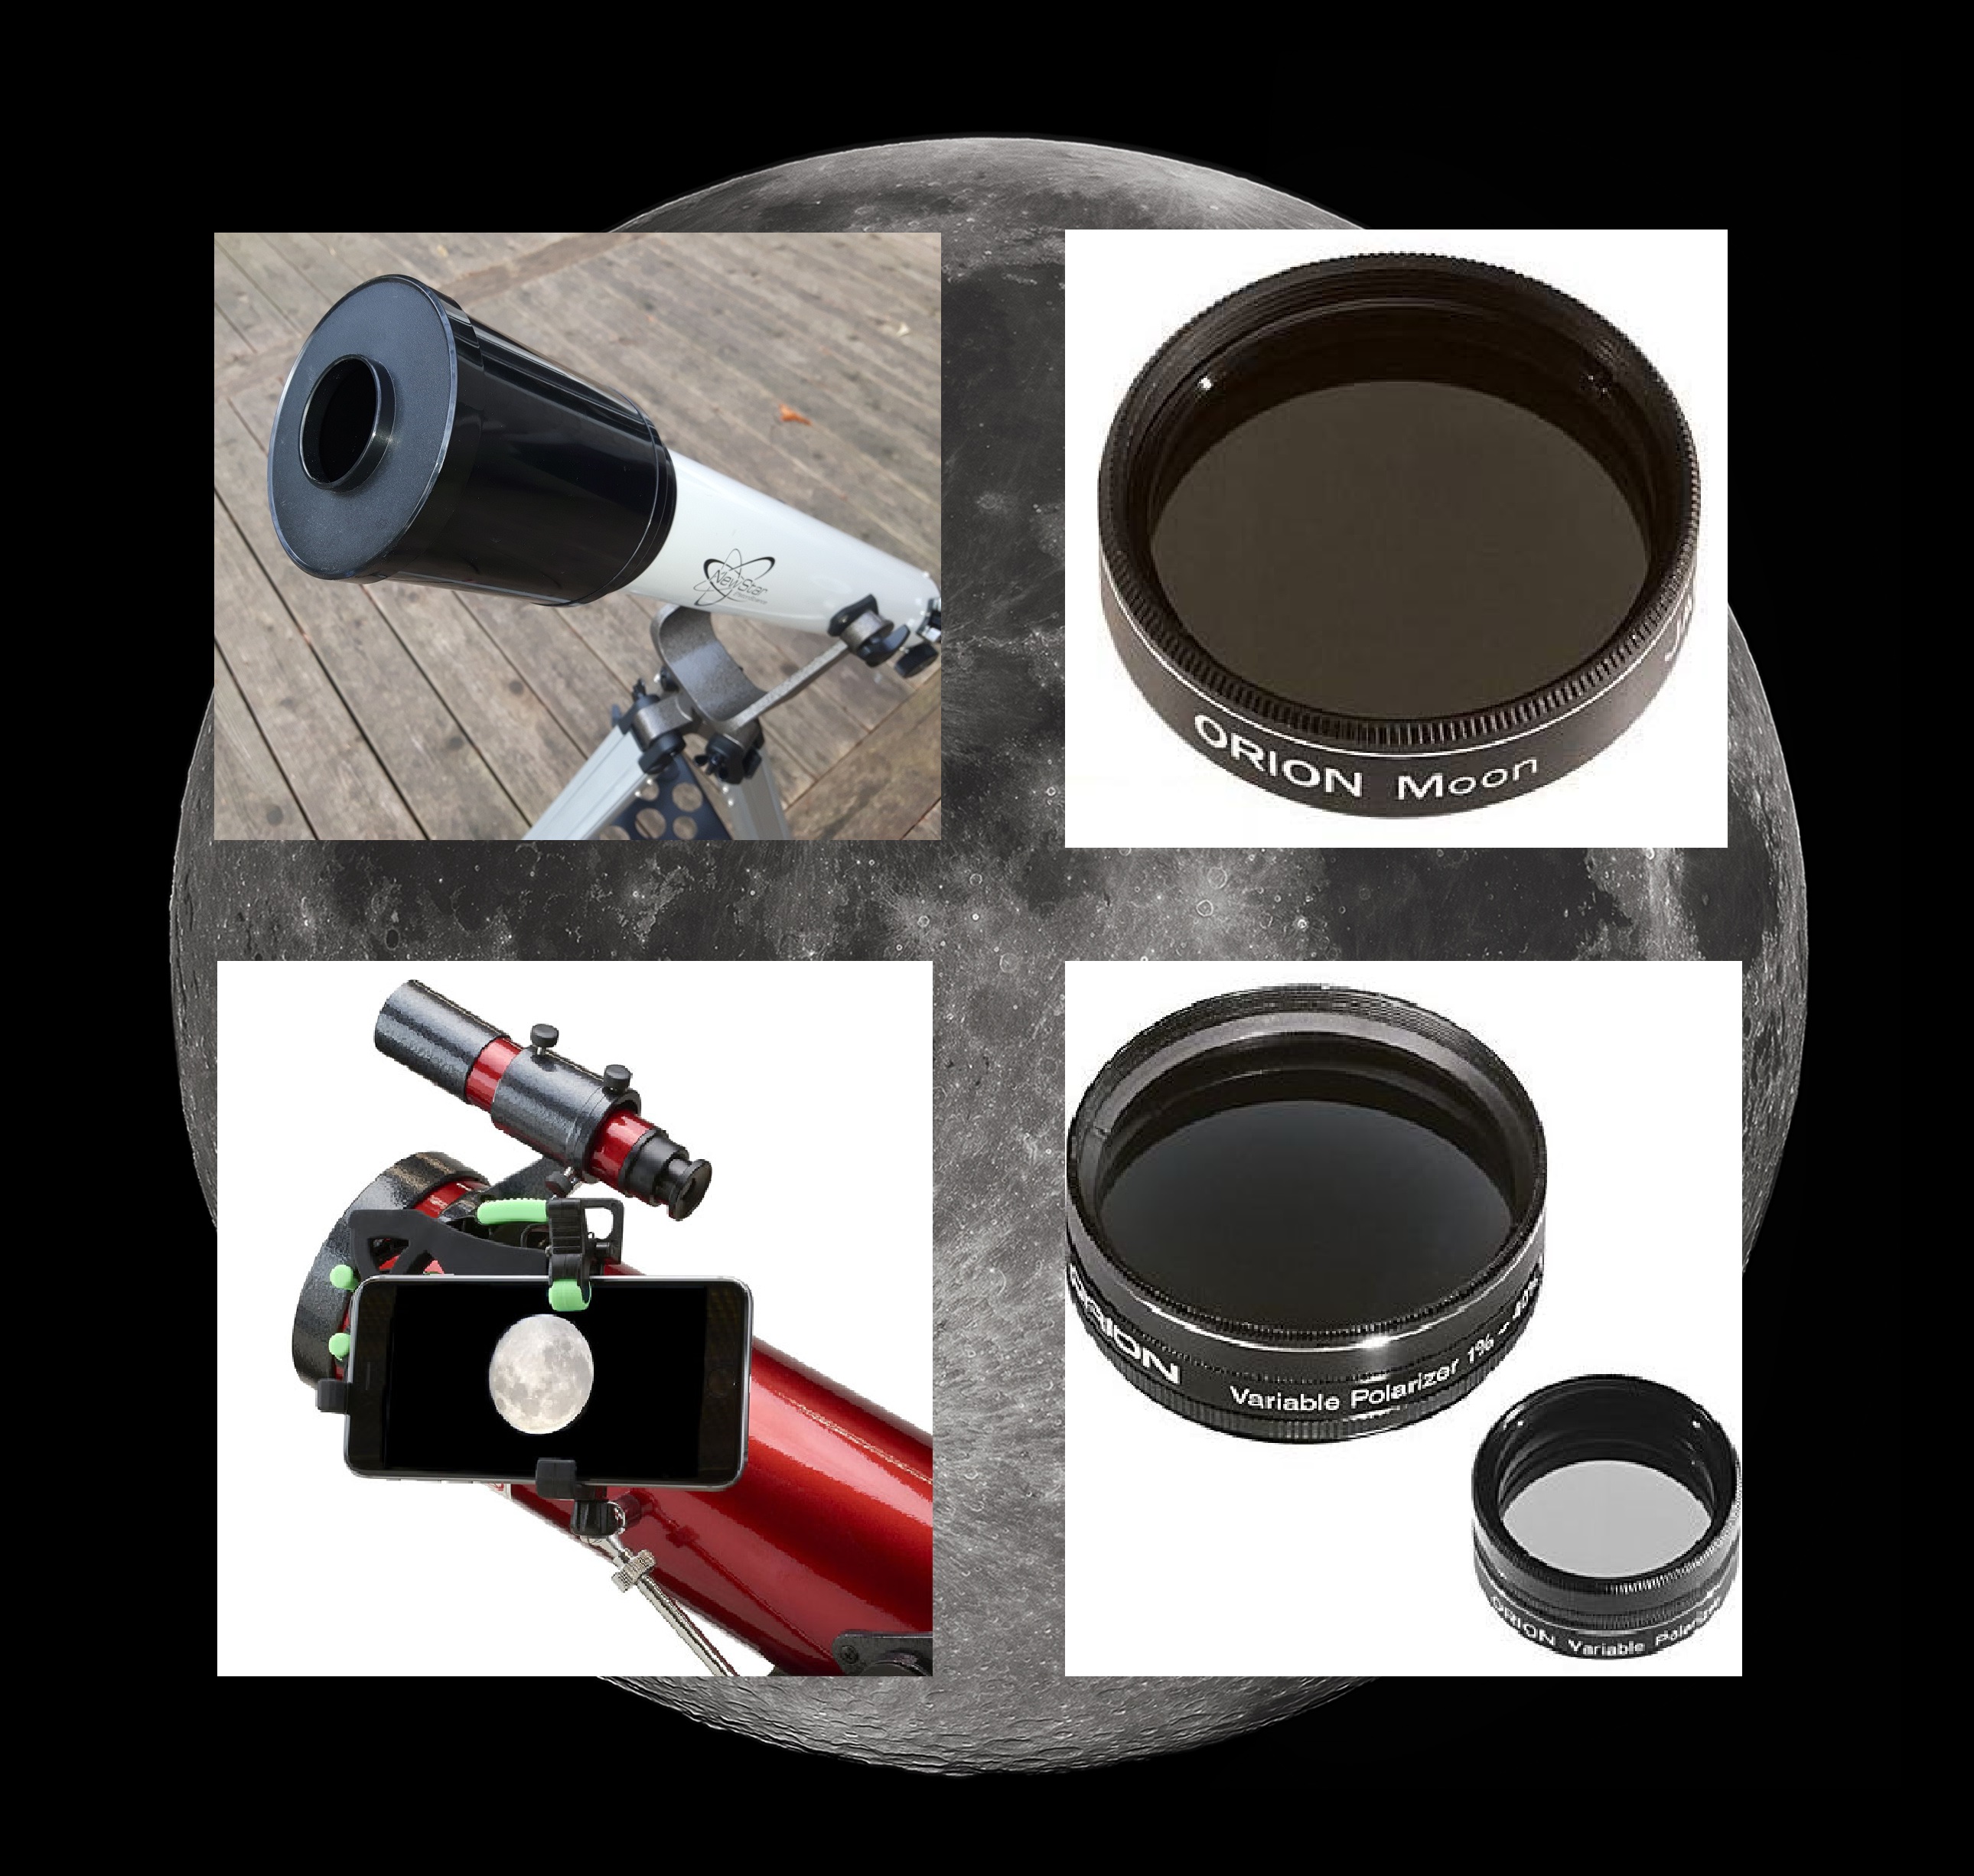
In a telescope, the full moon will be almost painfully bright, especially in larger aperture telescopes. To mitigate this, see if your telescope's lens cap has a secondary, smaller opening and view the moon through that (effectively reducing your telescope's aperture). Alternatively, you can purchase a neutral density filter that attaches to your star diagonal or eyepiece, cutting some of the light reaching your eye. For a bit more money, a variable polarizing filter lets you continuously adjust the amount of light it passes. That type of filter is also useful for lowering the glare from bright planets, thereby enhancing their surface features. [Best Telescopes for the Money - 2017 Reviews and Guide]
Lunar ray systems
Now, let's zoom in on a few specific treats that are visible during full moons. There's no need to use too high a power of magnification — about 100x to 150x is plenty. This will reveal features as small as about 2 miles (a few kilometers) across. We covered Copernicus and its extensive ray system in Part 1. Focusing your telescope on Copernicus will reveal circular patterns around the inside of the crater's rim. These are terraces where slumping has occurred. Scanning away from the crater, you can follow some of the larger ejecta rays.
There are actually many visible ray systems on the full moon. With little to no topographic relief, they are not enhanced by slanting sunlight during the partial phases of the moon the way elevated features are. The enormous system around the crater Tycho extends for at least 950 miles (1,500 km). The impact occurred only about 108 million years ago — just yesterday in geological time. During full moons, Tycho's crater floor is extremely bright, too.
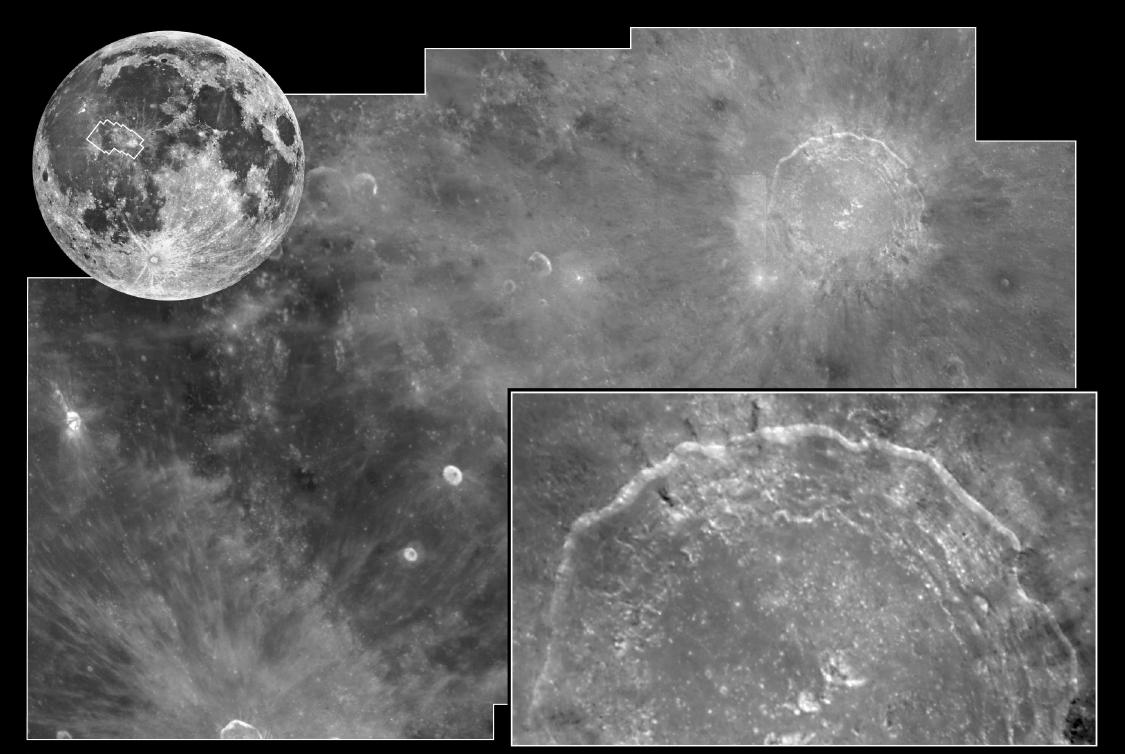
Here are a few more ray systems to look for in the telescope; each is named for the crater that produced it. Use the search feature in your app to show you where they are on the moon's disk. I've noted some additional elements to look for. You can also just scan around the moon looking for rays and then use the app to determine their name.
The crater Proclus features an asymmetric ray system produced when the crater's impactor arrived at a shallow angle, blasting material only toward the northeast, including nearby Mare Crisium (Sea of Crises). The crater Dionysus has both dark rays and a bright halo produced by a combination of deep and shallow excavation. It's the only example of this phenomenon on the near side of the moon. Kepler, located just west of Copernicus, is a small and recent crater with a large ray system. The adjacent craters Autolycus and Aristillus exhibit bright rays at the full moon and darker ejecta blankets at the quarter- moon phases.
Bright and dark spots, and color changes
During the full moon, discolorations indicative of localized geological differences are also enhanced. The tiny crater Censorinus, located on the edge of Mare Tranquillitatus (Sea of Tranquility), and not far from the Apollo 11 landing site, is one of the brightest spots on the entire full moon. Inside the large crater of Deslandres is a small chain of craters, including one with a very bright floor and an asymmetric ray system extending eastward. It's so tiny and bright that it might remind you of a star. To help you locate it, it's just to the east of a larger crater named Hell. The Italian astronomer Cassini claims to have seen a bright white cloud in the area, so it's nicknamed Cassini's Bright Spot.
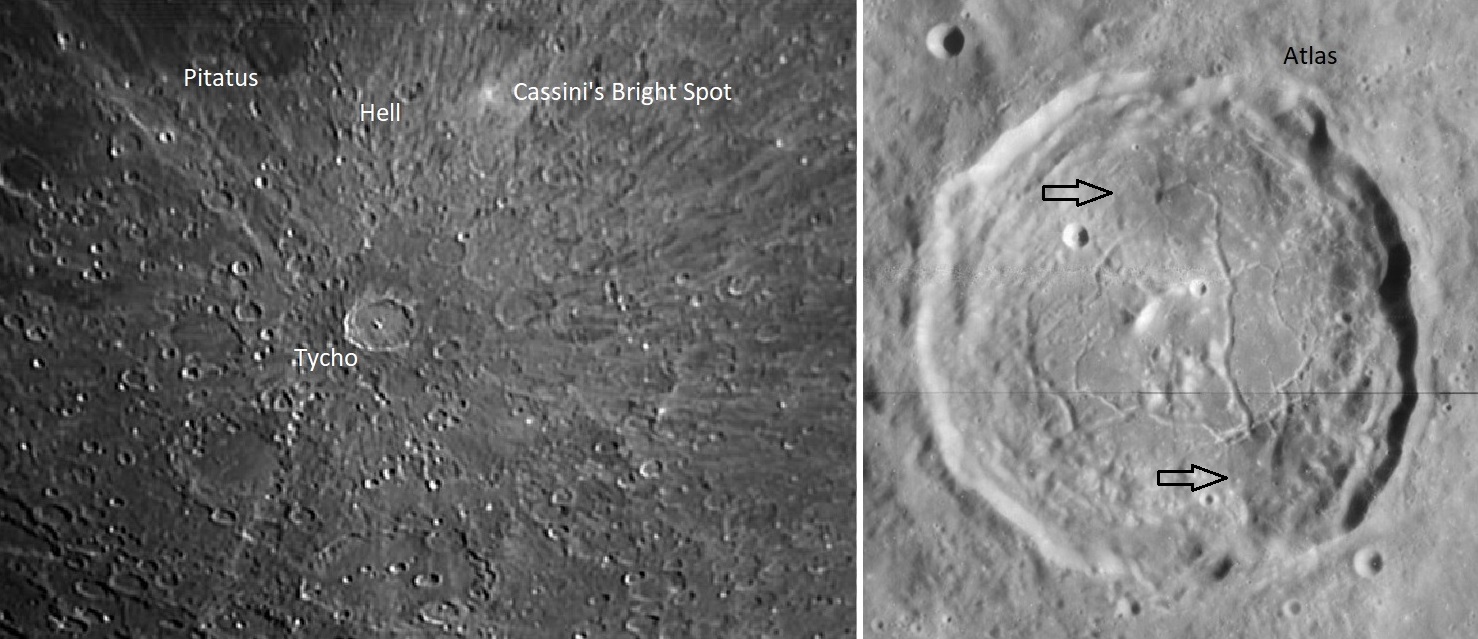
Embedded within Copernicus' ray system are two small craters that have dark halos produced when small bodies later struck the moon and excavated the maria basalt. Copernicus H lies to the southeast and Gay-Lussac N is to the north. (Uppercase letter suffixes are used to identify secondary craters that surround a primary one.)
The crater Atlas exhibits two dark spots that are probably pyroclastic ash deposited by volcanism after the crater was formed. And while you are in the area, look inside the adjacent crater, Hercules, for the small bright crater, Hercules G.
As a final treat, aim your telescope toward the region around the crater Aristarchus, inside Oceanus Procellarum. The crater has a very bright floor and an asymmetric ray system, but it sits within one of the most colorful regions of the moon. During full moons, you might notice tints of brown or orange north of the crater. Orbiting probes have detected sulphur compounds and radioactive radon-222 emissions in the area. [Giant Moon Crater Revealed in Up-Close Photos]
Going beyond
Taking smartphone pictures of the moon through a telescope is extremely easy, and guests will have a souvenir of the evening. With the moon centered and focused in the eyepiece of the telescope, gently rest the device's camera against the rubber eye guard. (Doing this helps reduce the effects of shaky hands, and prevents any stray light from reaching the camera.) With the camera app running, use small movements back and forth to find the moon. When it is centered on the screen, tap the display to focus the image and click the shutter button. If you can't seem to hold it steady enough while triggering the shutter, try enabling the shutter delay to give you a few seconds to settle your movements. Most camera apps allow you to adjust the exposure, usually with a slider. This will help to retain detail.
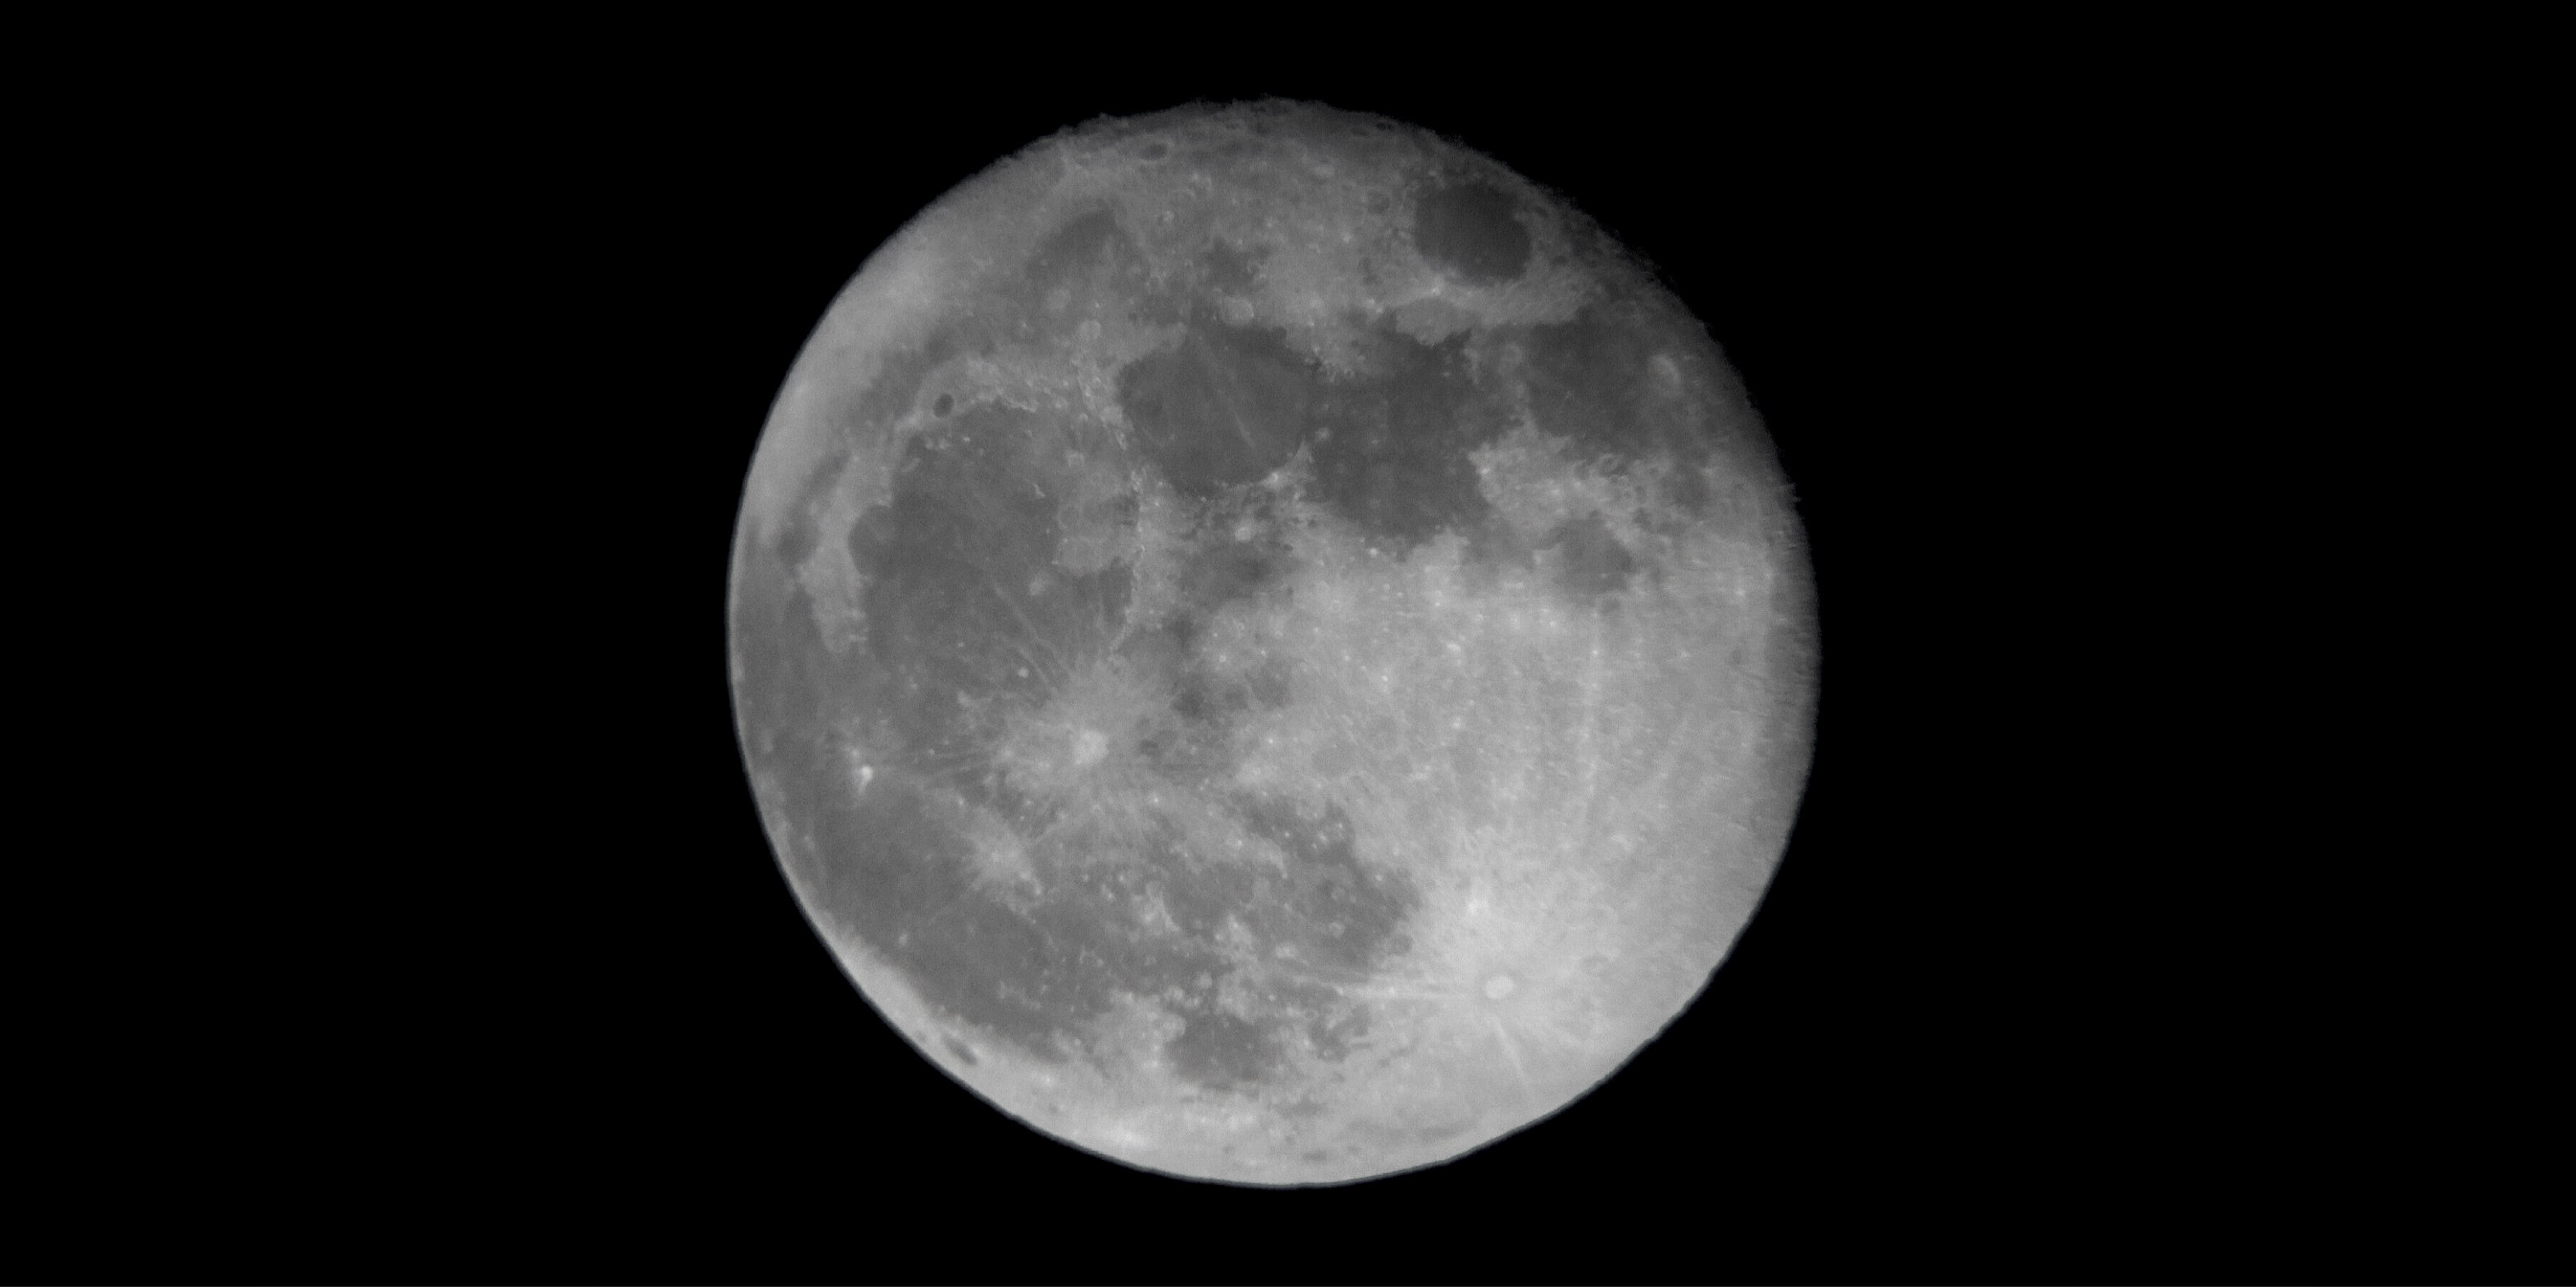
Using higher-power eyepieces will let you take close-up pictures of the individual features we've mentioned above. Some telescope owners have invested in smartphone brackets that can hold the smartphone in place. The brackets are also a great way for a group of observers to see what the telescope is focused on.
We've just scratched the lunar surface. There's plenty more to see on the moon. It's not necessary to wait for the night of the full moon to observe the unique features we've covered. For a day or two on either side of full, the sun's light will be shining nearly straight down on the areas that are well away from the terminator (the line that divides the lit and unlit sides of the moon). In a future edition of Mobile Astronomy, I'll highlight more of them. In the meantime, keep looking up!
Editor's note: Chris Vaughan is an astronomy public outreach and education specialist at AstroGeo, a member of the Royal Astronomical Society of Canada, and an operator of the historic 74" (1.88-meter) David Dunlap Observatory telescope. You can reach him via email, and follow him on Twitter @astrogeoguy, as well as on Facebook and Tumblr.
This article was provided by Simulation Curriculum, the leader in space science curriculum solutions and the makers of the SkySafari app for Android and iOS. Follow SkySafari on Twitter @SkySafariAstro. Follow us @Spacedotcom, Facebook and Google+. Original article on Space.com.
Join our Space Forums to keep talking space on the latest missions, night sky and more! And if you have a news tip, correction or comment, let us know at: community@space.com.
Chris Vaughan, aka @astrogeoguy, is an award-winning astronomer and Earth scientist with Astrogeo.ca, based near Toronto, Canada. He is a member of the Royal Astronomical Society of Canada and hosts their Insider's Guide to the Galaxy webcasts on YouTube. An avid visual astronomer, Chris operates the historic 74˝ telescope at the David Dunlap Observatory. He frequently organizes local star parties and solar astronomy sessions, and regularly delivers presentations about astronomy and Earth and planetary science, to students and the public in his Digital Starlab portable planetarium. His weekly Astronomy Skylights blog at www.AstroGeo.ca is enjoyed by readers worldwide. He is a regular contributor to SkyNews magazine, writes the monthly Night Sky Calendar for Space.com in cooperation with Simulation Curriculum, the creators of Starry Night and SkySafari, and content for several popular astronomy apps. His book "110 Things to See with a Telescope", was released in 2021.

