A guide to blue hour photography
Our guide to blue hour photography has top tips on equipment, settings, and planning – all you need to get inspired for the most magical time to shoot.

If you’ve read our beginner’s guide to astrophotography, chances are you’re already equipped with the basic knowledge needed for taking pictures once the sun has gone down, and using the best cameras for astrophotography on manual mode. But why limit yourself to just those nights when the conditions are right for celestial shooting? There are plenty of other uses for your new-found skills and many unique situations to be captured. One in particular has a certain unique magic: the blue hour.
What is the blue hour?
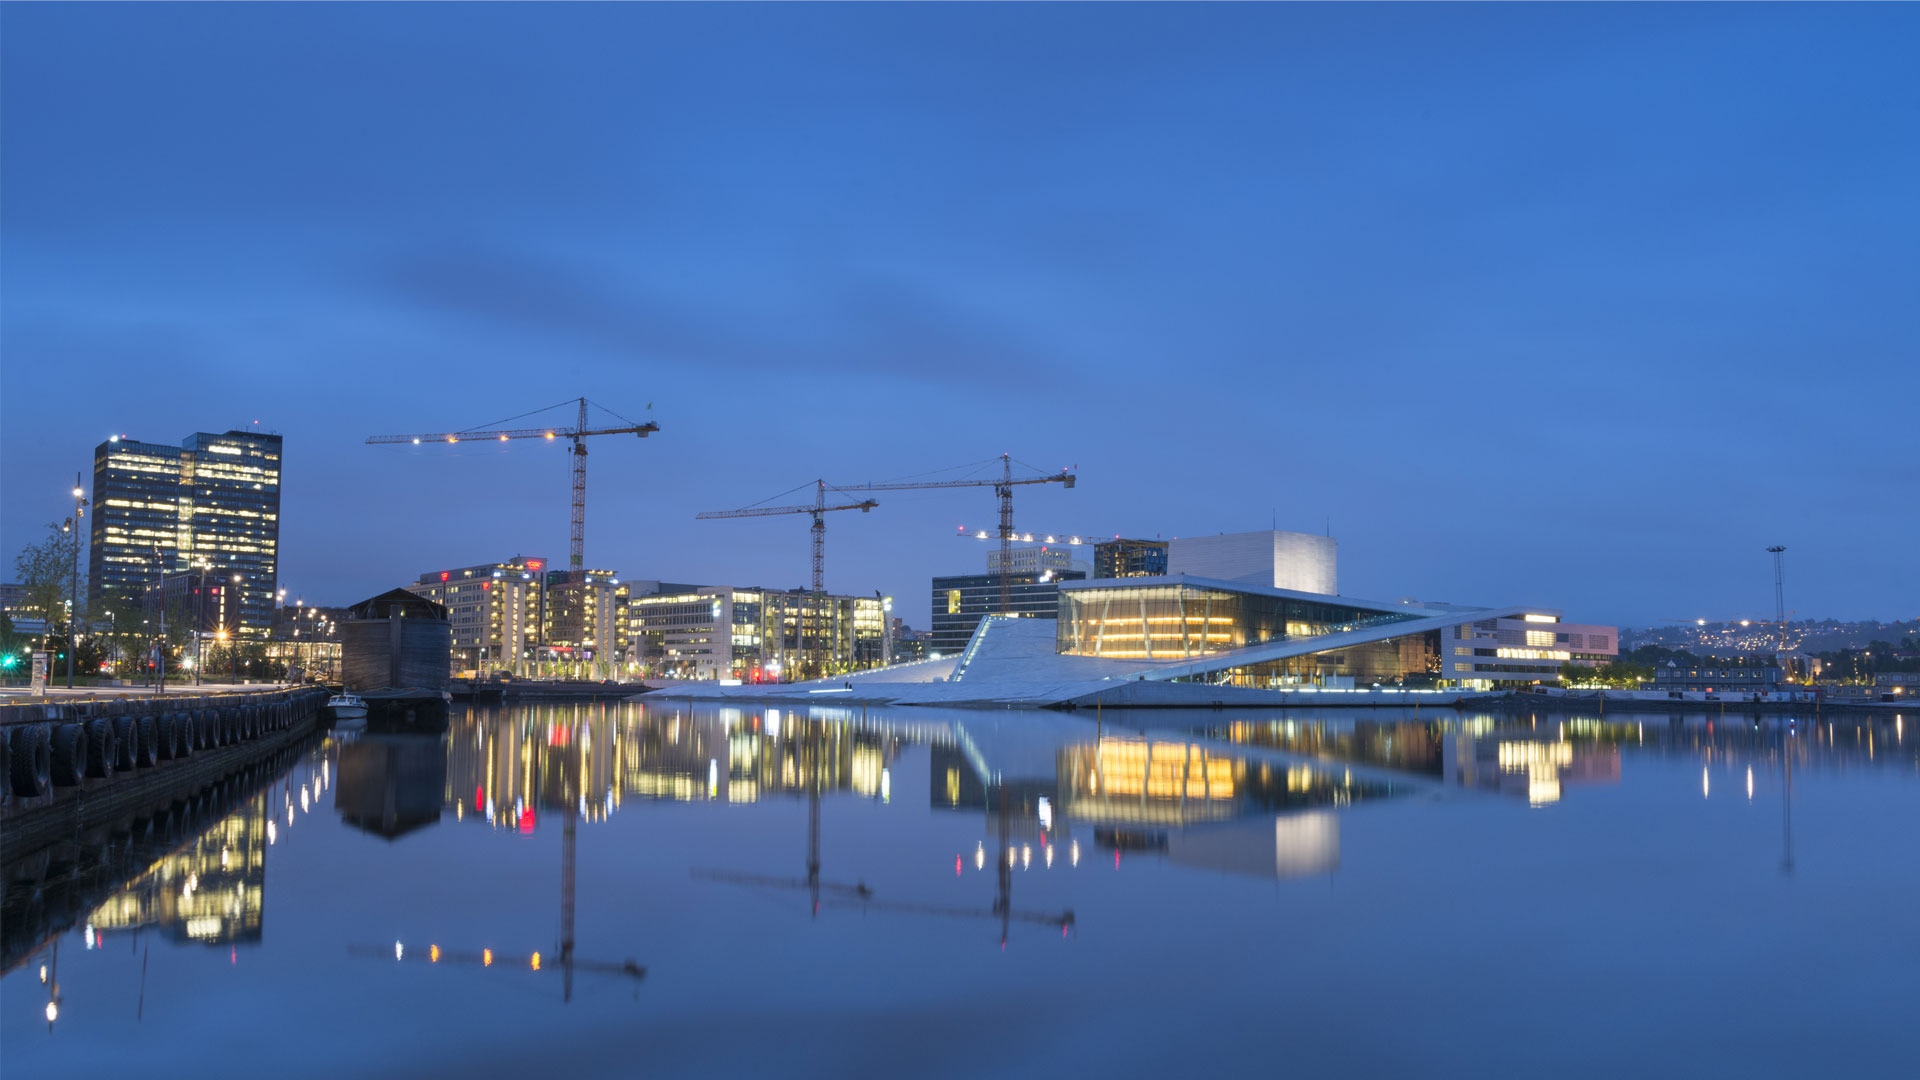
The so-called ‘blue hour’ is the period of time just after the sunset, around dusk when the sky takes on inky, indigo hues and before it becomes impenetrably black. It's a unique time of day, and not something that can be recreated even using the the best photo editing apps.The ‘hour’ is a bit of a misnomer because it depends what latitude on the earth you’re at as to how long it lasts. Nearer the equator there’s very little blue between sunset and darkness whereas towards the poles and during their respective summer times, the ‘hour’ can be seemingly endless. There’s also another blue hour just before dawn. It’s the perfect light to capture the movement and energy of cityscapes when buildings are illuminated, as well as seascapes and landforms in moonlight.
What camera to use for blue hour
Most DSLR or mirrorless cameras are suitable for taking decent night time images. While those with higher ISO capabilities will give you more flexibility and range in very dark situations, during the blue hour it’s possible to combine a lower ISO with a long exposure to capture the night to great effect.
What lenses to use for blue hour
For cityscapes and landscapes, a wide or super wide angle lens will allow you to get more of the scene in your shot. By balancing the ISO with the exposure time, you don’t necessarily need to worry about large aperture capabilities. To ensure sharpness throughout the shot, a prime lens between 16mm and 50mm is ideal but zoom lenses that also cover these ranges will also work well.
What accessories do you need?
Tripod
A large part of taking shots at night involves long exposures so you’re going to need a tripod to keep the camera still. A heavier tripod will be more sturdy in the face of windy conditions but something lightweight and less cumbersome will be easier to carry if you’re intending to be out all day prior to the blue hour shoot.
Camera bean bag
Tripods, however, can be bulky and heavy to cart around, especially if you’re out all day exploring a new place before making the most of the blueberry hues at the end of the day. An alternative to a tripod is to have a camera bean bag in your kit. Although they don’t give you anything like the kind of control over composition you have with a tripod, it’s a much lighter option and it will allow you to use flat surfaces around a city or a rocky outcrop in a barren landscape to great effect.
Remote shutter release
For longer exposures, any amount of wobble can affect the resulting image so you can help to control this by using a remote shutter release thereby eliminating the need to touch the camera body while the exposure is taking place.
What to shoot at blue hour
While they're generally not great for astrophotography purposes, cities are great places to shoot during blue hour as there’s activity, color and an array of types of lights to contend with. Capturing light trails from moving vehicles is a popular way to start photographing at night and allows you to depict the city in a way the naked eye can’t see.
Within cityscapes, office and apartment blocks often glow with activity while historical buildings like castles and churches are often lit up for a few hours at night. In wilder landscapes, you can try light painting with a torch on rocks and landscape features or you could coincide your shoot with a full moon and use it to illuminate them. (Once the light has gone completely, you can then have a go at photographing the moon with your camera.)
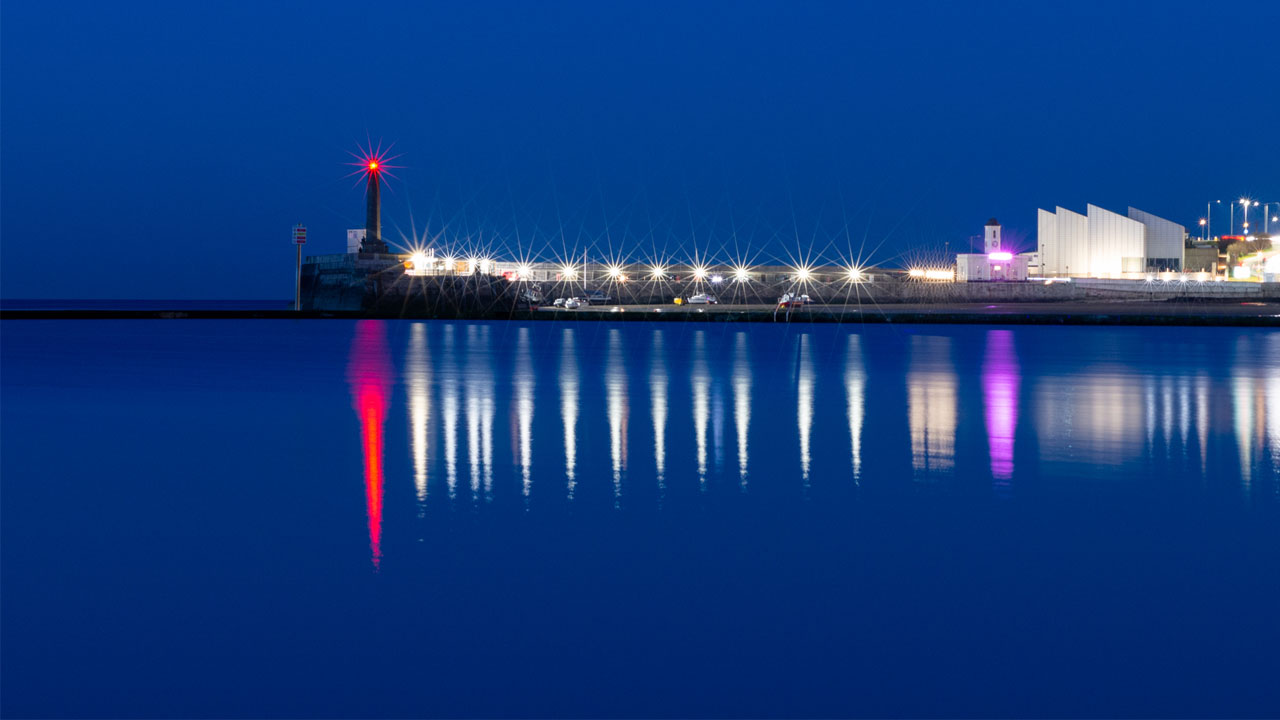
Art installations using light are becoming more popular and many cities now have winter light festivals during the darker months, plus firework displays are another great opportunity to flex your skills. Lights reflected on water – in puddles, lakes, rivers or in the sea – also present a great opportunity to create abstract compositions.
Planning
At dusk, the sky is not evenly dark; it’s much darker in the opposite direction to the sunset and will stay lighter where the sun has gone down. The Photo Ephemeris app shows you the direction of the sunset as well as the moon while Time and Date is a good place to keep informed on the phases of the moon. Cloud cover impacts the color of the sky during blue hour – urban lights bounce off the clouds and turns the sky a murky brown hue – so it’s also worth checking out the local forecast
What camera settings to use for blue hour
The secret to great night time photography is the alchemy between ISO, aperture and shutter speed and knowing how and when to push and pull them to create a crisp, sharp shot.
Camera Mode
Manual. You’ll need as much control over the ISO, shutter and aperture as possible
RAW
Shooting in RAW will allow you to capture as much detail as possible and will give you more latitude to lift the shadows and pull down the highlights in post processing.
Shutter speed
For moving light trails, the shutter will need to be open for as long as it takes the light to move across your shot. If you’re shooting buildings lit up at night a longer shutter speed will mean you can use a smaller aperture and a lower ISO so your shot will be a lot sharper and less grainy.
Aperture
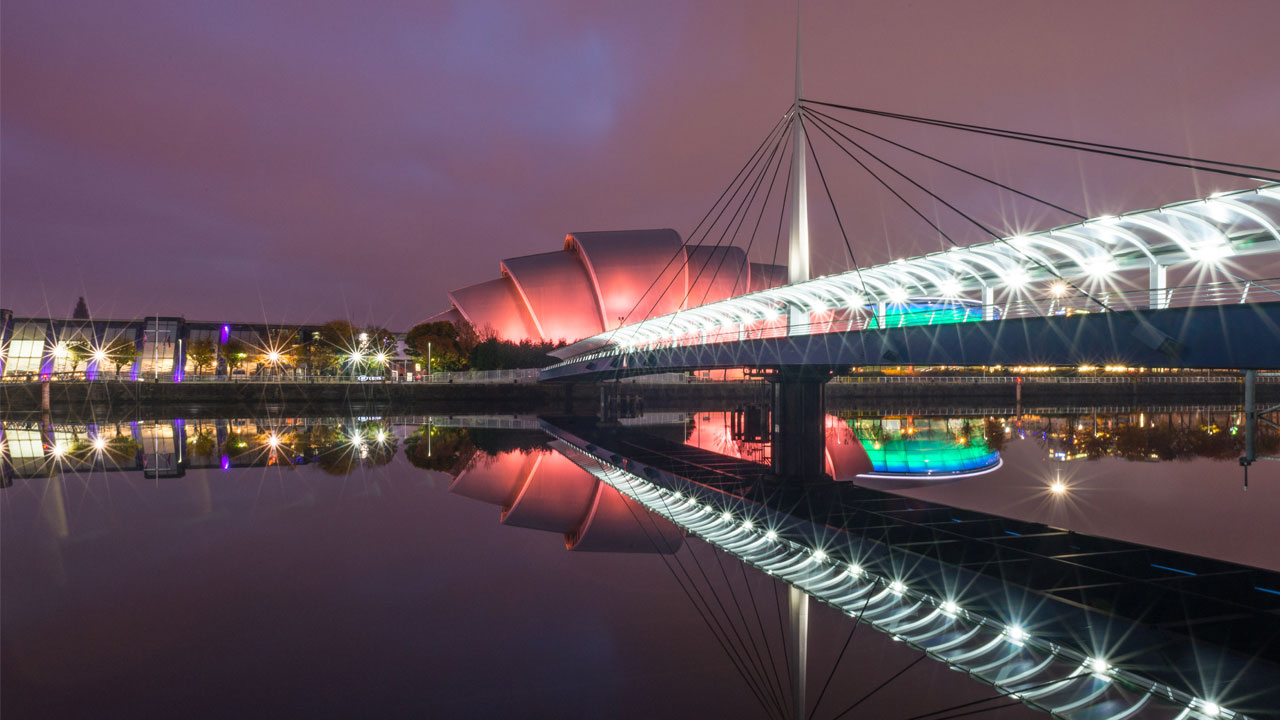
Bigger apertures let more light in, which is useful if your scene has very little light like night sky shots. But for cityscapes where there’s a multitude of light from street lamps, vehicles and buildings, a smaller aperture will allow you to get more of the scene sharply focused. You can also create a ‘starburst’ effect as individual light sources pass through the prisms in the lens.
ISO
In the early part of the blue hour, you can set your ISO as low as 100 and use longer exposures to let the light in. As the darkness creeps in, your ISO will need to increase to ensure that the length of exposure doesn’t lead to blowing the highlights.
During the blue hour, the light changes rapidly and that, coupled with the multiple sources of light in an urban environment, mean you may need to experiment and adjust your ISO, aperture and shutter speed before capturing the scene in your mind’s eye. Now you’re well on your way to capturing the spellbinding magic of dusk.
Join our Space Forums to keep talking space on the latest missions, night sky and more! And if you have a news tip, correction or comment, let us know at: community@space.com.
Get the Space.com Newsletter
Breaking space news, the latest updates on rocket launches, skywatching events and more!
Diana is a photographer and writer based in Margate, Kent. She has shot many guidebooks for Rough Guides and undertaken numerous commissions for Visit England, National Geographic Traveller, GreenTraveller and Cool Camping, among others. She’s currently the editor of Eye for the Light a subscription-only, digital publication in association with Travel Photographer of the Year and the Sustainability and Photography Director at the British Guild of Travel Writers.
