The dark secret to photographing the perfect rocket launch
Expose for the flame.

If you've ever been to a rocket launch, you know it is an incredible experience. The roar of the engines, the amazement of seeing the massive acceleration of such a humongous vehicle, the near-blinding brightness of the flame blasting from the engines — it's a sight to behold.
Most of us witness this moment up close just one or twice in our lives, if ever, so capturing it in detail is a high priority. And whether you're shooting with your phone or a big expensive camera, it's helpful to be prepared with some know-how ahead of time. There aren't a lot of opportunities for do-overs once the rocket leaves the pad.
Photographing a rocket launch isn't hard, but once the countdown clock hits zero, you have to be able to act fast in a short window of opportunity. For launches from NASA's Kennedy Space Center (KSC) in Florida — like that of the Artemis 1 moon mission, which is scheduled to lift off early Wednesday morning (Nov. 16) — tickets at the visitor complex can get you within just a few miles of a launch. Other publicly accessible locations, though a handful of miles farther away, also offer excellent views of launches along the Space Coast. But no matter how far away you are or what time of day it is, your camera will still see all the light coming from the engines' flames.
Related: NASA's Artemis 1 moon mission: Live updates
More: 10 wild facts about the Artemis 1 moon mission
In truth, you can absolutely pick up whatever camera you have, hit the auto-settings option, and take a perfectly fine photo of a rocket launch. It's hard to make a launch not look incredibly cool to begin with. But if you want to go the extra mile to get your photo a little closer to the images with thousands of likes on Twitter and Instagram — the ones with the jaw-dropping details of flame and bits of frost falling off the rocket as it lifts off the pad — here's the secret: Expose for the flame.
When you expose for the flame, your camera is able to pick up minute details of that fire, and it absorbs far less light than it would under a normal exposure. It'll make your image dark, but your camera still sees the light in that darkness, and your editing tools can help bring the light out.
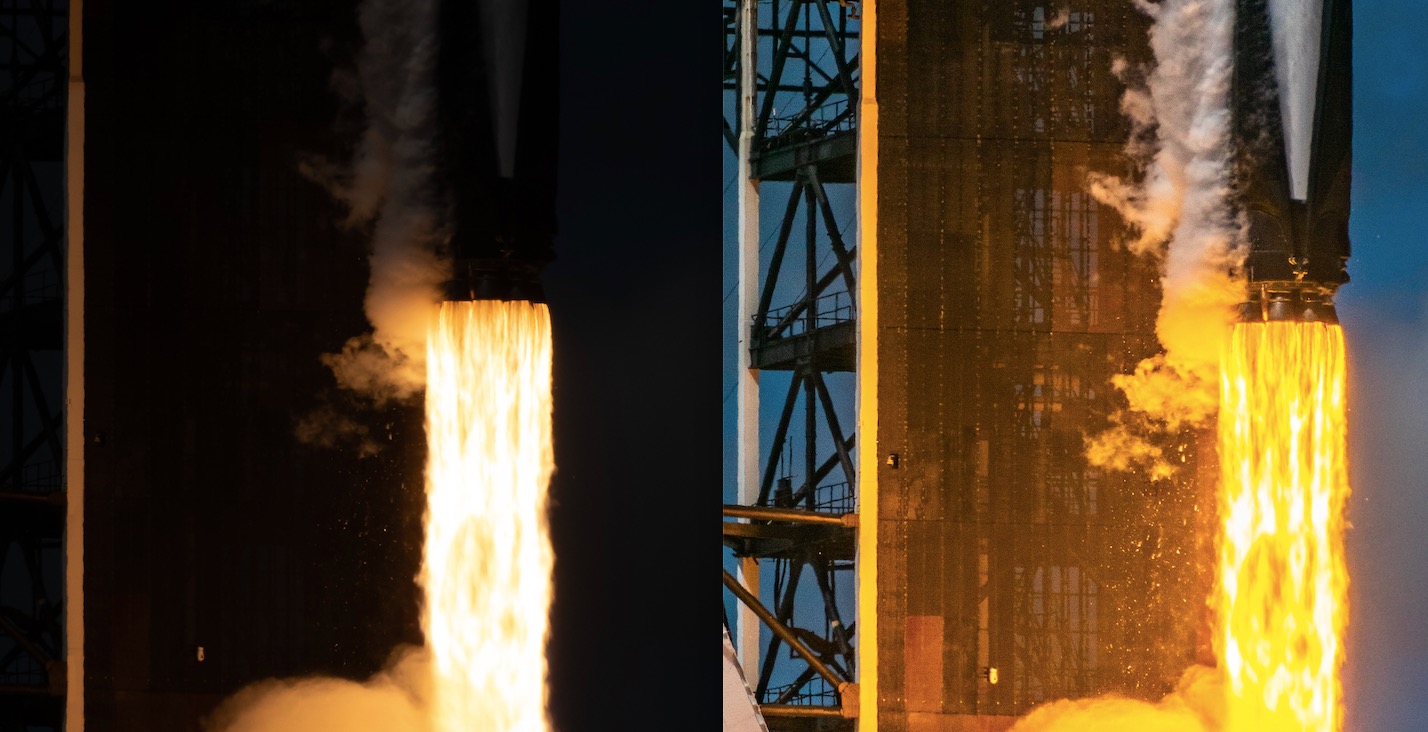
The above two photos came from the same image file — the original and an edited version. The original is obviously too dark for what we want, but the edited version isn't too hard to achieve.
Get the Space.com Newsletter
Breaking space news, the latest updates on rocket launches, skywatching events and more!
The image below is what your camera might shoot with auto settings.
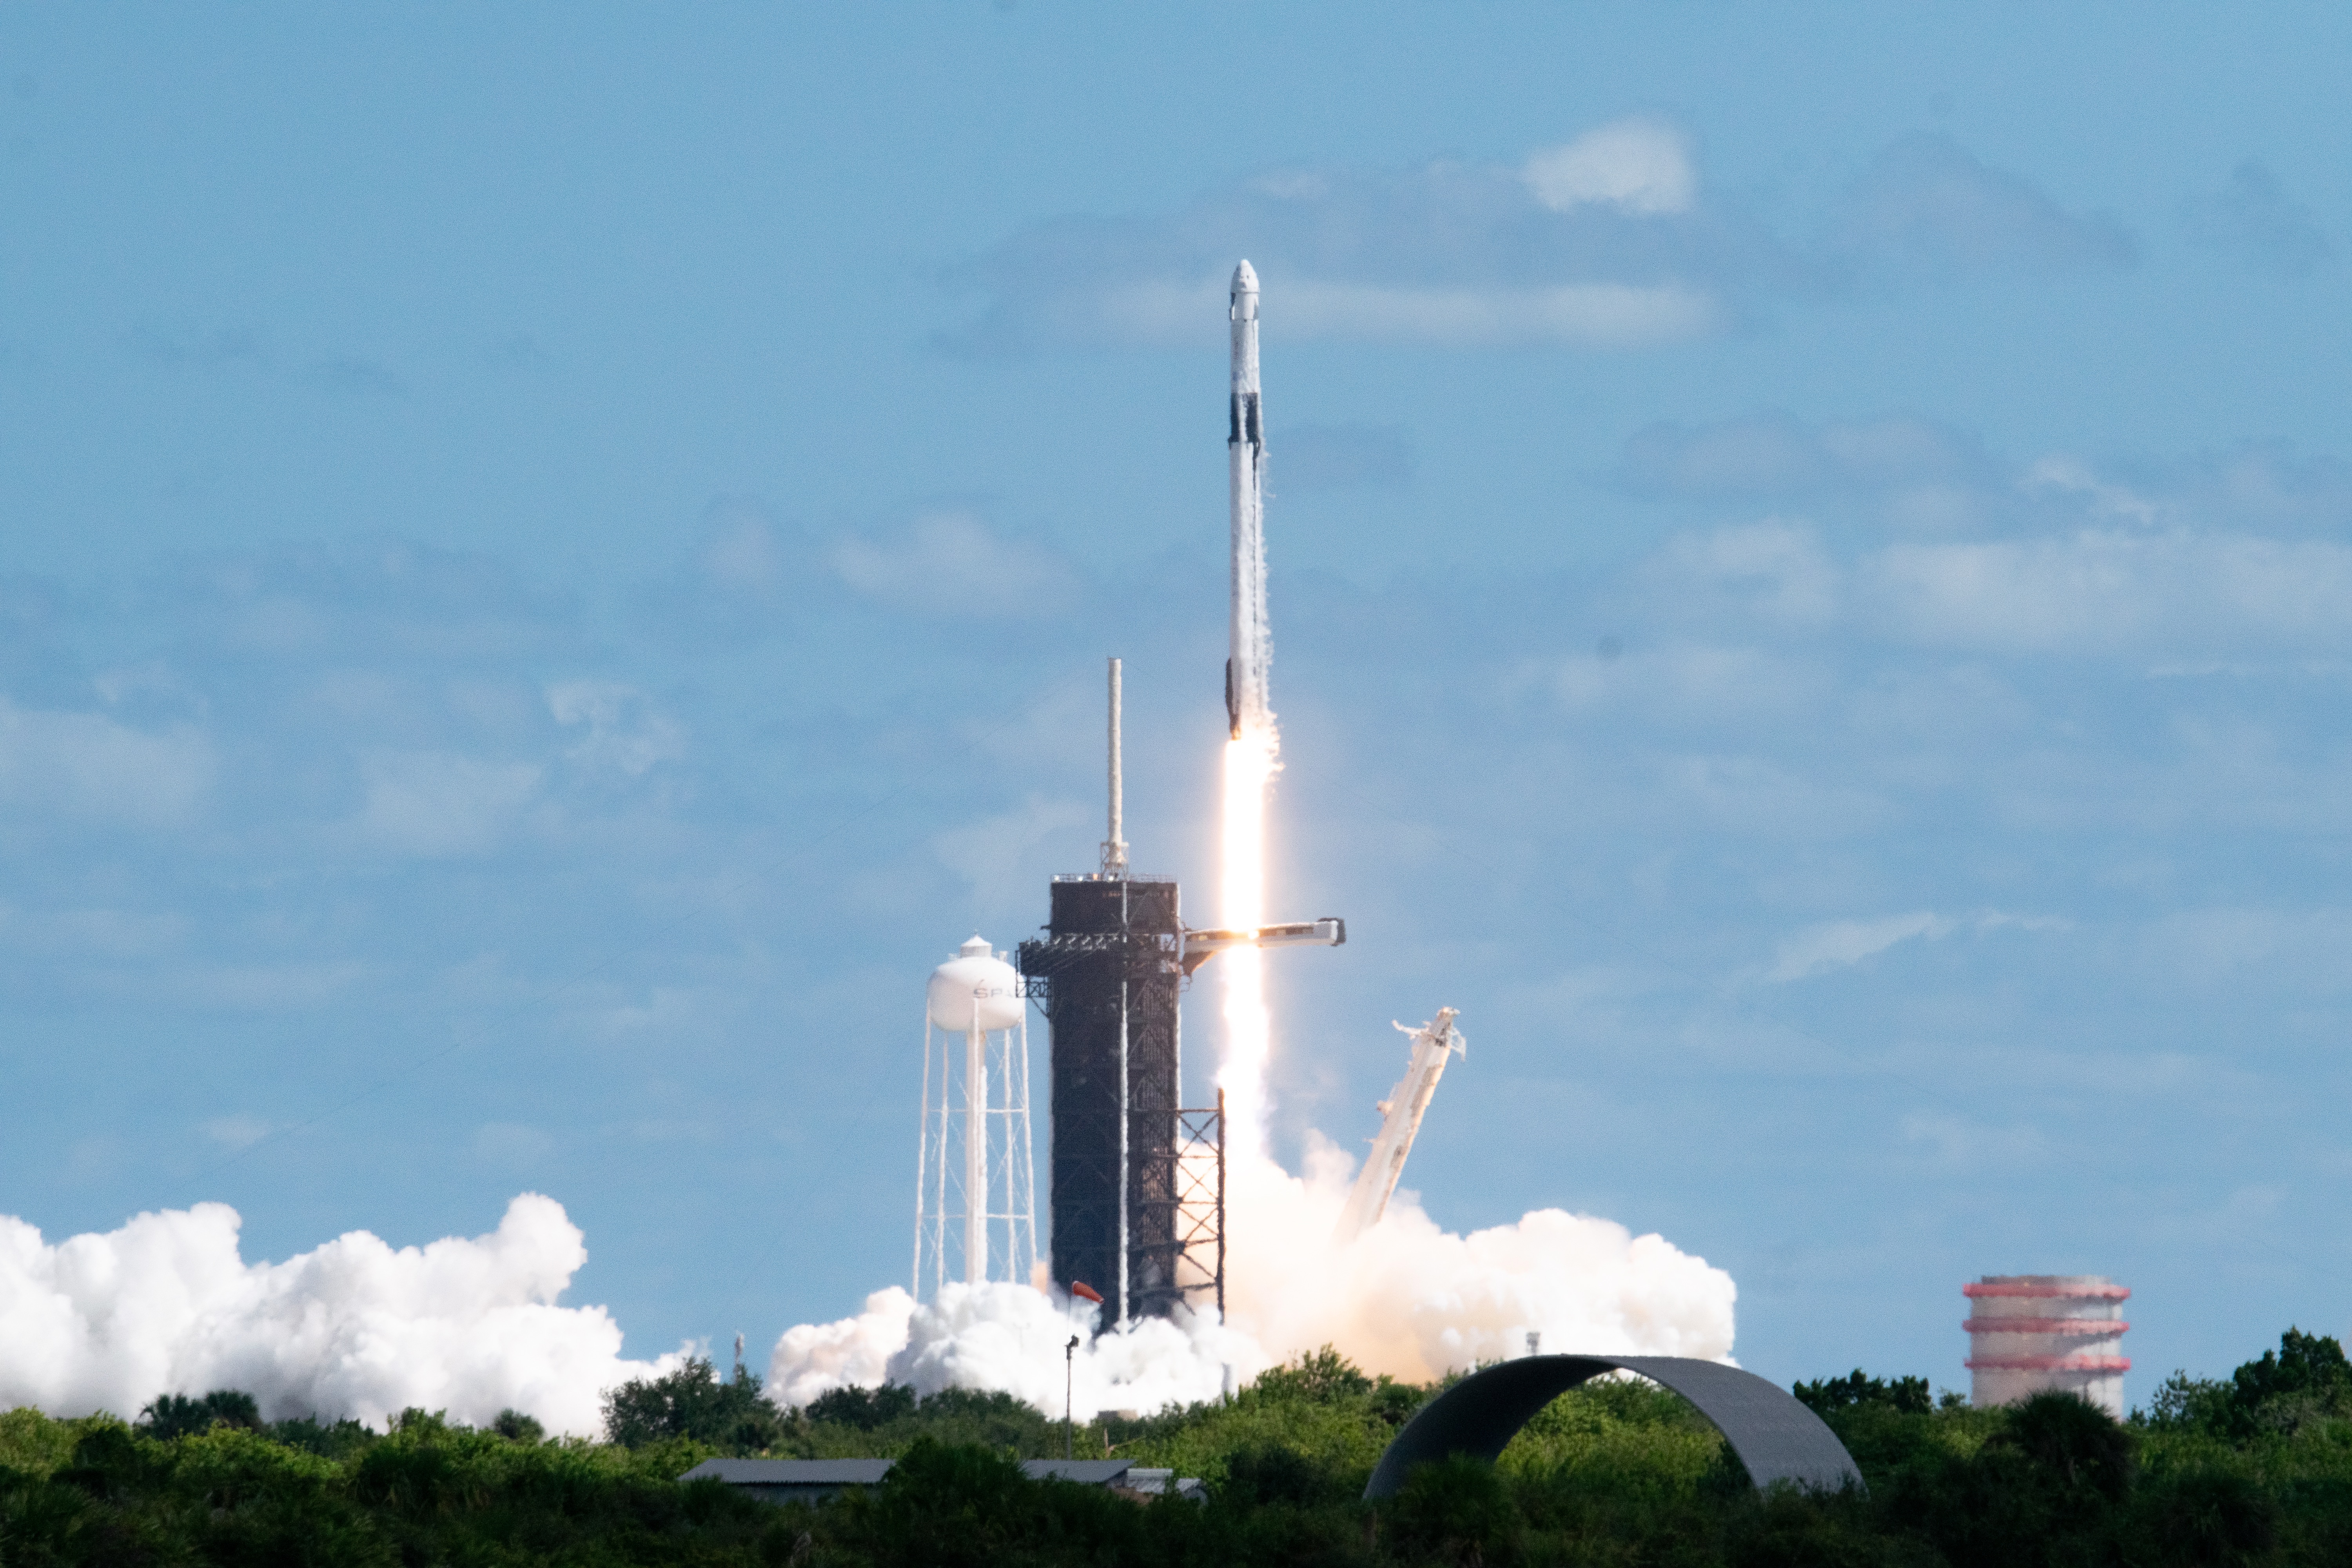
This is a decent photo (I humbly say). It shows SpaceX's Crew-5 launch to the International Space Station, which took place from KSC on Oct. 5 at noon local time, when the sun brightens everything the most. It's a nice, straightforward photo of an amazingly cool rocket launch — Crew-5 sent four astronauts to the orbiting lab — but the flames look white. There's no detail.
With any launch photo, the brightest thing in frame is the engine flames. And that fire is hot. Really hot. The only thing hotter or brighter that you might get in your photo is the sun, and both usually translate to blown-out white space in your picture, not the intricate orange and yellows of fire and flame that you were hoping for.
So, what do you do? Pull down your exposure and edit the photo to brighten other settings in post processing. Make the image so it almost seems too dark. For smartphone cameras, you're obviously not going to get as close as the close-up example images here, but the principle is the same. Even from far away, with a phone or professional camera, under-exposing the image makes the light from those engines a little less blinding and allows more of their detail to come through.
Once you have the under-exposed photo, though, it's not quite ready. Exposing for the flame will make even a day launch look like the middle of the night. Whatever photo editing software you use, adjusting these settings will help bring your image more to life. First, you can adjust your exposure levels slightly to help bring out the brightness in the rest of your image. This will brighten your flames a little, but that's made up for by pulling down the highlights to bring out a lot more detail.
Below is that same image, shown as-shot, before any edits were applied.
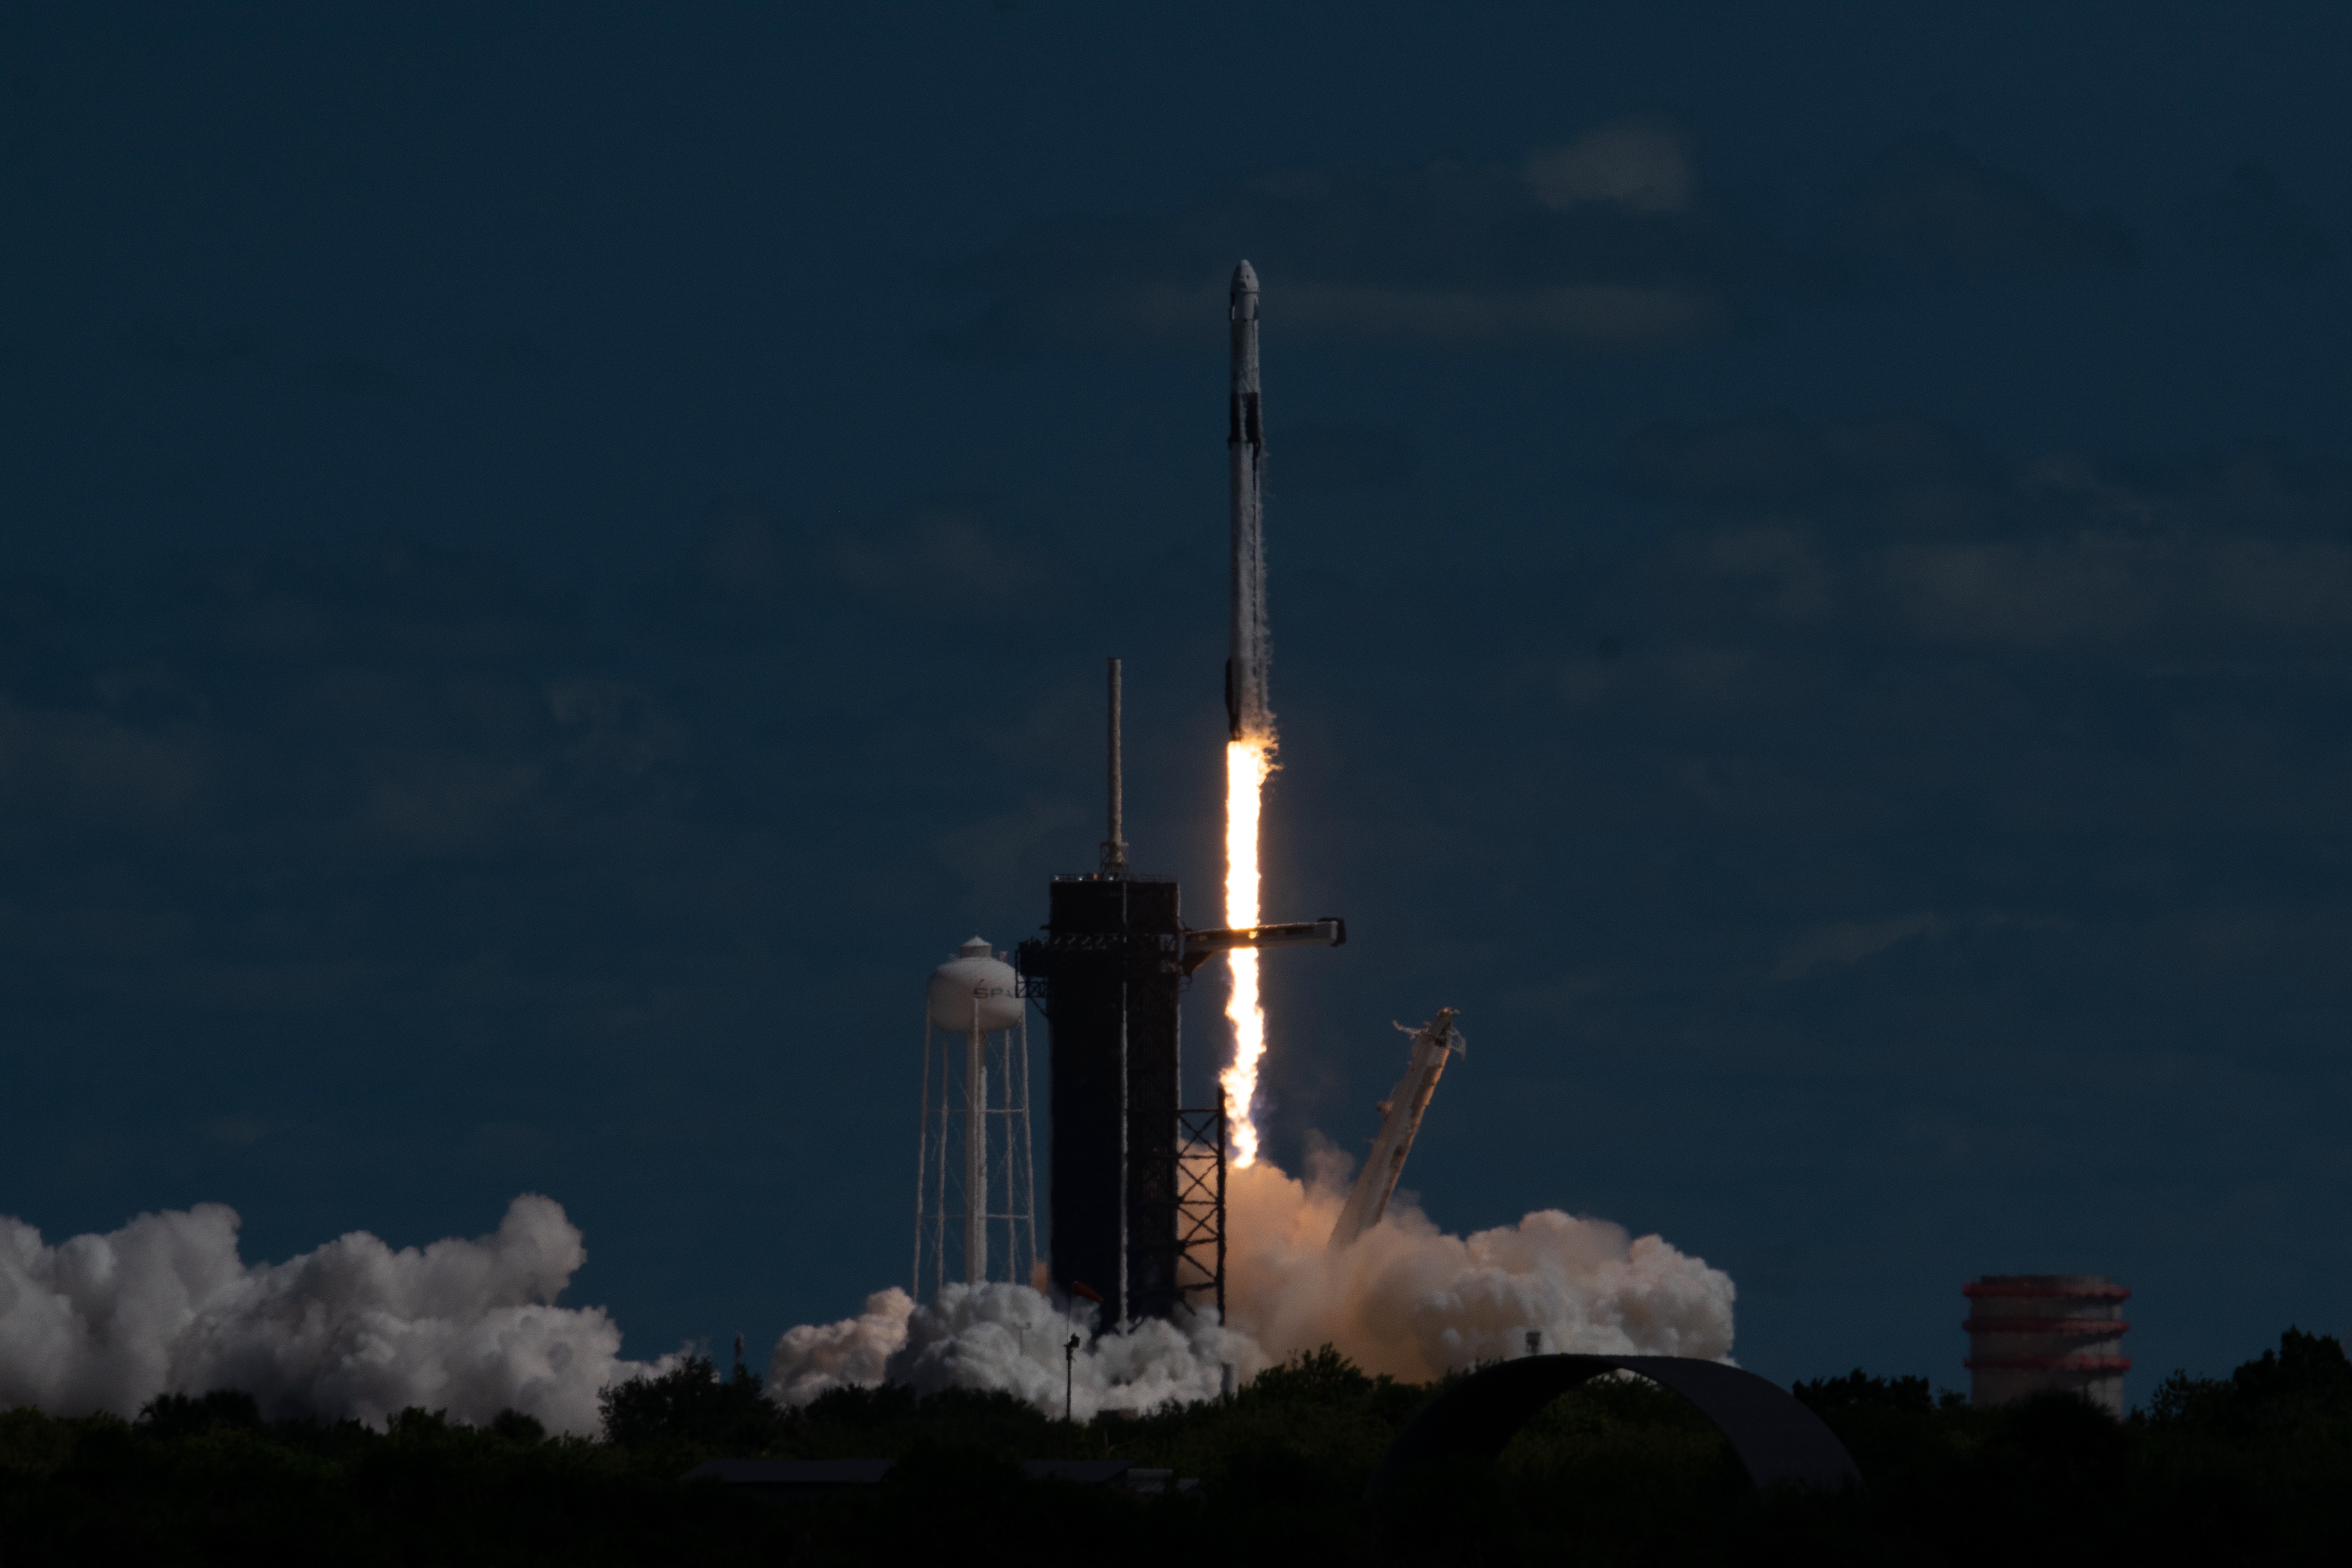
There's definitely still detail you can make out, and it's not so underexposed that you'll get all the flame details, but it serves as a good balance if you're not shooting on more advanced equipment. After a few adjustments, that dark photo turns into a daytime launch, in which the yellows, oranges and even blues and purples from the engine flames start to shine through:

Shadows and black levels are where you can really bring out the dark parts of your photo. Don't be afraid to pull those all the way up. Playing with the white balance and contrast will also help bring your photo to a more natural look while preserving those flame details, but these can vary depending on how you want your image to look. And depending on how dark your initial exposure, brightening your image can cause some graininess that can be fixed through noise reduction levels.
You can play with other settings during the editing process to bring out various colors and other aspects of your image, but the important part to remember in shooting and editing is not to over-expose the flame. You might only get one shot.
Follow us on Twitter @Spacedotcom or on Facebook.
Join our Space Forums to keep talking space on the latest missions, night sky and more! And if you have a news tip, correction or comment, let us know at: community@space.com.
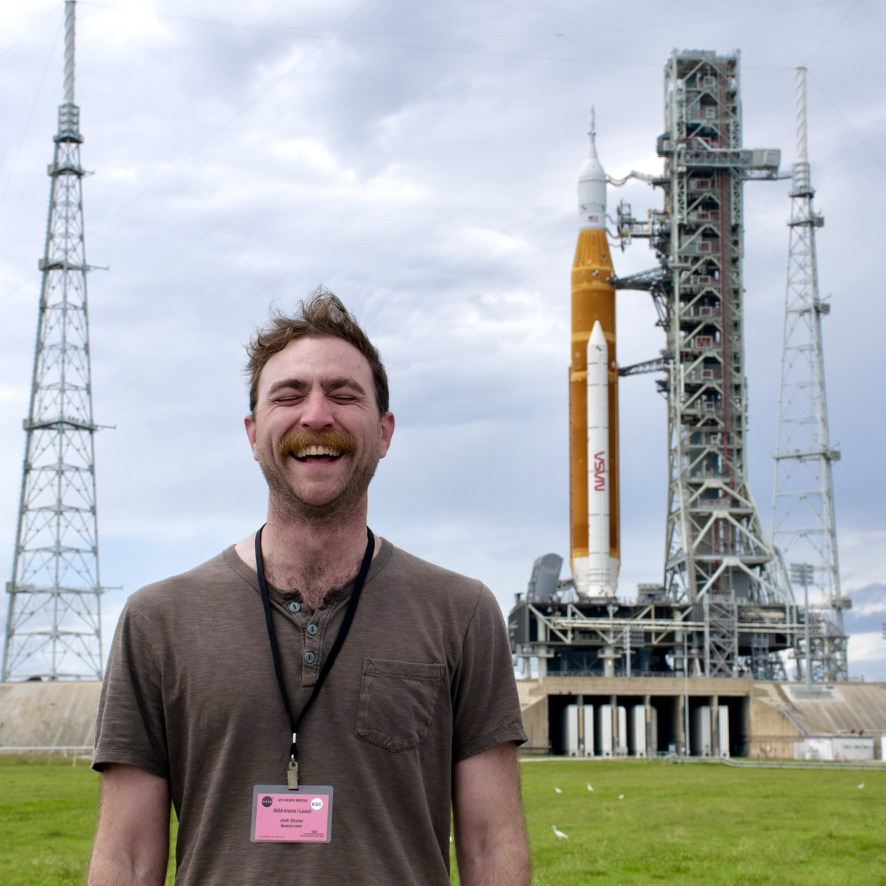
Josh Dinner is the Staff Writer for Spaceflight at Space.com. He is a writer and photographer with a passion for science and space exploration, and has been working the space beat since 2016. Josh has covered the evolution of NASA's commercial spaceflight partnerships and crewed missions from the Space Coast, as well as NASA science missions and more. He also enjoys building 1:144-scale model rockets and human-flown spacecraft. Find some of Josh's launch photography on Instagram and his website, and follow him on X, where he mostly posts in haiku.
