How to do seascape photography
Want to learn how to how to do seascape photography but aren’t sure where to start? Read our handy guide.

When you know how to do seascape photography right, you'll soon discover just much your subject can change and the opportunities that can bring for amazing seascape photography. One day you’ll get calm, serene scenes, and the next it will be full of drama and chaos. Anyone familiar with capturing the skies and planets will already be used to these conditions, as the constellations change throughout the year and the weather affects your chance of getting that perfect shot.
There’s still plenty you can do to maximize your chances of getting a good picture with seascape photography, whether you’re hoping to line up an image of the ocean and the milky way, or timing a golden hour shoot. Our comprehensive beginners guide covers everything from equipment to technique, so you’ll be perfectly prepared to get out there and start shooting. And if you need more advice, we also have a beginner’s guide to astrophotography to help you snap the night sky.
How to do seascape photography: Equipment
When you’re first learning how to do seascape photography, it can be so difficult to know what equipment you need. Every camera, lens, tripod, and camera bag all have different names and numbers and it’s enough to make your head spin. Here you’ll find information about all the necessary equipment to get you started with seascape photography. We assume you’re already starting with either a DSLR or mirrorless camera body.
Lenses
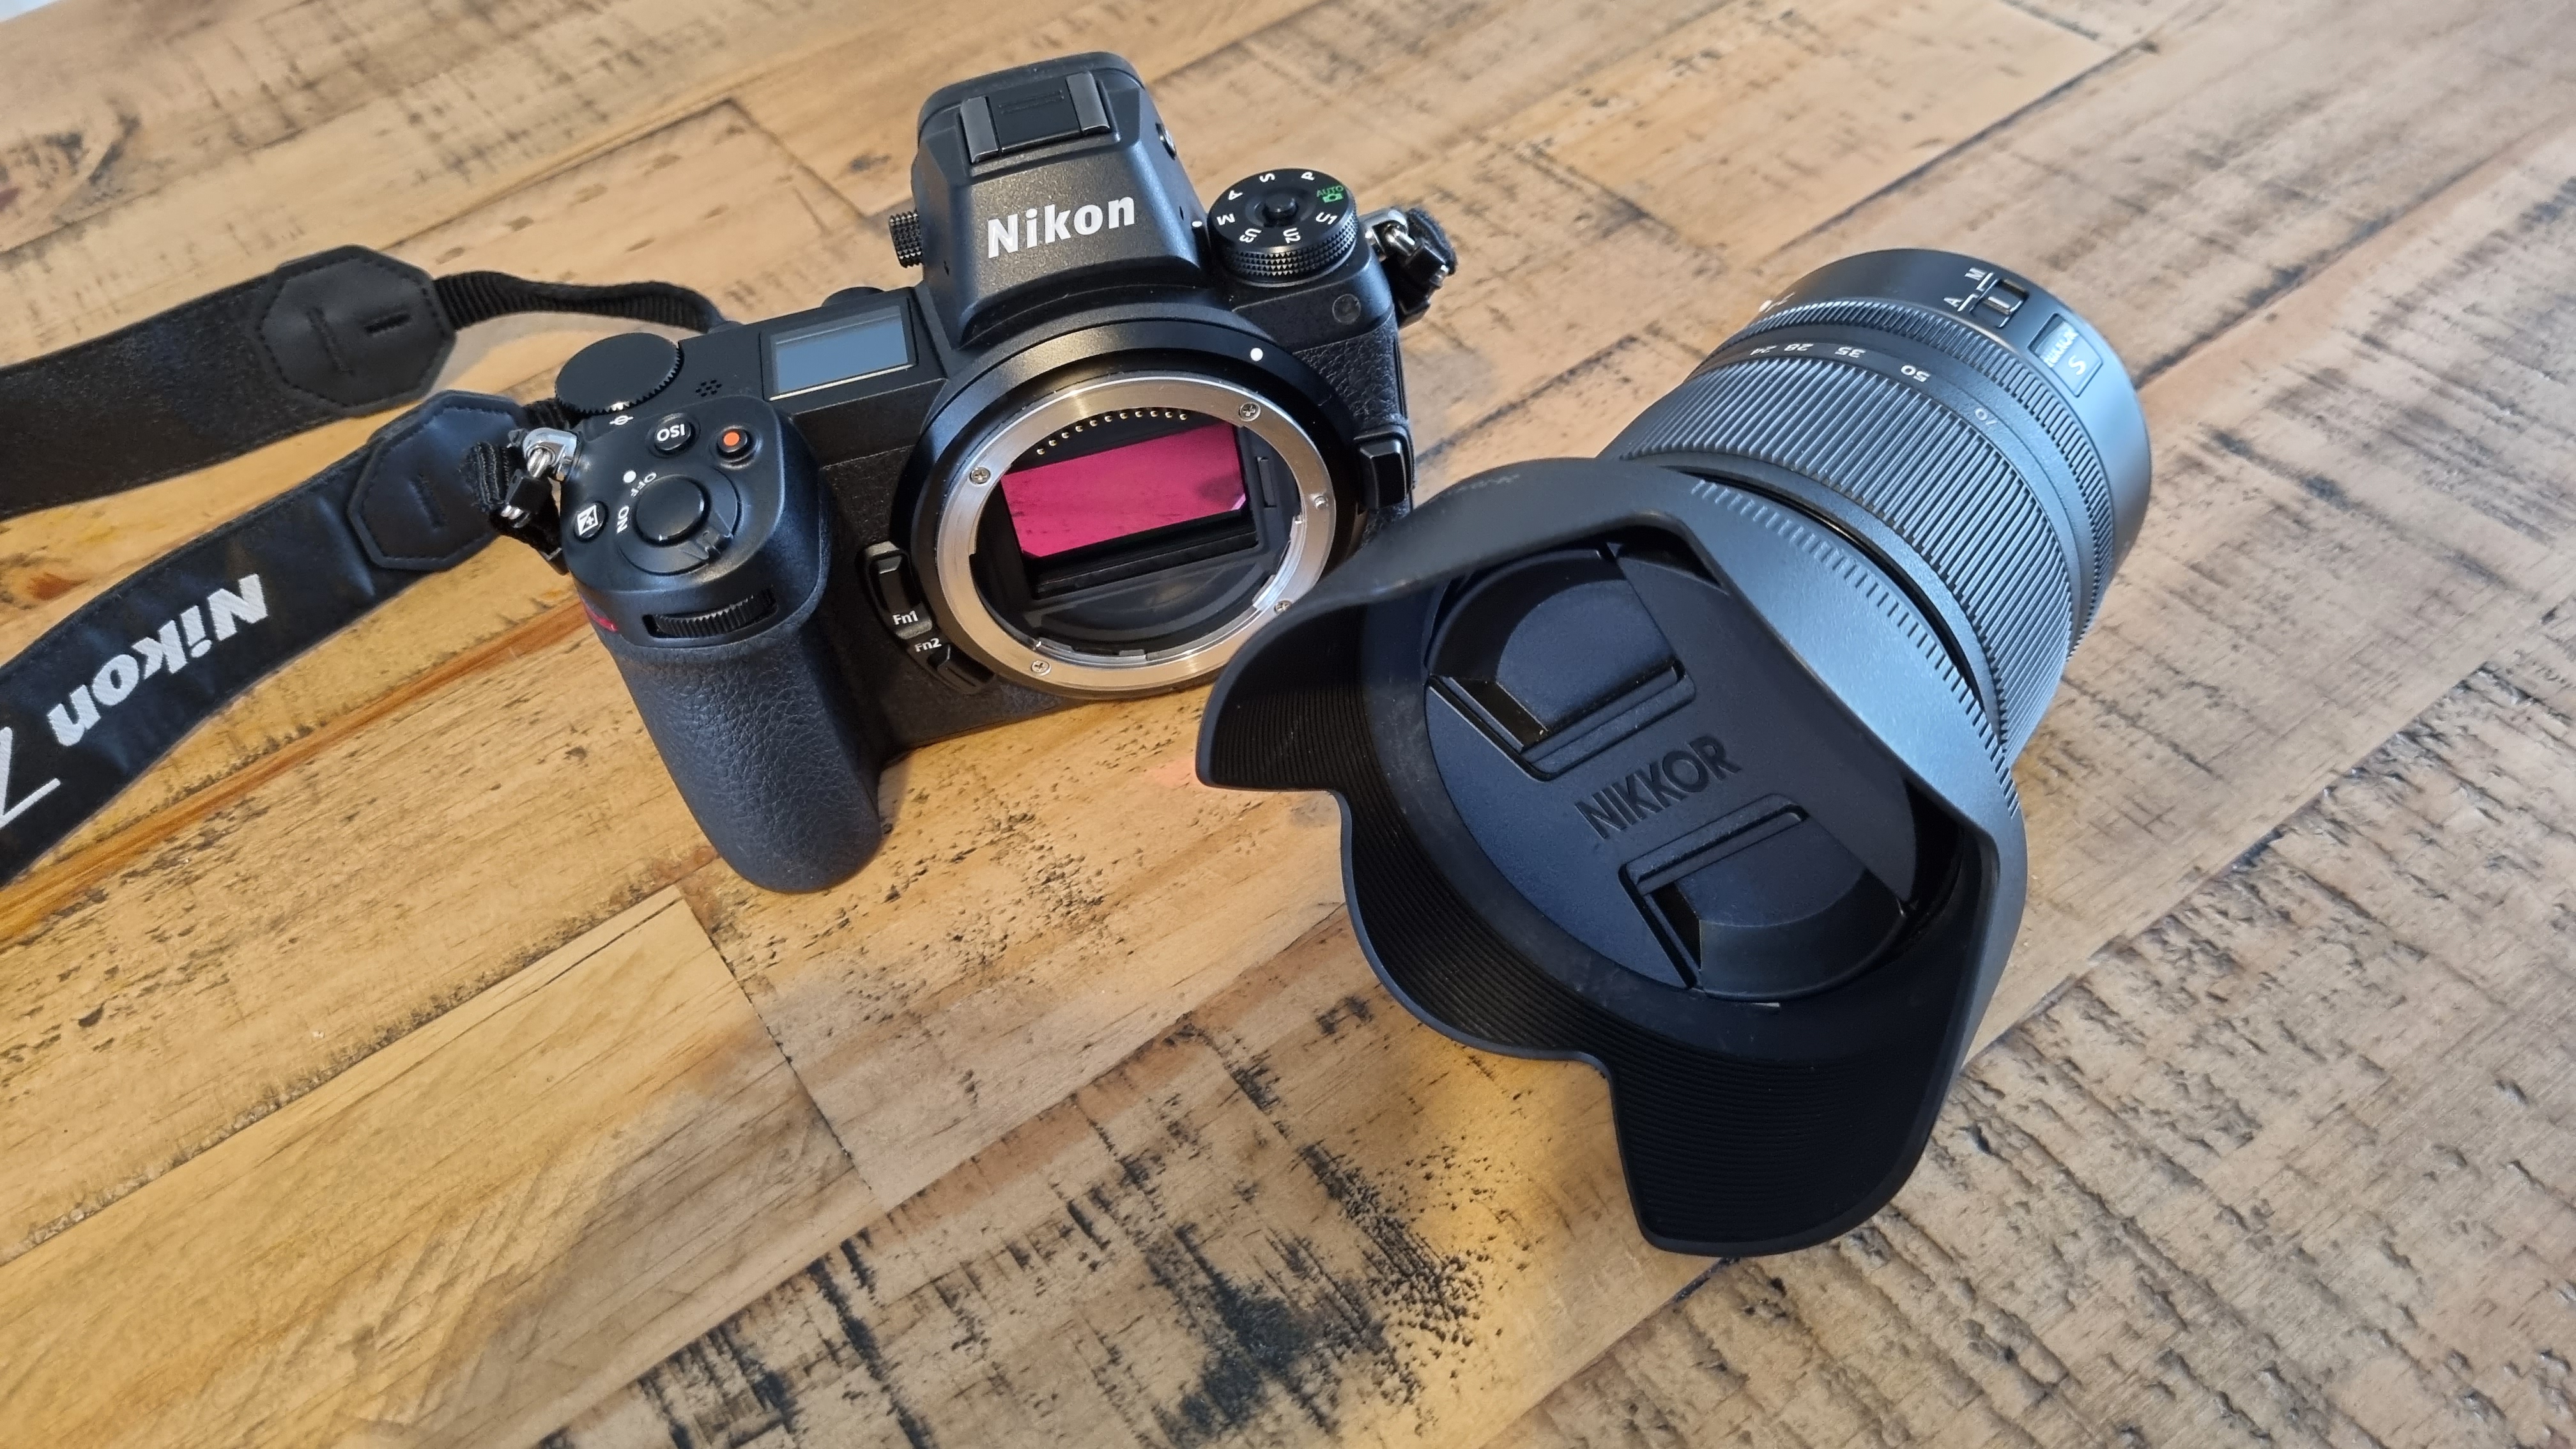
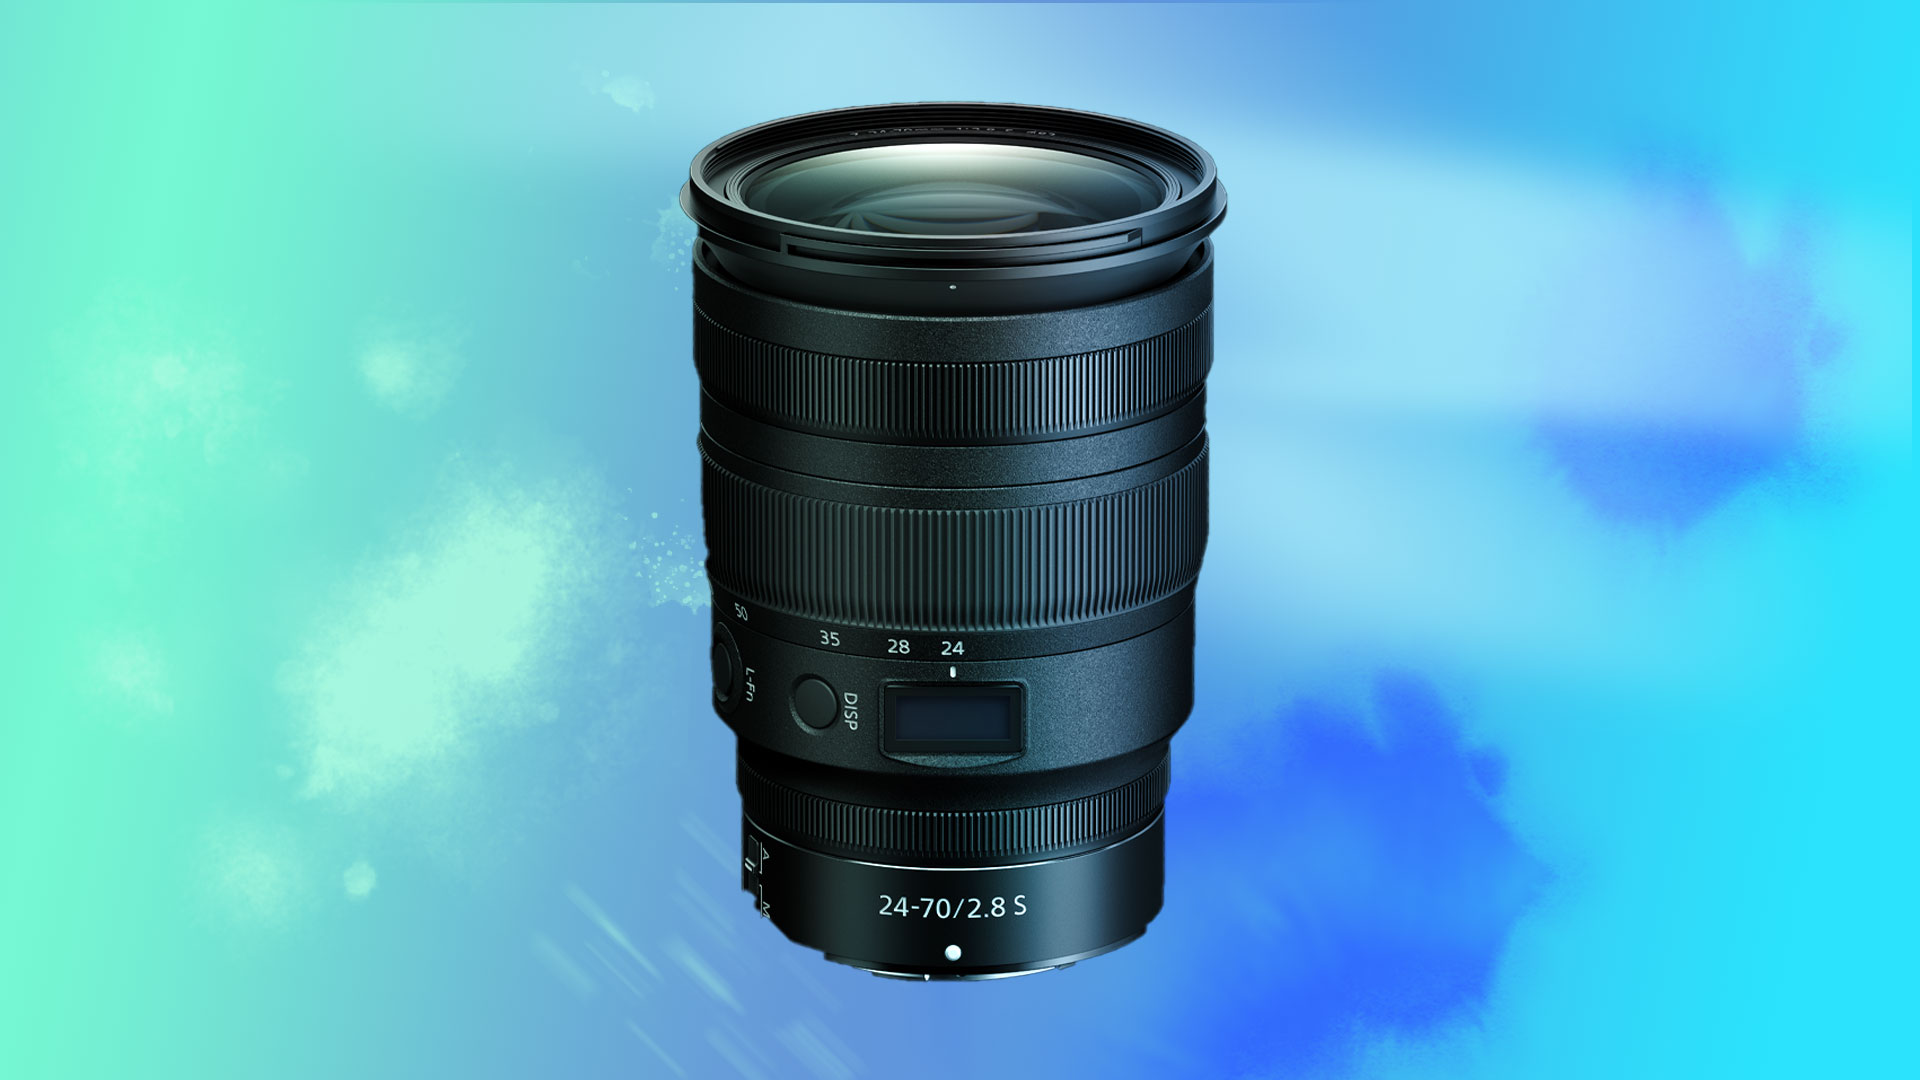
The lens you need usually depends on the size and type of scene you’re trying to capture. We use the Sigma 18-50mm f/2.8 frequently, as it’s great for capturing wide open seascapes and long coastlines, thanks to its wide focal length (up to 18mm on cropped sensors). We have also used a 70-300mm telephoto, which is useful when you’re at a location with a long stretch of coastline and want to capture cliffs and scenes further out. A telephoto is also an advantage if you want to photograph sea-life, as you can zoom right in on it without being too close, physically. It’s all down to personal preference, but you may like to go for something like a 28-70mm to start with for a good middle-ground focal length. Most standard kit lenses, often sold with camera bodies, are around 24-70mm in range, so you likely already have one.
Tripod
A sturdy tripod is also something you will need to use when shooting seascapes, particularly for capturing the movement of the water using slow shutter speeds, shooting in low light, or if you’re actually going to get in the water to shoot! These bits of kits are essential for astrophotography as well, as it’s near-impossible to get those long-exposure images without one.
If you do get your tripod wet, make sure to rinse it with water afterwards so the saltwater doesn’t damage it and seize the legs and fastenings. It’s good to keep a bottle of fresh water in your car for this.
A sturdy tripod is preferable when shooting seascapes as you will want it to be stable on the windy coast to avoid shaky photos. It can also be useful to have a remote shutter release cable to prevent camera shake when you press the button. Don’t worry about this too much, especially if you’re trying to save money, as you can just set a timer on the camera itself to avoid physical contact when the exposure is taken.
There are so many different tripods on the market, and if you’re already interested in photography then you’ll likely already have one. If not, try and think about what aspects are most important to you. Do you want your tripod to be more lightweight, or sturdier? What kind of leg fastenings do you want - twist or clips? Would you find a ball head or lever easier to operate? Read reviews and choose one based on your personal needs. To get you started, brands like Neewer and Manfrotto do some great tripods which don’t break the bank. If you’re walking long distances with your tripod, consider a lighter carbon fiber model to cut down excess weight. If you’re often shooting in rocky, or windy, locations then a sturdier one with more weight is probably better.
Filters
When it comes to filters, there are two main options that are popular with seascape photography - the first being a Neutral Density filter. ND filters limit the amount of light going into the lens, which is what makes them particularly useful for long exposure photography. With an ND filter you can set a much slower shutter speed (up to minutes at a time) without the risk of over-exposing the image, so you can create really smooth, misty looking water. You can also use ND and landscape filters to shoot longer exposures in lighter times of day, so you’re not restricted to early mornings and evenings for your long-exposure shots of the sea.
ND filters come in different strengths, but anything between a 2-6 stop filter is a good place to start. Urth in particular do some great quality affordable filters, and they plant five trees with every sale. The thickest filters go up to 10 stops.
Polarising filters are also widely used in seascape photography. If you’re shooting in bright light, a polarising filter can reduce reflections and glare from the water, as well as darkening the sky. To see this in effect, look through the viewfinder and twist the filter and you’ll see the changes in the water (but be careful with it as it can create an unnatural looking gradient in the sky, so don’t go overboard).
Just note that some filters will require filter holders that screw onto your lens using adjustment rings, so you should factor in the cost of a holder too, if you’re going for an ND or specialized landscape filter.
Other equipment
Aside from camera equipment, you’ll also need a comfortable camera bag and appropriate clothing and footwear. Cliff-top walks and less accessible locations will require walking shoes or hiking boots, and it’s often windy and cold at the coast so warm clothing is a must. If it’s a really hot day, you’ll need sunblock and plenty of water. You’ll also want to take snacks if you’re going on a long hike along the coast, along with other hiking gear such as walking poles if it’s a particularly rocky area.
Also think about waterproof clothes not only for yourself, but a waterproof cover for your camera bag (some bags have them included). You may also want a waterproof cover for your camera in case it rains or you get a bit too close to the water! Some cameras and lenses are weather sealed, and if you’re worried about rain, check this before you head out. If you are shooting close to the water, take lens wipes to clean off any splashes (you can use the cloths that come with your glasses if you like). Other essentials to have in your kit are spare batteries and plenty of memory cards to capture your beautiful photographs.
There’s no right or wrong amount of money to spend on equipment, even though you do tend to get what you pay for. If you don’t have a huge budget for all the different things you’ll need, you can get some really great quality items on the second hand market. Building your kit takes time, so don’t put pressure on yourself to have it all overnight.
Although beautiful, the sea is powerful and can be dangerous - it is not something that should be taken lightly. The most important thing when you’re photographing the sea is to stay safe, and call for the coastguard if you get into any trouble. And don’t litter.
How to do seascape photography: Location and timing
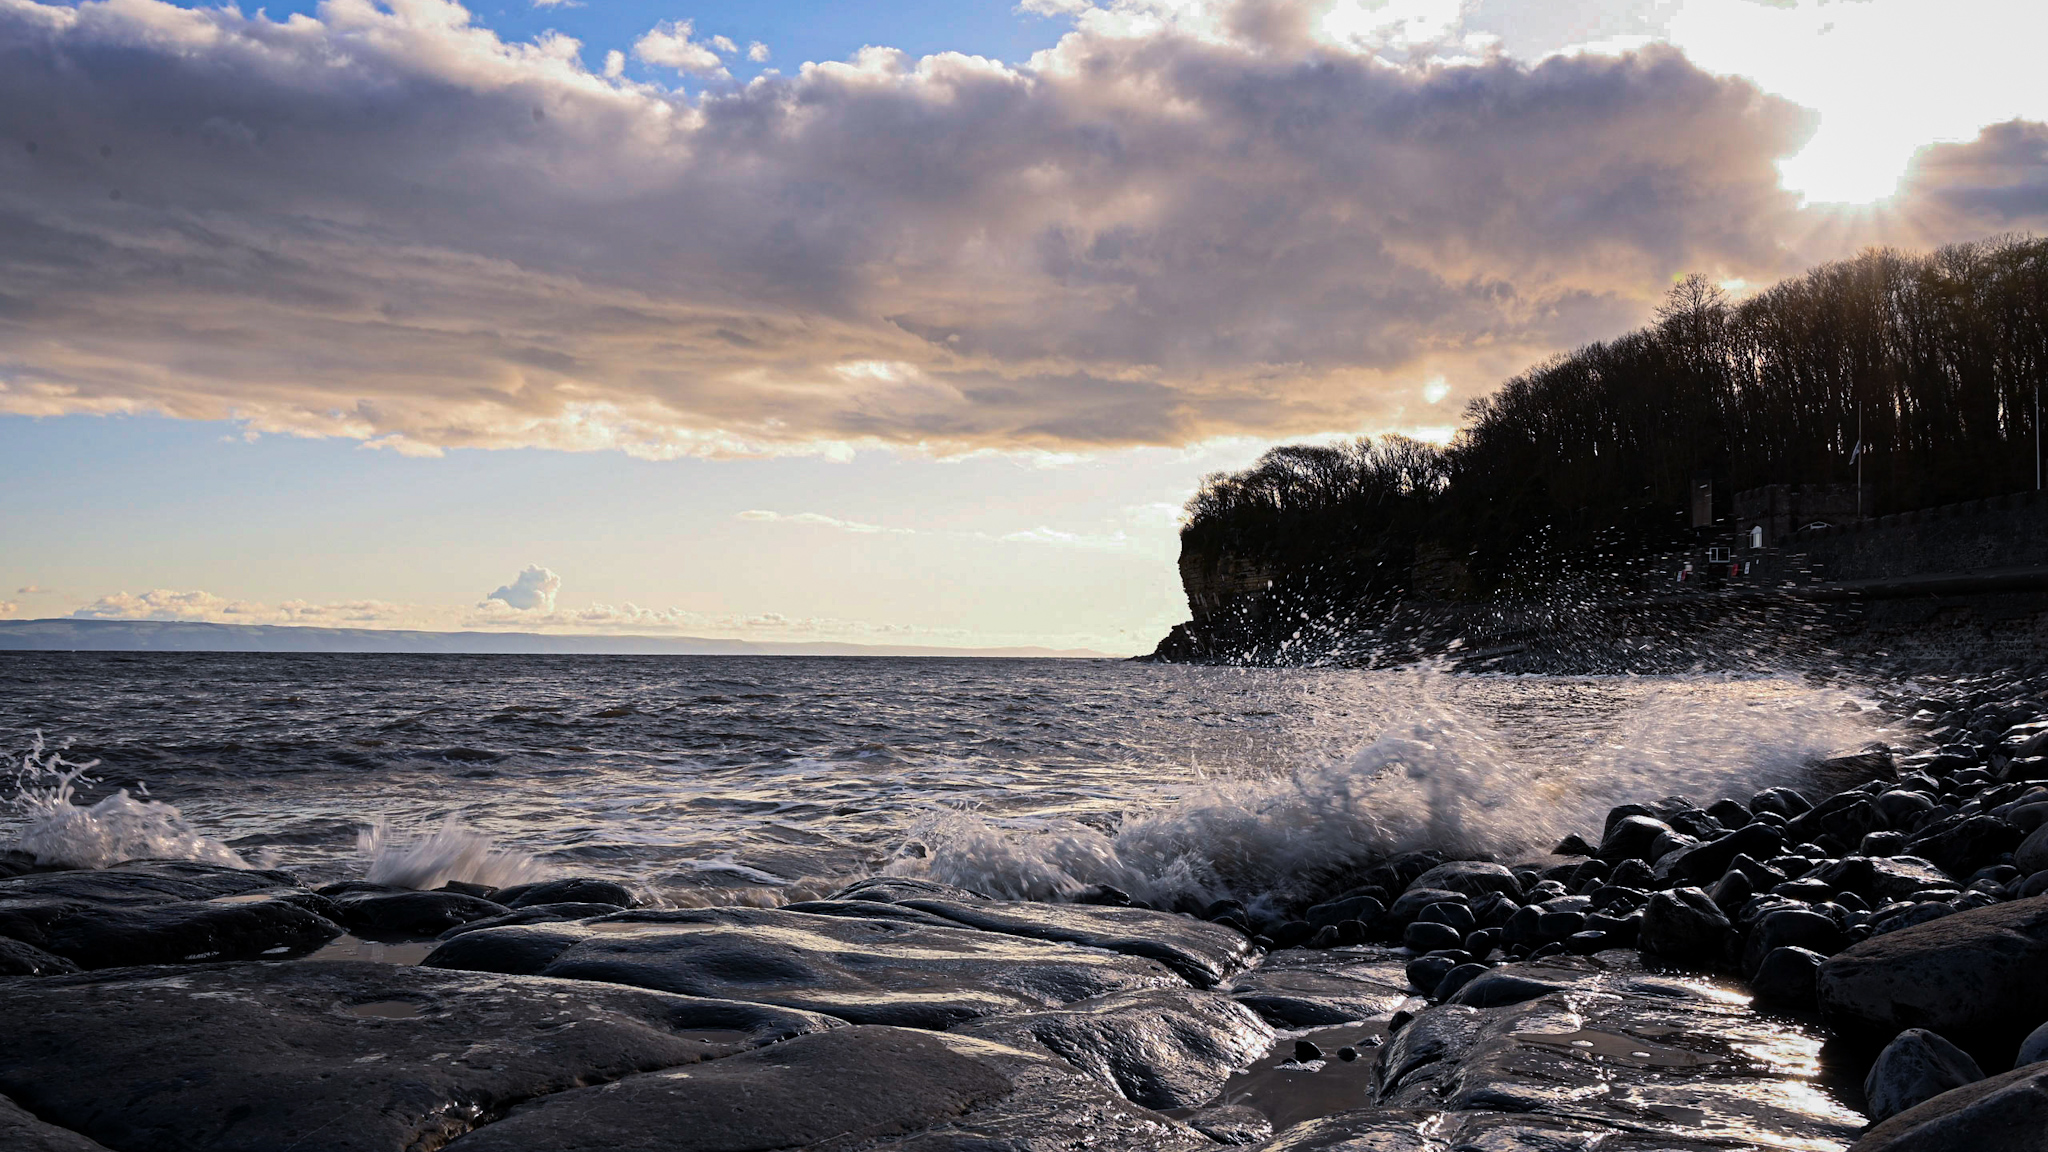
We’d recommend trying to get an idea of what you want to capture before you set off, especially when you are just starting out with seascape photography. Here are our tips on scoping out the best locations.
What do you want to capture?
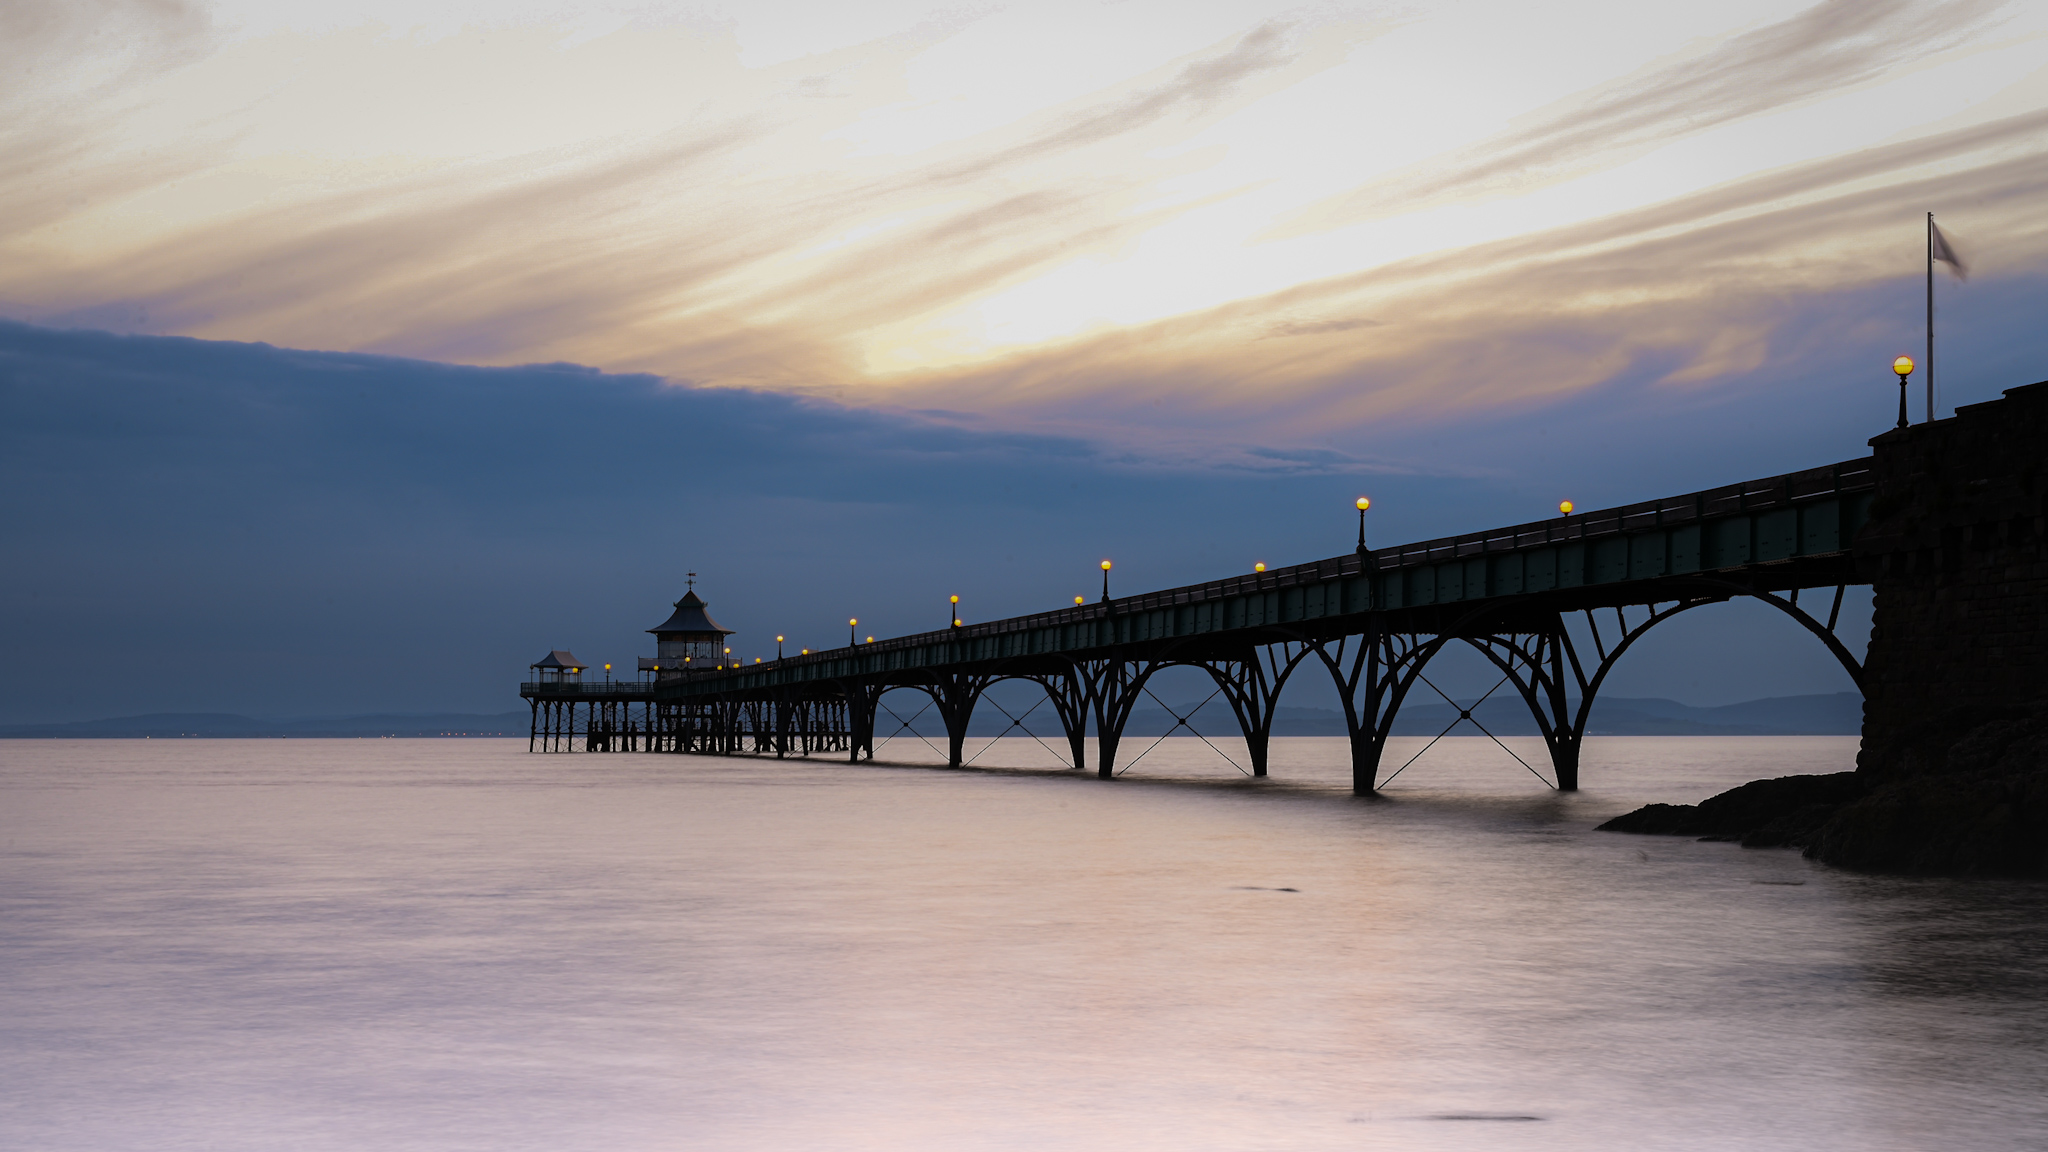
Interesting structures in your chosen location, such as lighthouses, bridges, piers, etc, provide brilliant subjects to include in your seascape photos as they give the viewer something to focus on, and you can build your shot around that. If you’re going somewhere specific and want to see what’s around the local coastal area, do some research for great photography spots near that location - Instagram or a Google search is great for this.
Google Earth is a great tool to figure out routes, and where to set up your camera. There’s an app called The Photographers Ephemeris (iOS only) which shows you exactly where the sun is going to rise and set from any given location. It’s not a free app, but it’s definitely worth the investment if you can see yourself doing a lot of sunrise and sunset photography.
You could also include water sport activities in your composition. Surfers and stand-up-paddle-boarders are great to capture to add scale, as is sea-life if there are any wildlife spots around. National Parks on the coast are also a brilliant place to start with seascape photography, as you are guaranteed to get beautiful scenery there.
Best shooting times
If you want sunny, hazy seascapes that give the feel of summer, go during golden hour (the hour after sunrise and the hour before sunset). For moody scenes with more drama, go when the sky is dark and there are a lot of clouds. For calm seascapes you could go during blue hour (the hour before sunrise and hour after sunset).
Think about what time of year you will be there, too. Beaches, unsurprisingly, are very popular during the summer. People can be great to include in your seascapes to add scale, but you may not want a beach scene absolutely littered with humans.
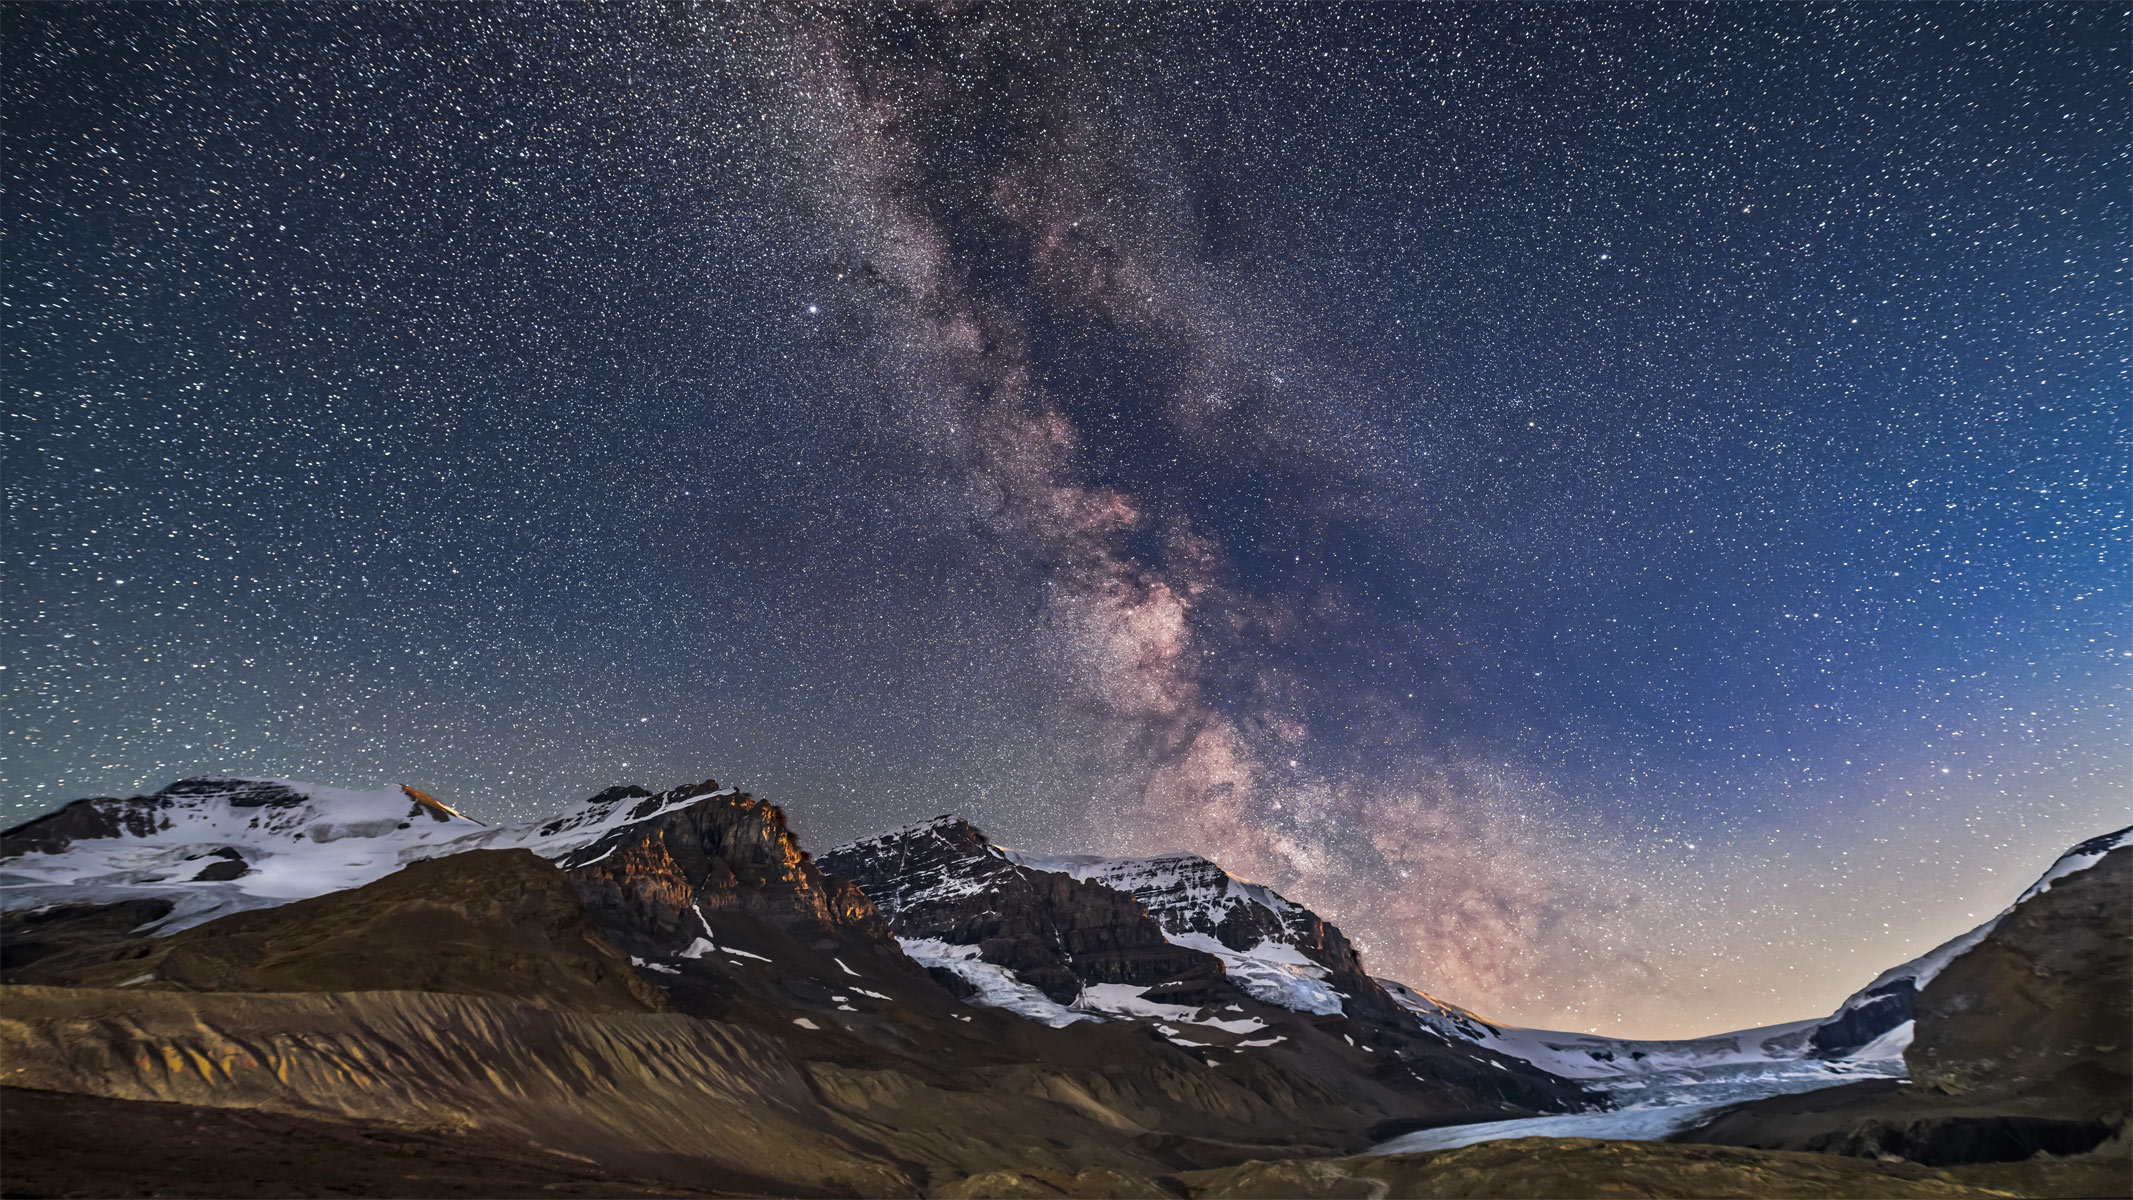
You should also consider tide times. If you do want to go for a dramatic shot of the waves crashing against a cliff, you want to make sure the tide is going to be in the right place when you visit - we use an app called My Tide Times (iOS/Android) for this. Space enthusiasts and astrophotographers may also want to shoot seascapes at night. TPE can show you the location of the milky way in the sky, which would definitely add magic to any seascape photo. Check out someone like Matt Stansfield for inspiration.
How to do seascape photography: Technique
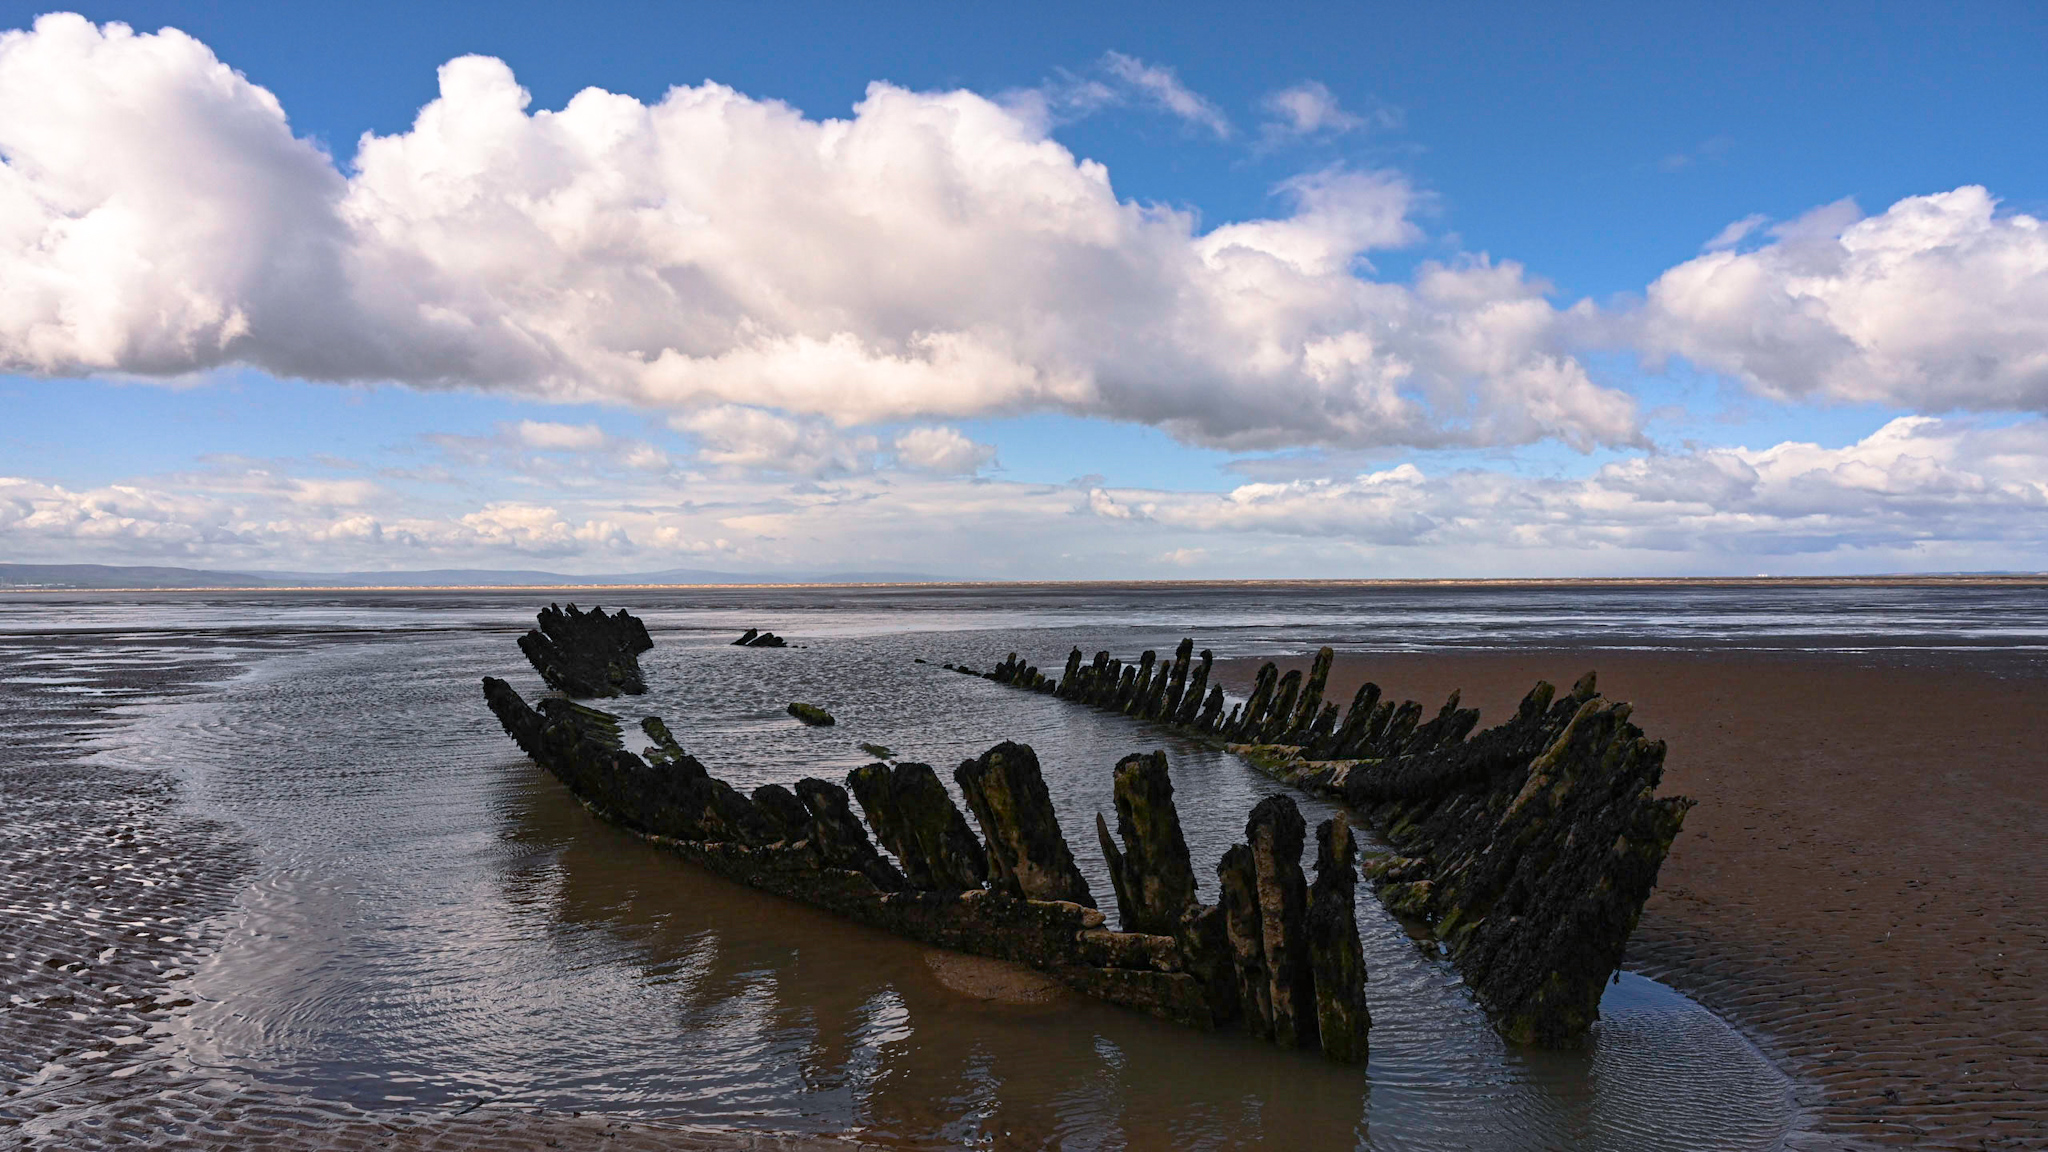
When you have a particular photo in your mind, it can sometimes be difficult to know how to achieve it, especially if you’re new to photography. Here are a few different camera techniques to get you started with seascape photography.
Lines and angles
The human brain absolutely loves lines and curves as it triggers the feeling of relief. In our experience, a fail-safe way to get an impactful composition is with the use of leading lines in your photo. The coast is filled with an abundance of leading lines you could use for your photography - the coastline and cliffs, rock-pool formations, the shore, waves, foot and paw prints in the sand, you could even use bridges and piers. Try to go for a more diagonal line as opposed to a line straight down the centre of your shot (unless you think that works better!). This will be more visually pleasing and will help the viewer's eye travel around your image. We like to stand at the edge of a cove and shoot the whole scene, as it creates a really lovely curve that takes the viewer on a visual journey around the entire image.
Turning the grid feature on in your camera settings can help with your composition and the placement of the subjects in your shot. As a general rule, place objects such as lighthouses, huts, and other features on one of the grid’s intersections to help get a balanced image. Think of the rule of thirds and try not to leave too much empty space in the top or bottom of your image. For inspiration, look at how someone like Dr Jon Rees composes his images.
Long exposure
A really impactful technique to show the serenity of the water in your seascapes is by using long exposure and experimenting with shutter speeds. By slowing down the shutter speed to anything between 1/50 of a second to 30 seconds, you can capture beautiful movement in the water, or create an eerie, misty scene where the water looks completely still.
If you have an ND filter, you can even set your shutter to be open for minutes at a time (a lot of patience is required for this!). You can download light meter apps for your phone that can tell you what your shutter speed and aperture should be for the light as it is, then you can input that information into a Long Exposure Calculator app and it will tell you which strength ND filter to use and how long to keep your shutter open for. If you want to go for minutes at a time with a strong ND filter, set your camera to Bulb mode (usually shows as B on the dial). Many Long Exposure calculator apps have a built in timer, or you can just use the timer on your phone. Just be aware that the longer your exposure, the more ambient light and noise you might get. Check out our guide to reducing noise in your photos to help you manage longer exposures.
Aperture
When it comes to aperture and depth of field - think about whether your image has a particular subject you’d like to focus on, or whether you want to capture the scene as a whole. Using a wider aperture (F2.8-F6) can isolate certain aspects of your image and create a gorgeous blurry background. This is also great for shooting light on the water - it creates beautiful bokeh. A wide aperture is particularly good when you’re photographing lighthouses and other standalone subjects so the viewer knows where their attention needs to be. For bigger scenes, an aperture between around F9-F14 would be better to make sure the whole scene is in focus while still allowing some natural depth of field to be captured.
Devices
Consider the fact that different devices have different screens. As a general rule, don’t trust your eye and don’t trust the screen - trust the histogram. The histogram is the only true way to accurately read the exposure of an image. You can also see the histogram on your camera when you’re out shooting. This will help you determine your shutter speed and aperture settings so you know the image will be exposed properly.
How to do seascape photography: Editing
Software
There are lots of different editing programs available, but we find most people tend to use Adobe Lightroom or Photoshop. We find it best to edit on a laptop or computer because the screen is usually bigger, but you can also get these apps on many mobile and tablet devices. It’s also important to calibrate your computer/laptop screen regularly so you know the colors are accurate.
Individual aspects
Rather than focusing on the image as a whole when editing, try to think of the different subjects in your photo. Some global adjustments will need to be made, but different parts of your image will call for different things. We like to spend time looking at the image to look for all the problems, then fix all those problems individually.
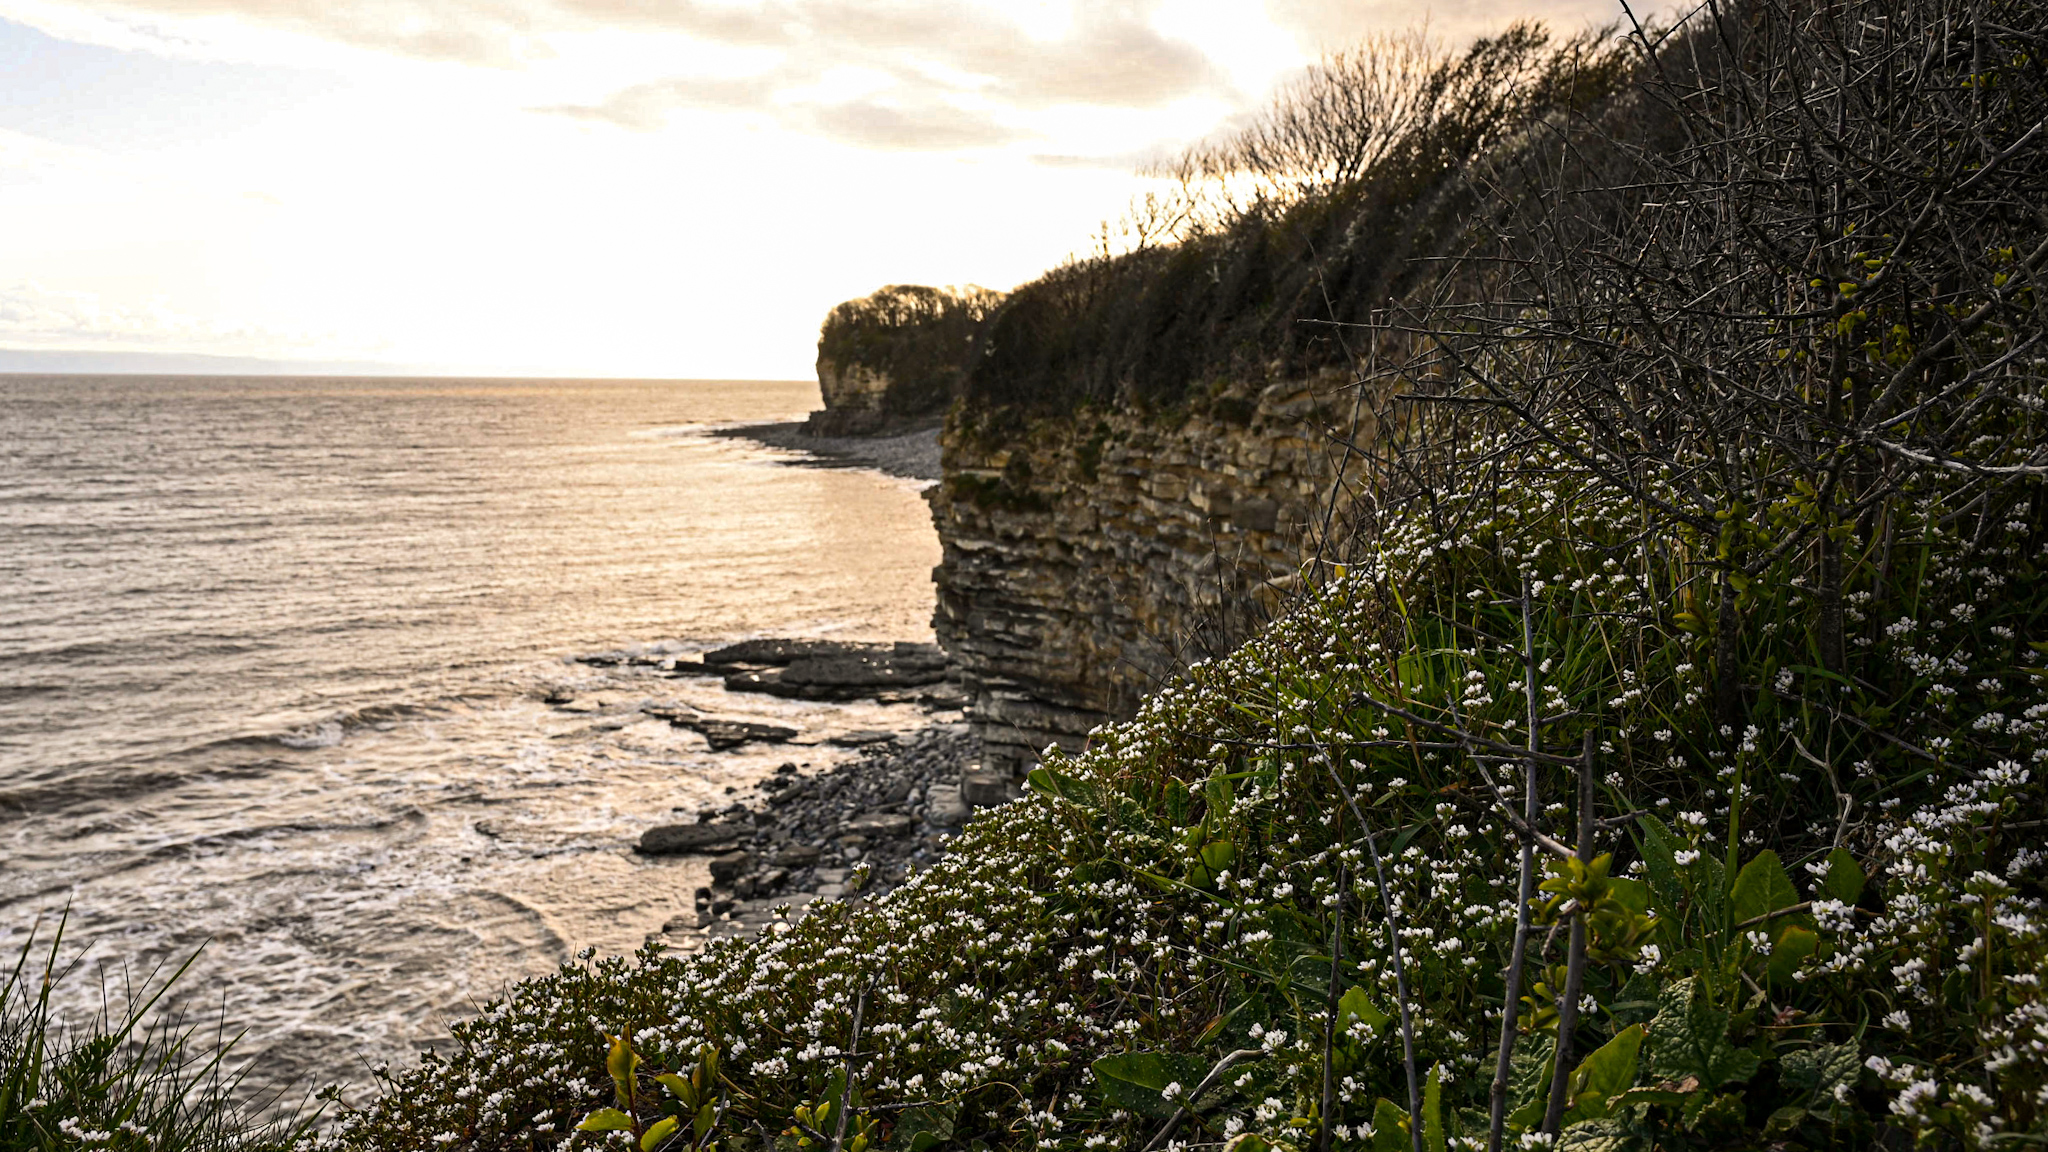
For example, let’s say you’ve taken a beautiful photo of the coastline at sunset. The colorful sky may be perfectly exposed, but the coastline and cliffs are a little too dark. By increasing the exposure of the entire image you’re at risk of blowing the highlights and making the sky too bright. Using radial and gradient filters in your editing process, along with the adjustment brush, can highlight certain parts of your image so you can edit only the selected parts. With this method you’re able to highlight the cliffs and other dark areas to increase their exposure without affecting the sky.
It’s also good to clean up any distractions in the image, such as cloning out people in the shot or any rubbish left on the beach. Check the corners of the image to make sure there’s nothing halfway in or out of the shot and crop if necessary. You may also notice dust spots from your lens, which is a real hazard when shooting coastlines, so these can be patched out easily with Lightroom’s healing tool.
What's the mood?
Seascapes tend to be warm and sunny or cold and moody… and we like to lean into that a bit. Also consider the content of the photo to guide the editing process.
For moodier seascape scenes, boost the contrast, darken the blue tones, and slightly increase the clarity to bring out the natural shapes and textures of the scene. These types of images tend to be on the colder side so decreasing the temperature is a good trick here. Using gradient filters to create subtle vignettes at the corners of the image can also help create a moodier feel.
If it’s a brighter image with beautiful golden light, we essentially do the opposite. We like to boost the yellows and oranges (but not too much), brighten up the image, and add haze where necessary. The Orton effect is a good technique to use here. For a lovely soft, dreamy effect, bring down the clarity and texture a bit (you may need to use a gradient filter if you don’t want it to apply to your whole image).
We like to edit the colors individually in the HSL panel as opposed to the main saturation slider. This way you have more control over the colors in your image and can completely eliminate colors which aren’t in your photo.
Split toning is also a great way to add subtle color to your image. With split toning you can change the colors of the highlights, mid-tones, and shadows. In a warm golden hour seascape scene, you can warm up the highlights even more by changing the highlights to an orange or yellow, and cool down the shadows by changing them to blue. This is very simple but effective, and you don’t have to change them too much to see the effect.
Light
During the editing process it’s important to consider where your light source (ie. the sun) is coming from. It’s easy to get carried away in brightening different parts of the image that look underexposed, but if you brighten parts of the image that wouldn’t be lit by the sun it can start to look unrealistic. Shadows are there for a reason so don’t be afraid of having them in your photos. If there is a significant amount of contrast in your image, don’t be afraid to darken the foreground significantly, to create a silhouette. This can look really powerful if done right.
Join our Space Forums to keep talking space on the latest missions, night sky and more! And if you have a news tip, correction or comment, let us know at: community@space.com.
Get the Space.com Newsletter
Breaking space news, the latest updates on rocket launches, skywatching events and more!

Kimberley Lane is a landscape & seascape photographer living in South Wales. Originally using photography as a way to cope with health issues, she aims to portray a feeling of calm and peace through her images. Her work has been featured in a number of national photography magazines.
