How to shoot and edit HDR images with your drone
Capture detail throughout high-contrast scenes by shooting and editing HDR images that will make your drone shots look as natural as the scene appeared to the naked eye.
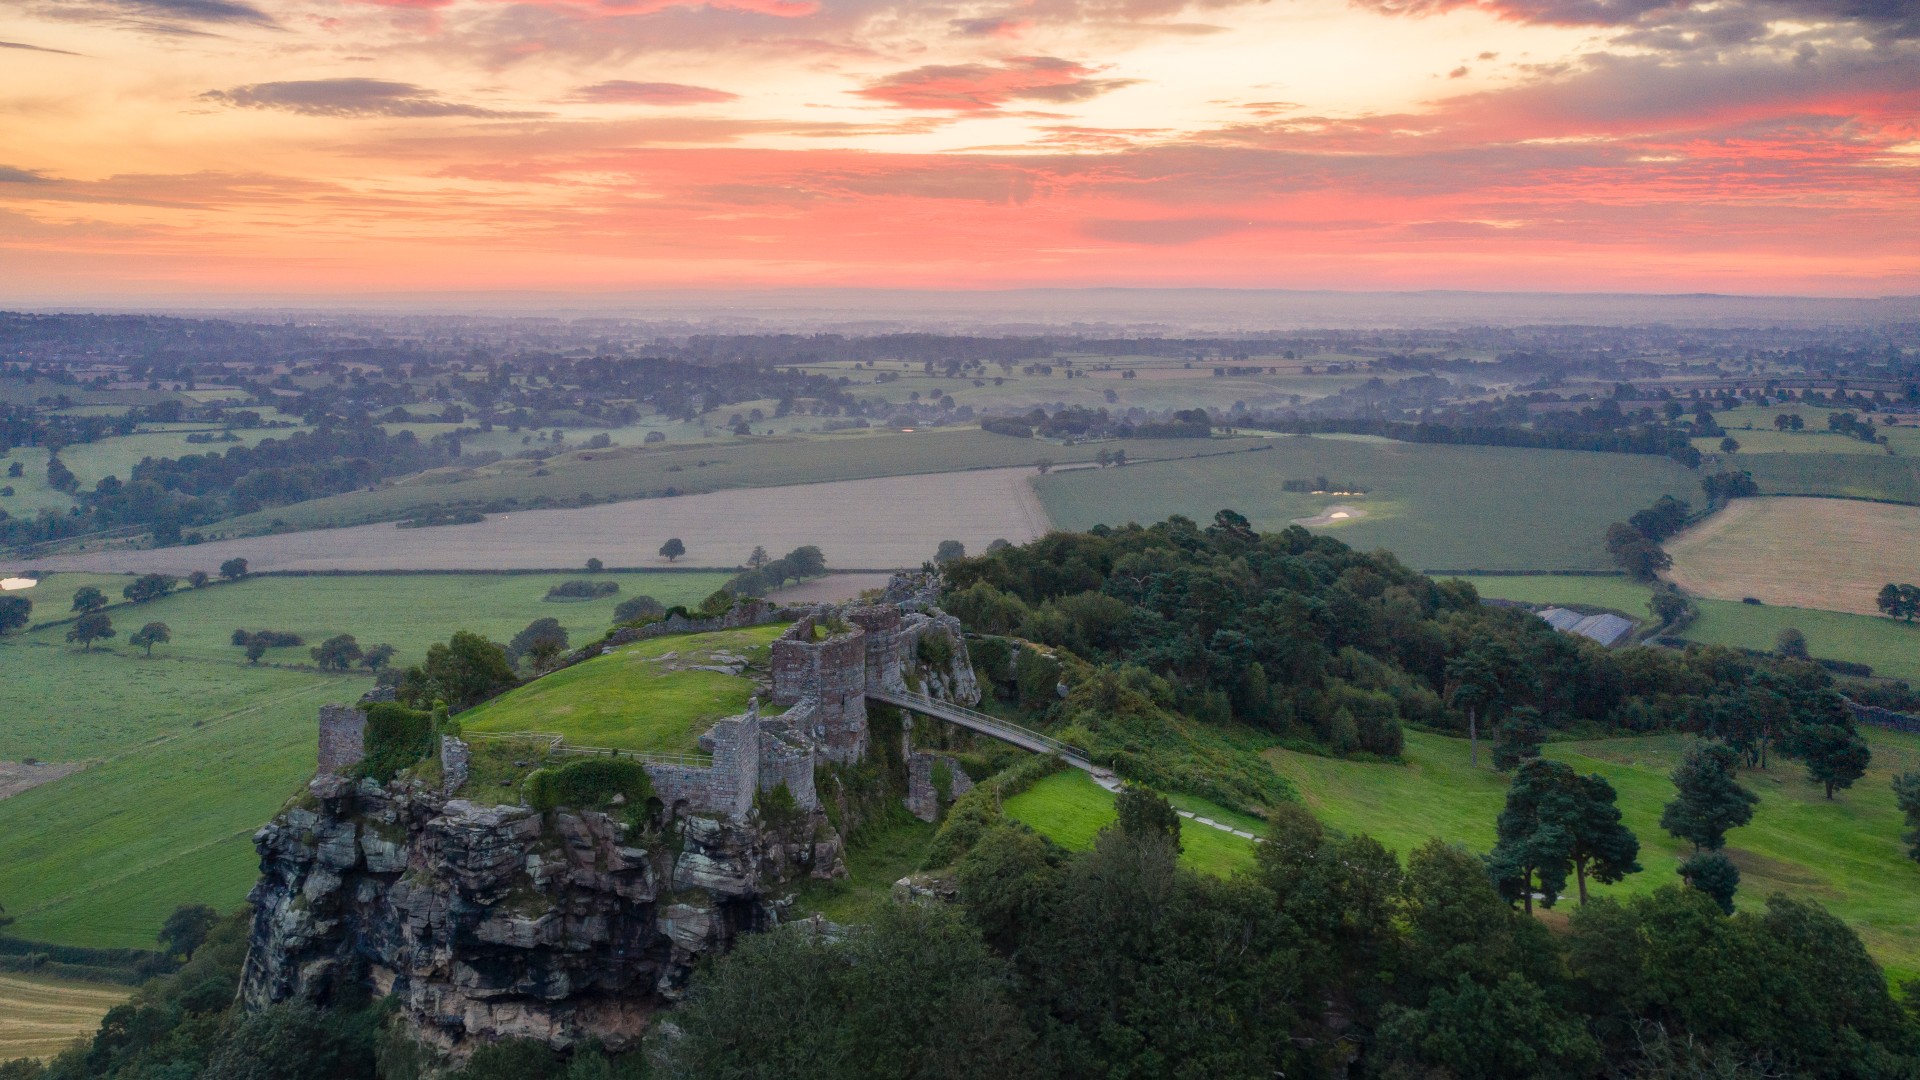
Capture your best landscape shots ever with a simple technique that will revolutionize your aerial photography with images that are bursting with detail.
Drone photography often focuses on landscapes, which is a genre of photography that’s well-known for producing images high-quality with detail throughout the scene. But with a single image, in a high contrast scene, the drone’s camera sensor might only be able to capture detail in the shadows and mid-tones, or the highlights and mid-tones. And this is where HDR comes to the rescue.
HDR or high dynamic range photography is a technique that’s used to capture detail throughout a scene, from the brightest highlights, through the mid-tones to the deepest shadows. This is achieved by taking three or five bracketed exposures, which are then merged into a single image in Lightroom where detail can be recovered. The result is to create images that look like they were taken using ND grad filters, which are often used with mirrorless cameras and DSLRs to balance the exposure of a bright sky with the darker ground. The results can be amazing, so let’s take a look at how it’s done…
If you're looking for a new drone to take stunning HDR photos with, we've got a range of articles to help you out with guides to the best drones, best beginner drones , and best camera drones too.
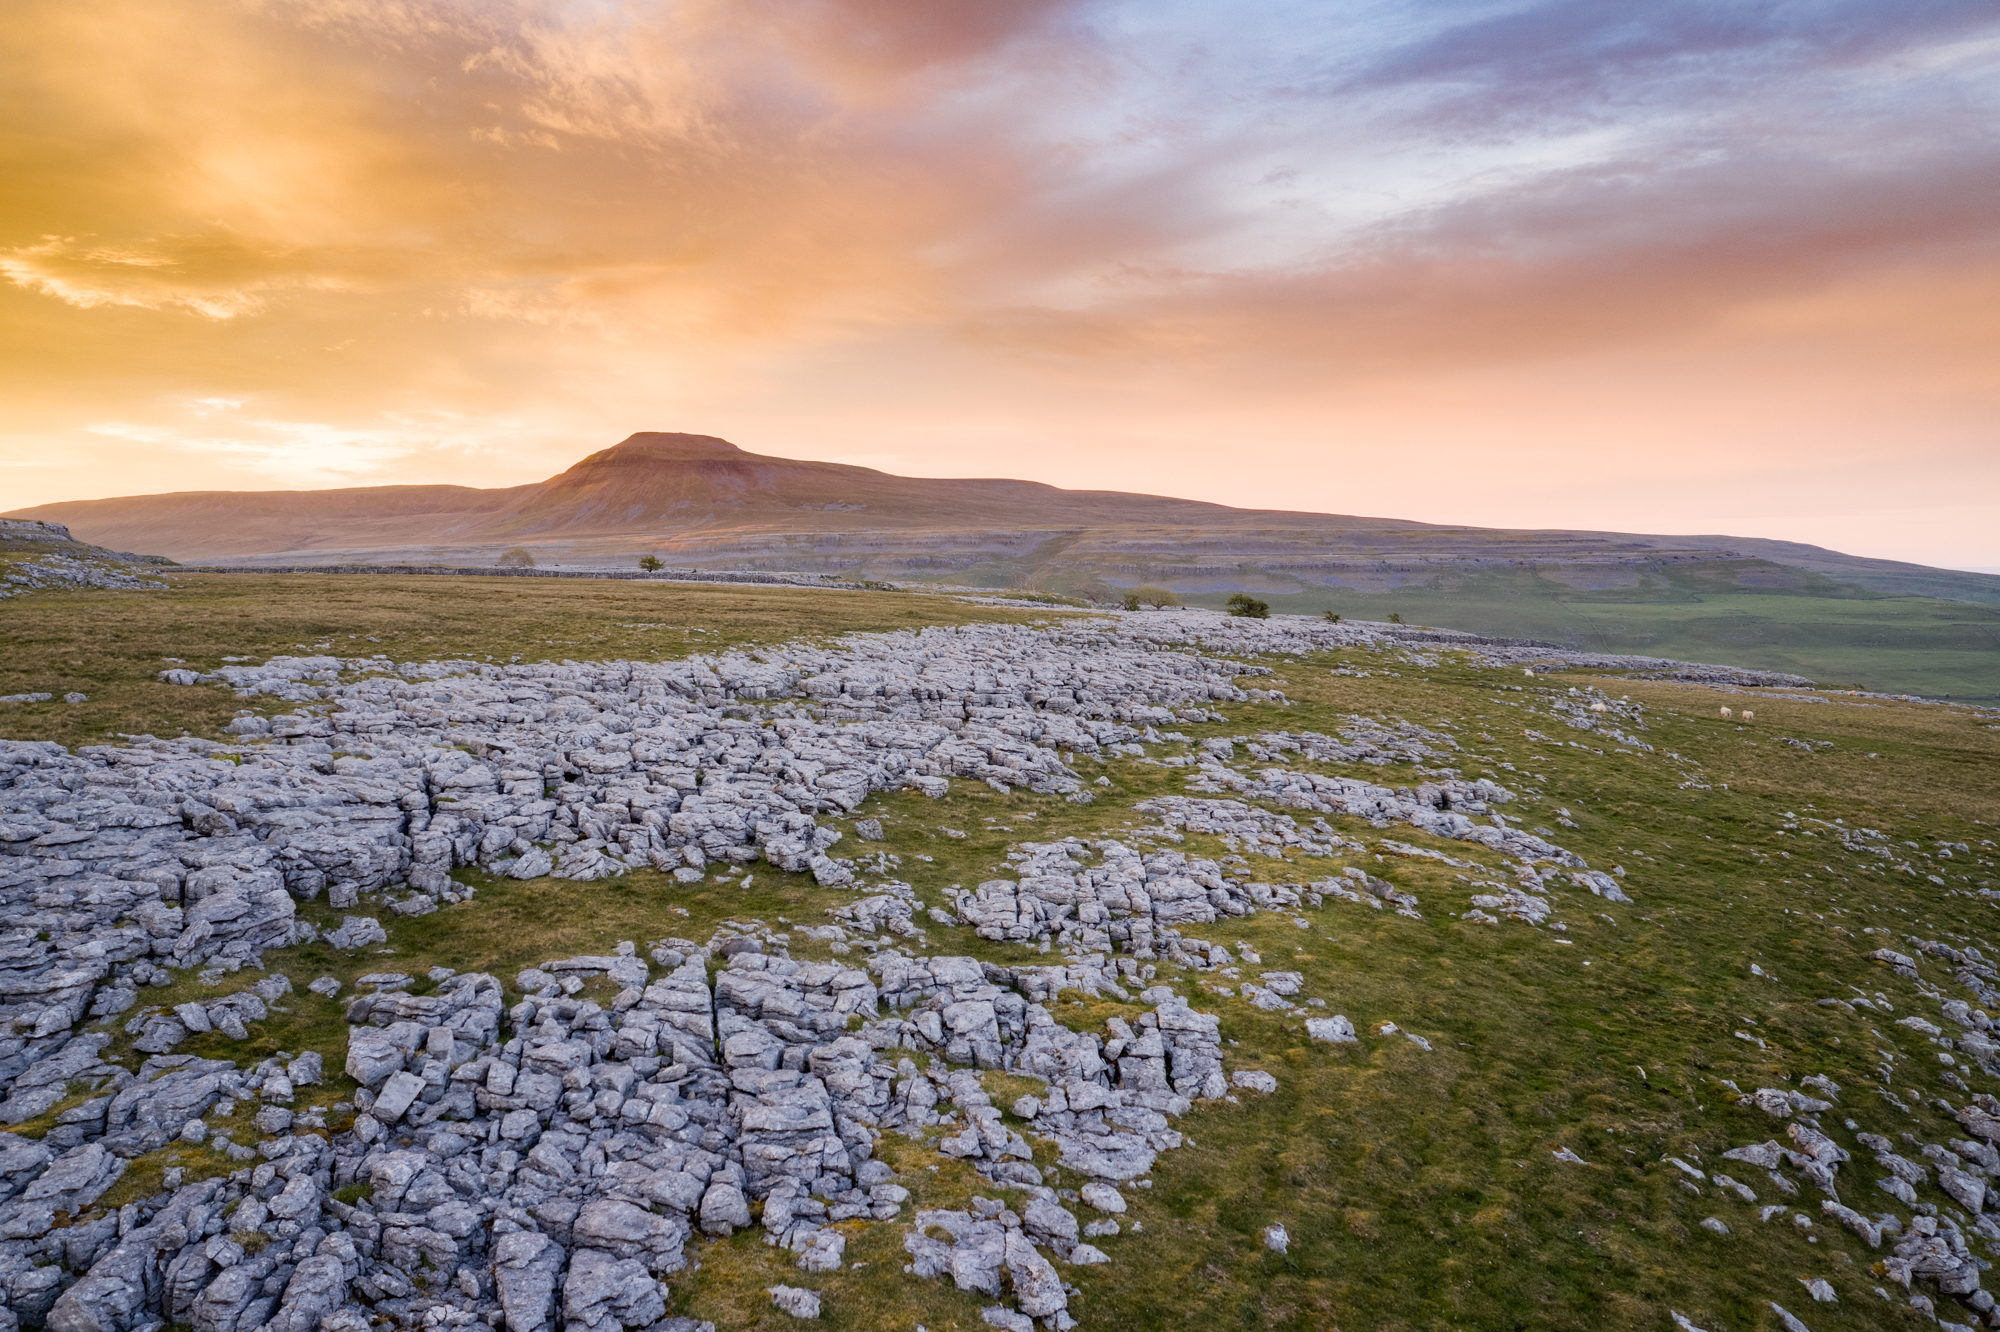
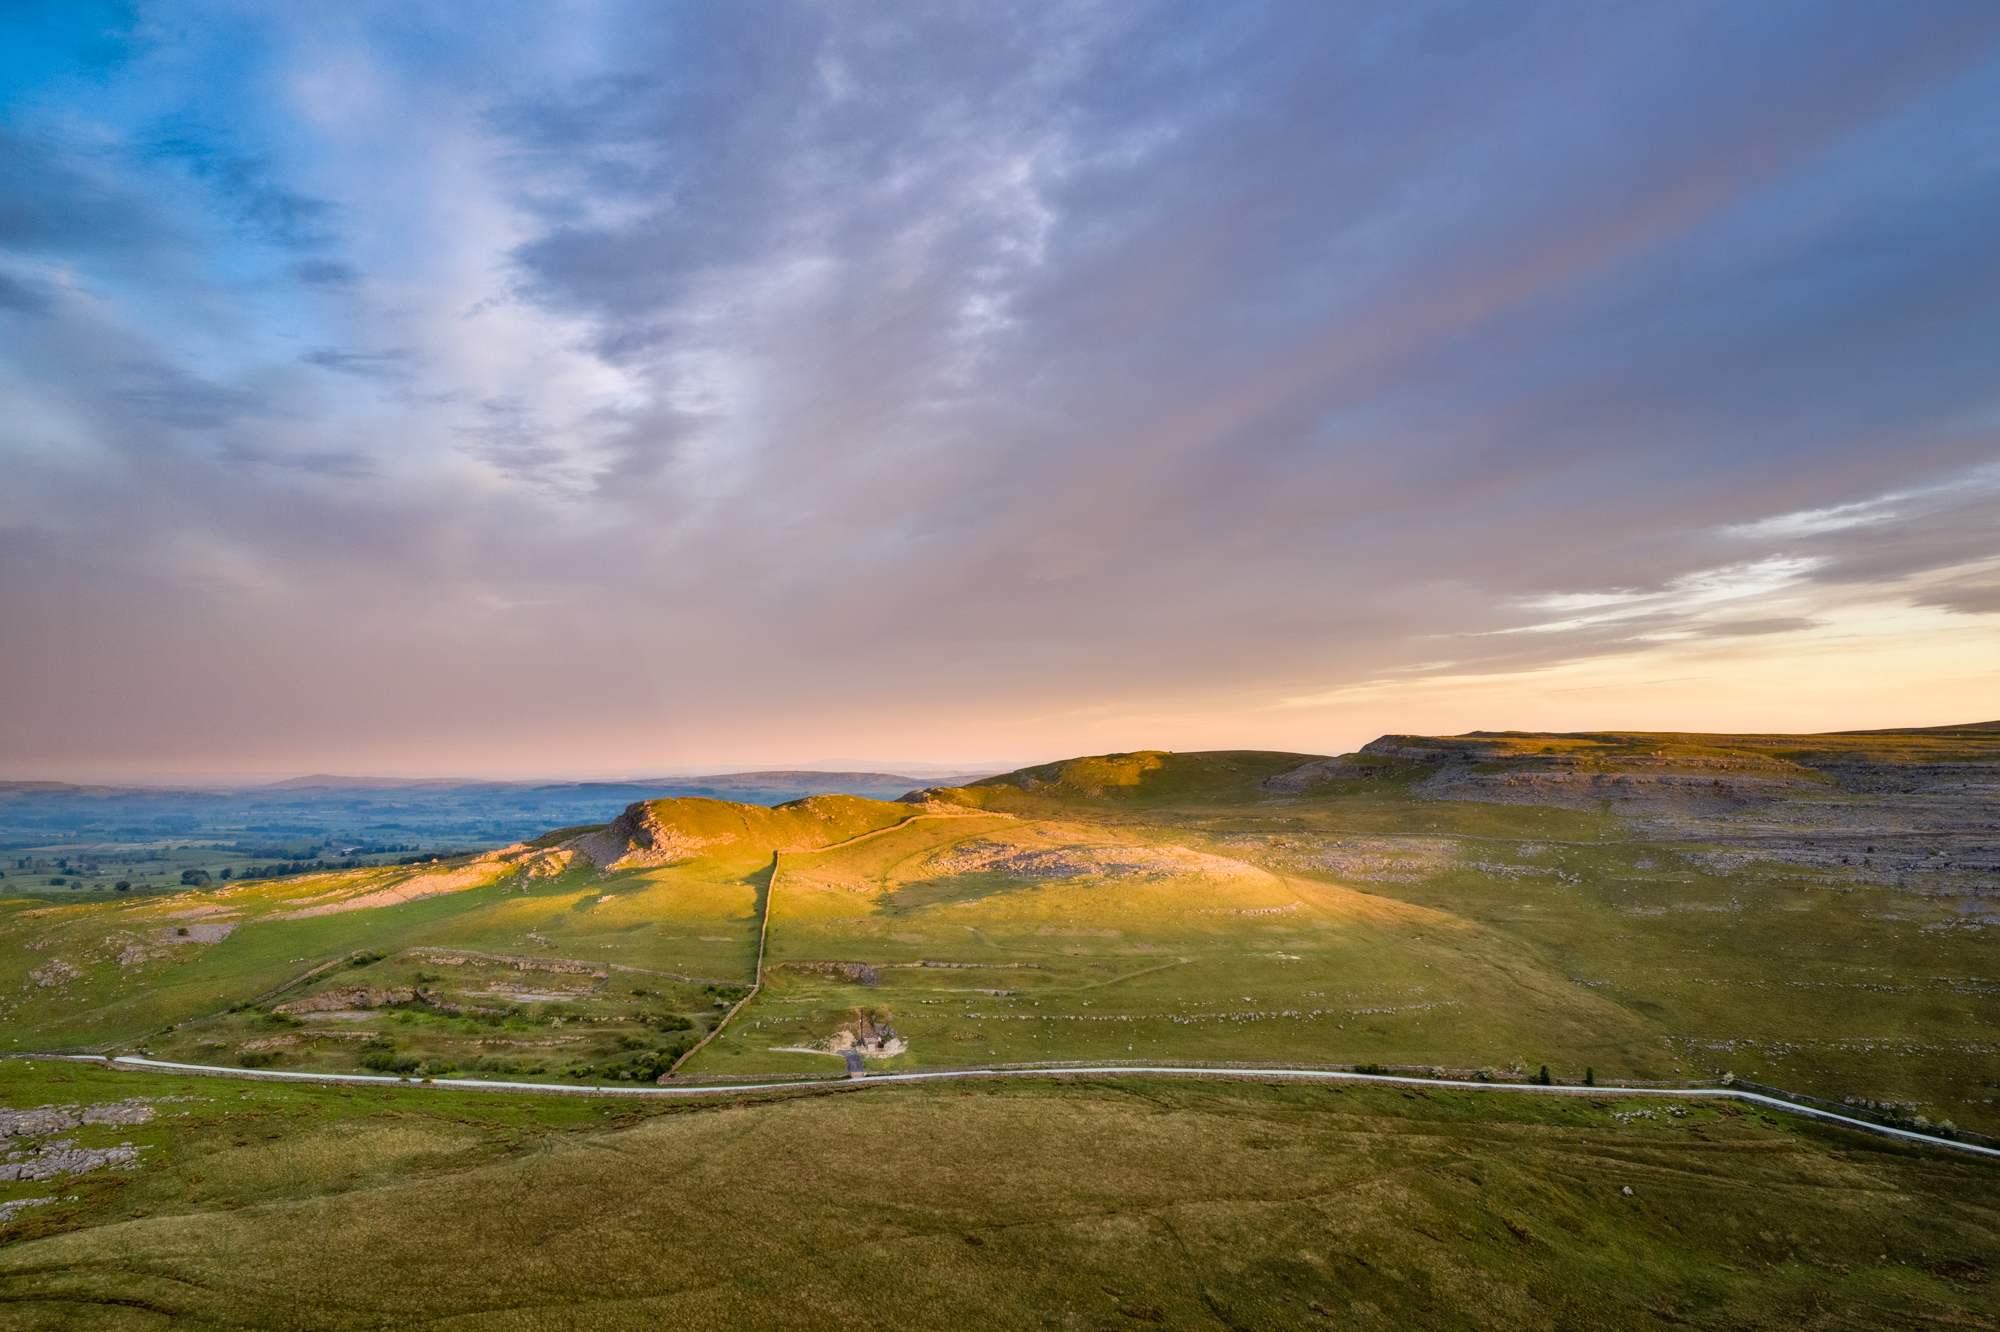
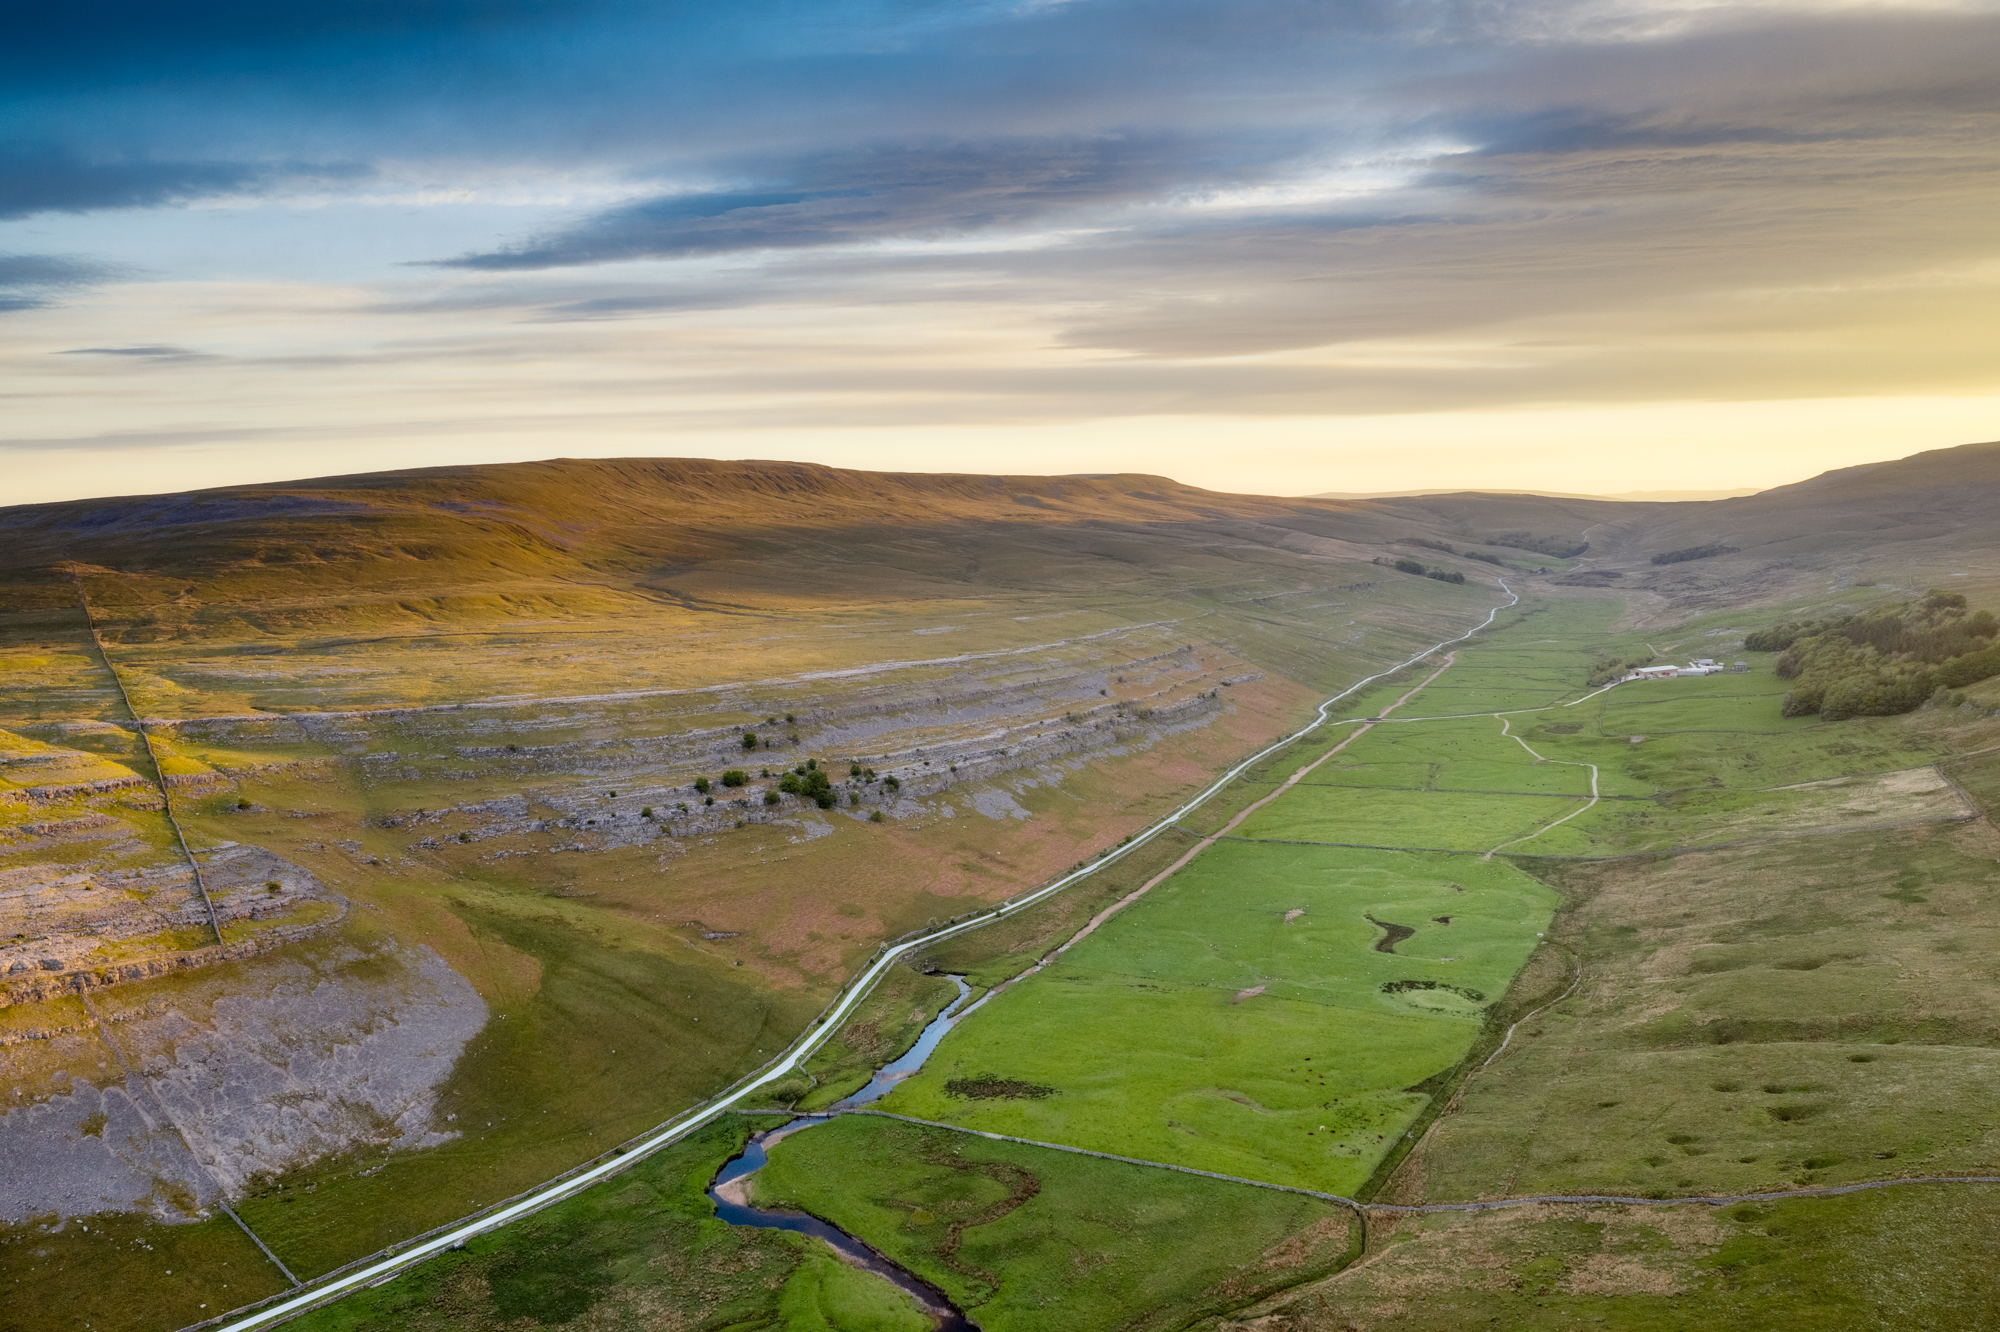
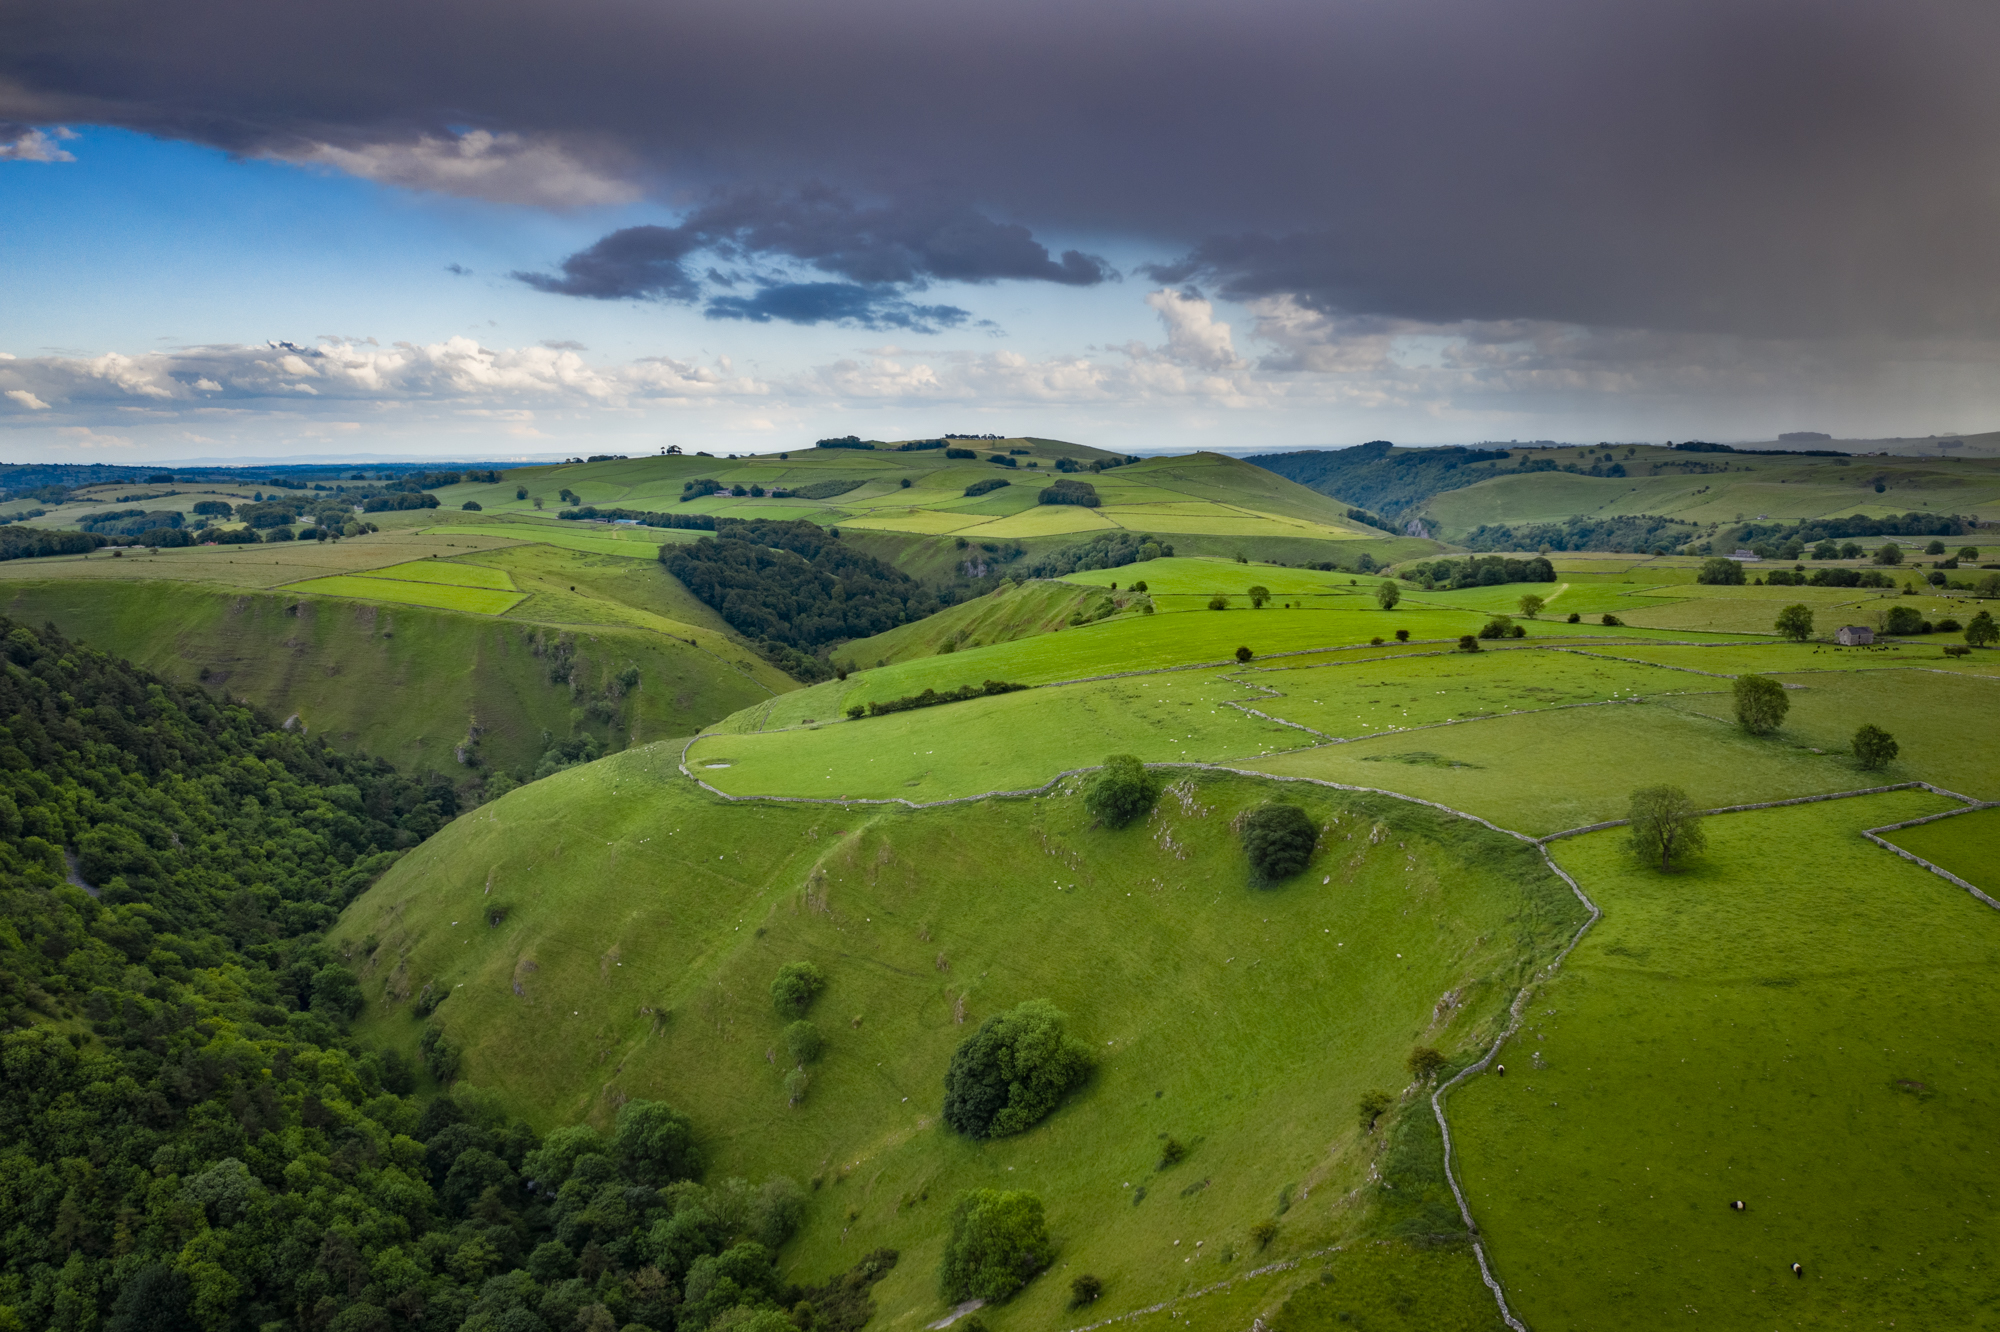
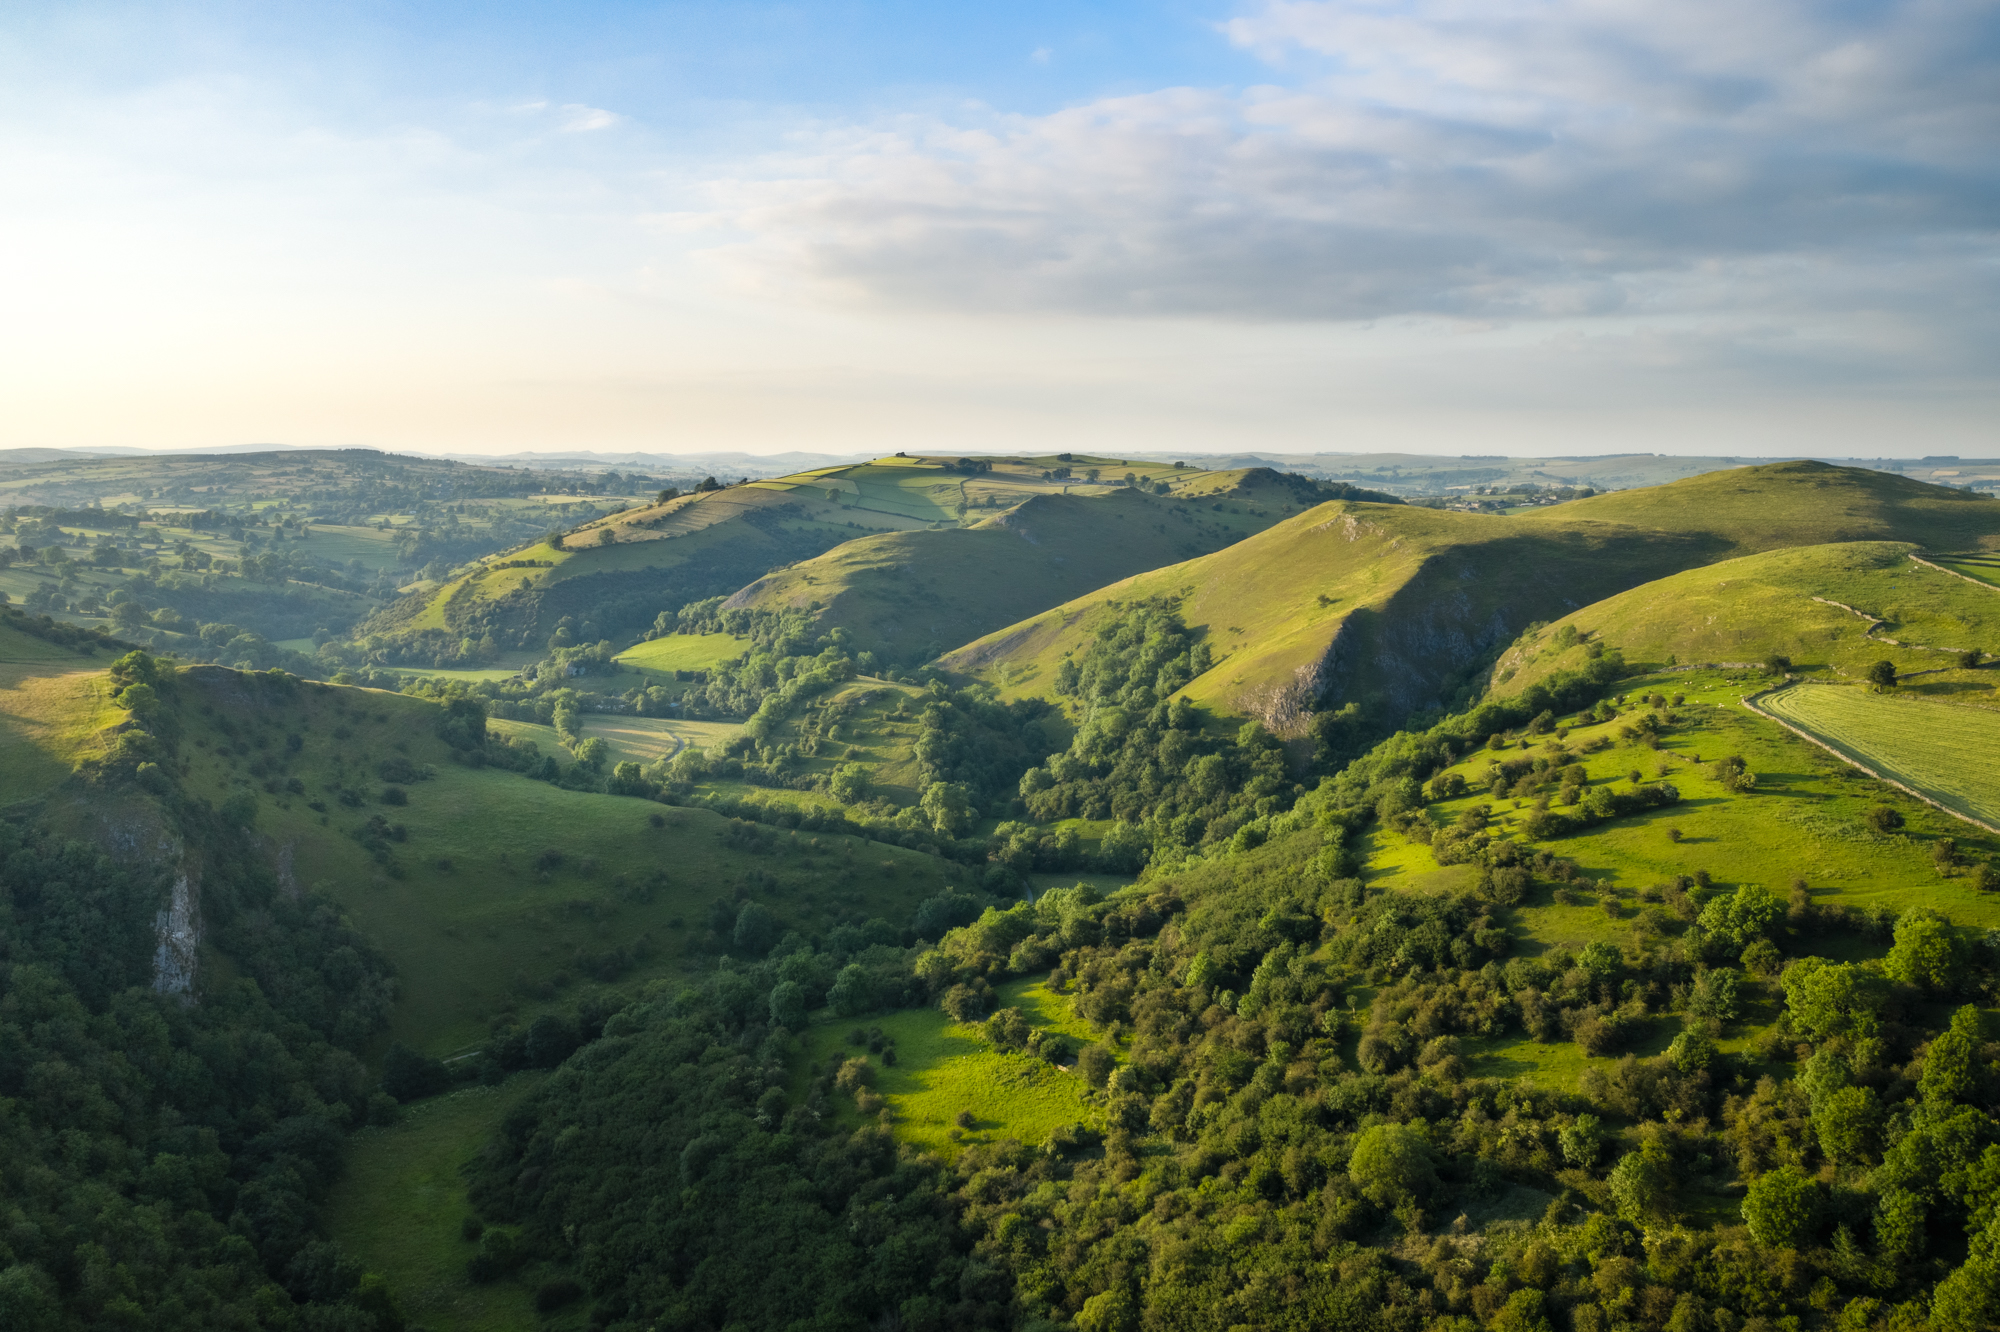
Shooting steps
Shooting bracketed exposures for HDR is incredibly easy because most drones offer a shooting mode called AEB (automatic exposure bracketing). With this mode set, you choose how many exposures are required and this is usually three or five. Then, once exposure is set for the ‘middle’ exposure in the drone app, the drone will capture one or two underexposed images, one middle exposure, and then one or two overexposed images.
1. Fly into position and compose
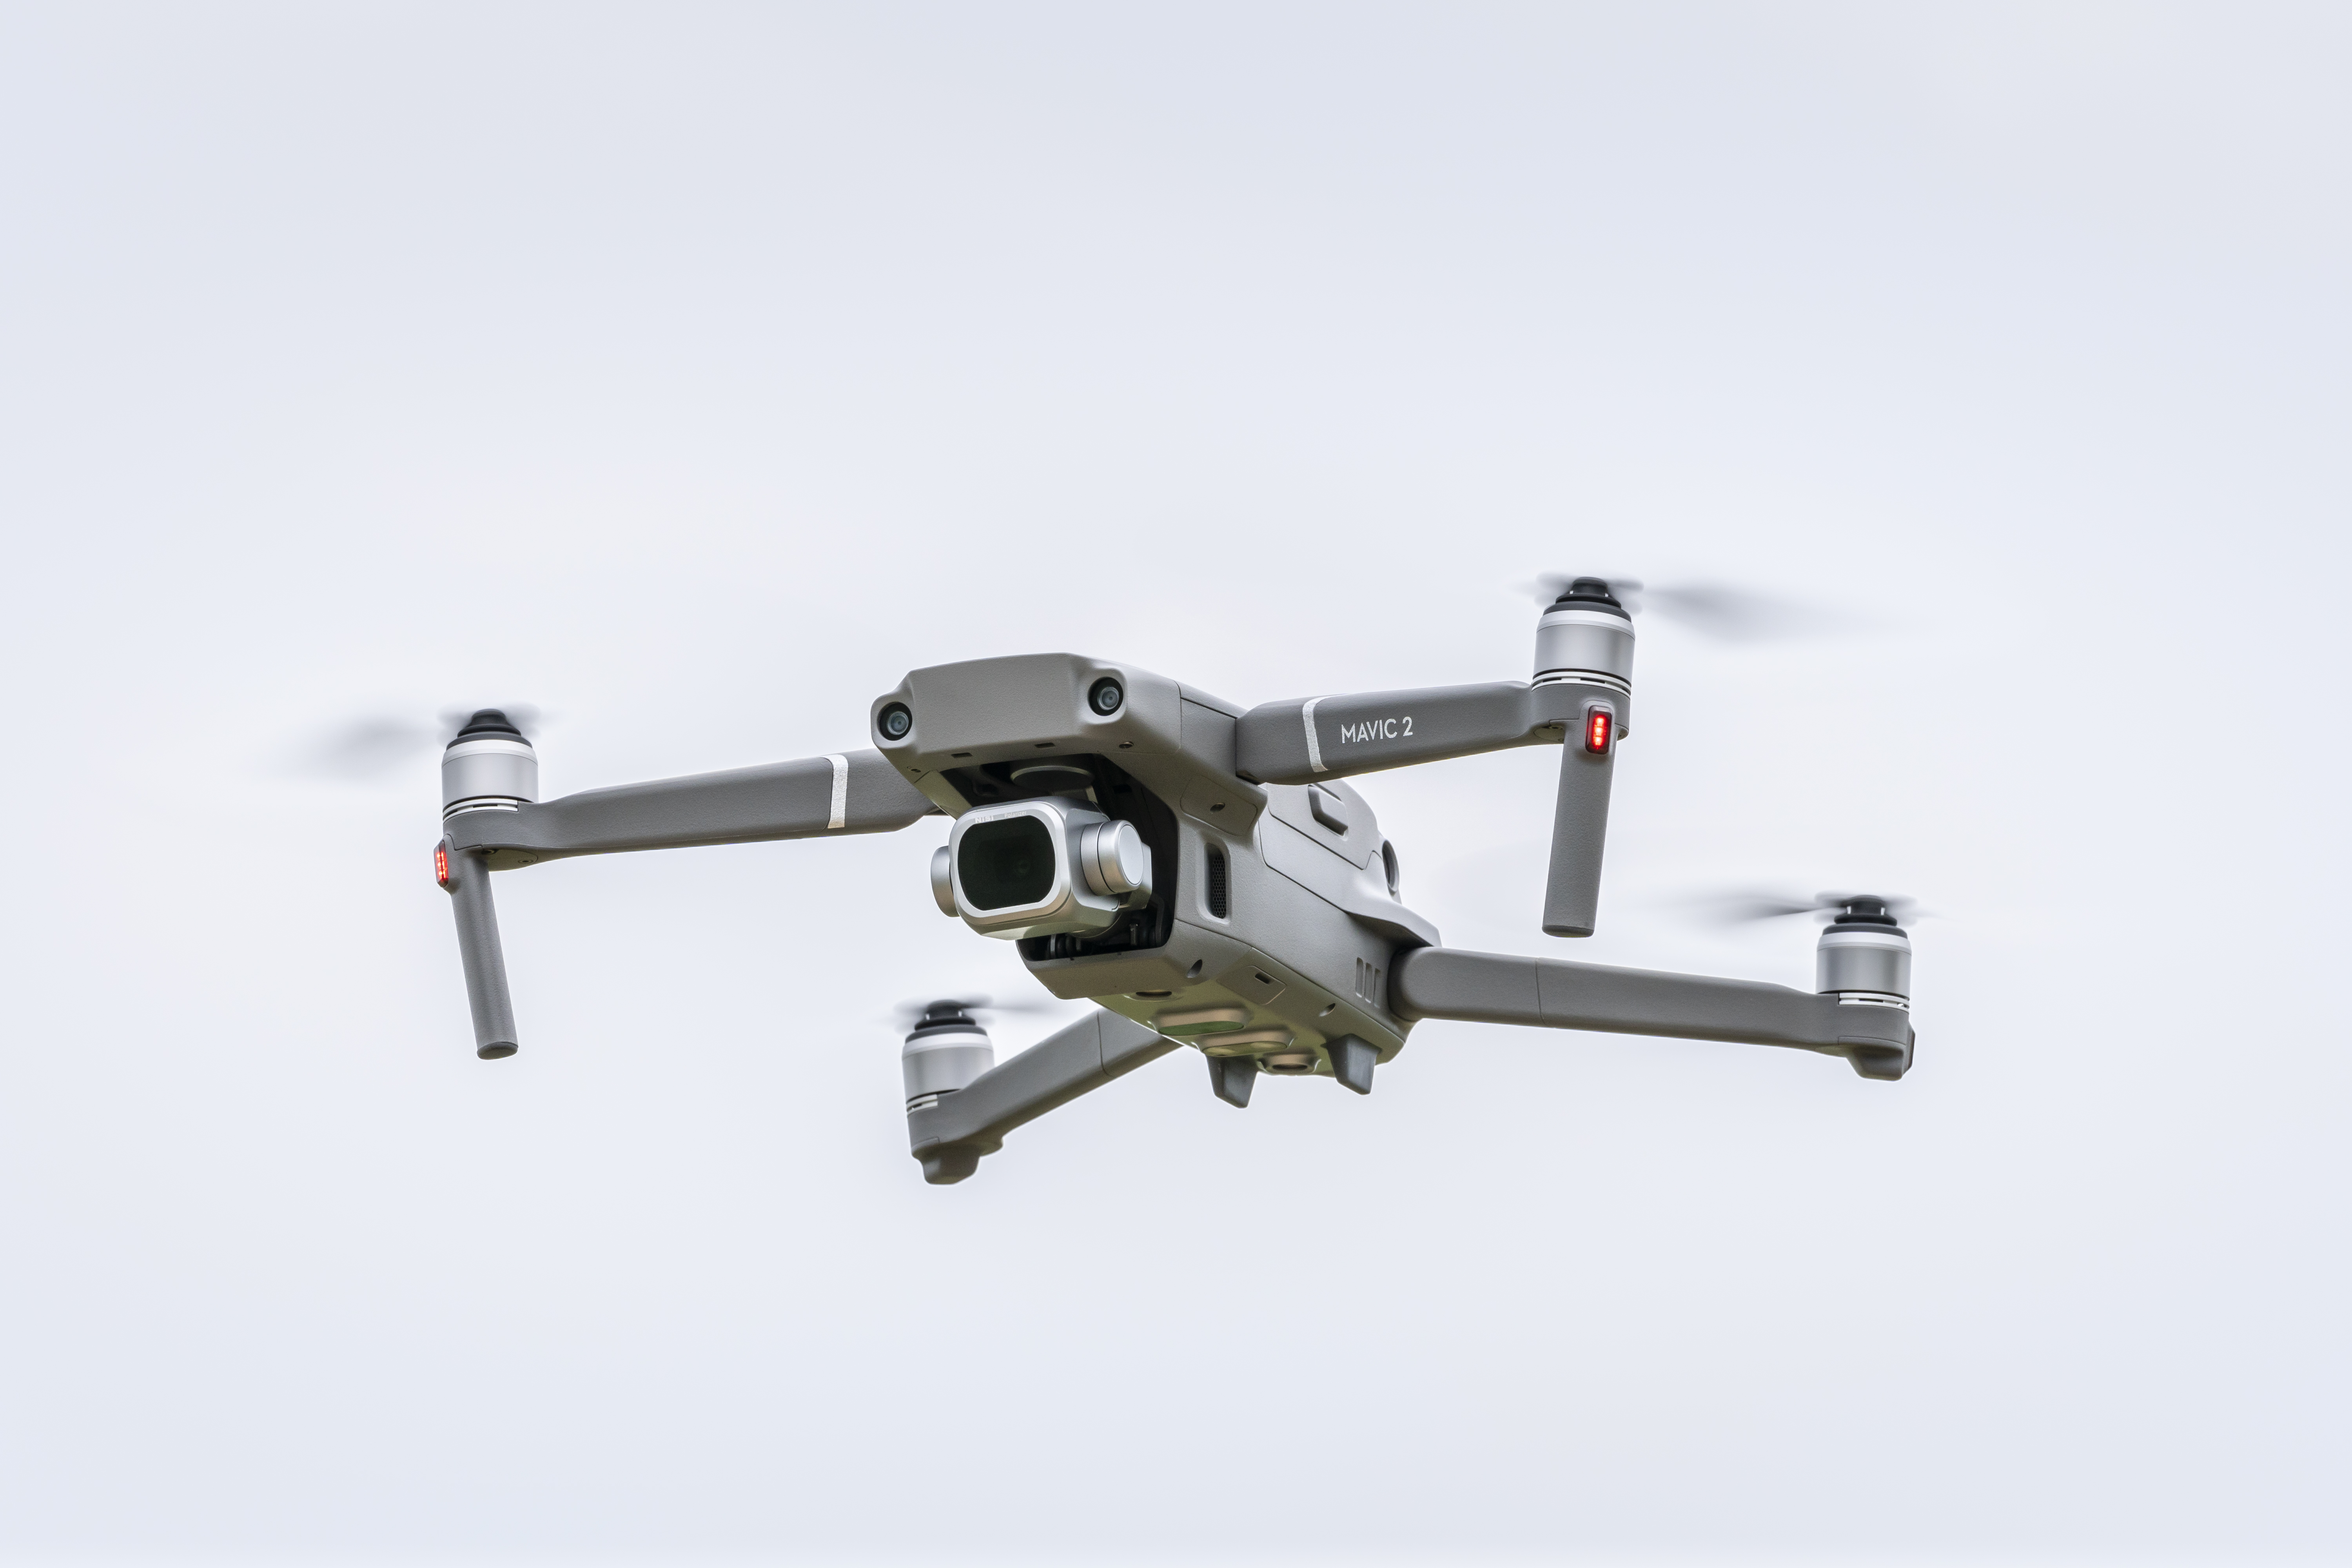
Use a smartphone app such as Drone Assist to make sure that it’s safe and legal to fly at your chosen location. Then, once you’ve identified a take-off and landing spot, fly the drone into position and use the flight and gimbal controls to compose your shot. Turn on the rule-of-thirds grid and histogram to assist with composition and exposure. You can now leave the drone hovering ready to shoot.
2. Set up and shoot
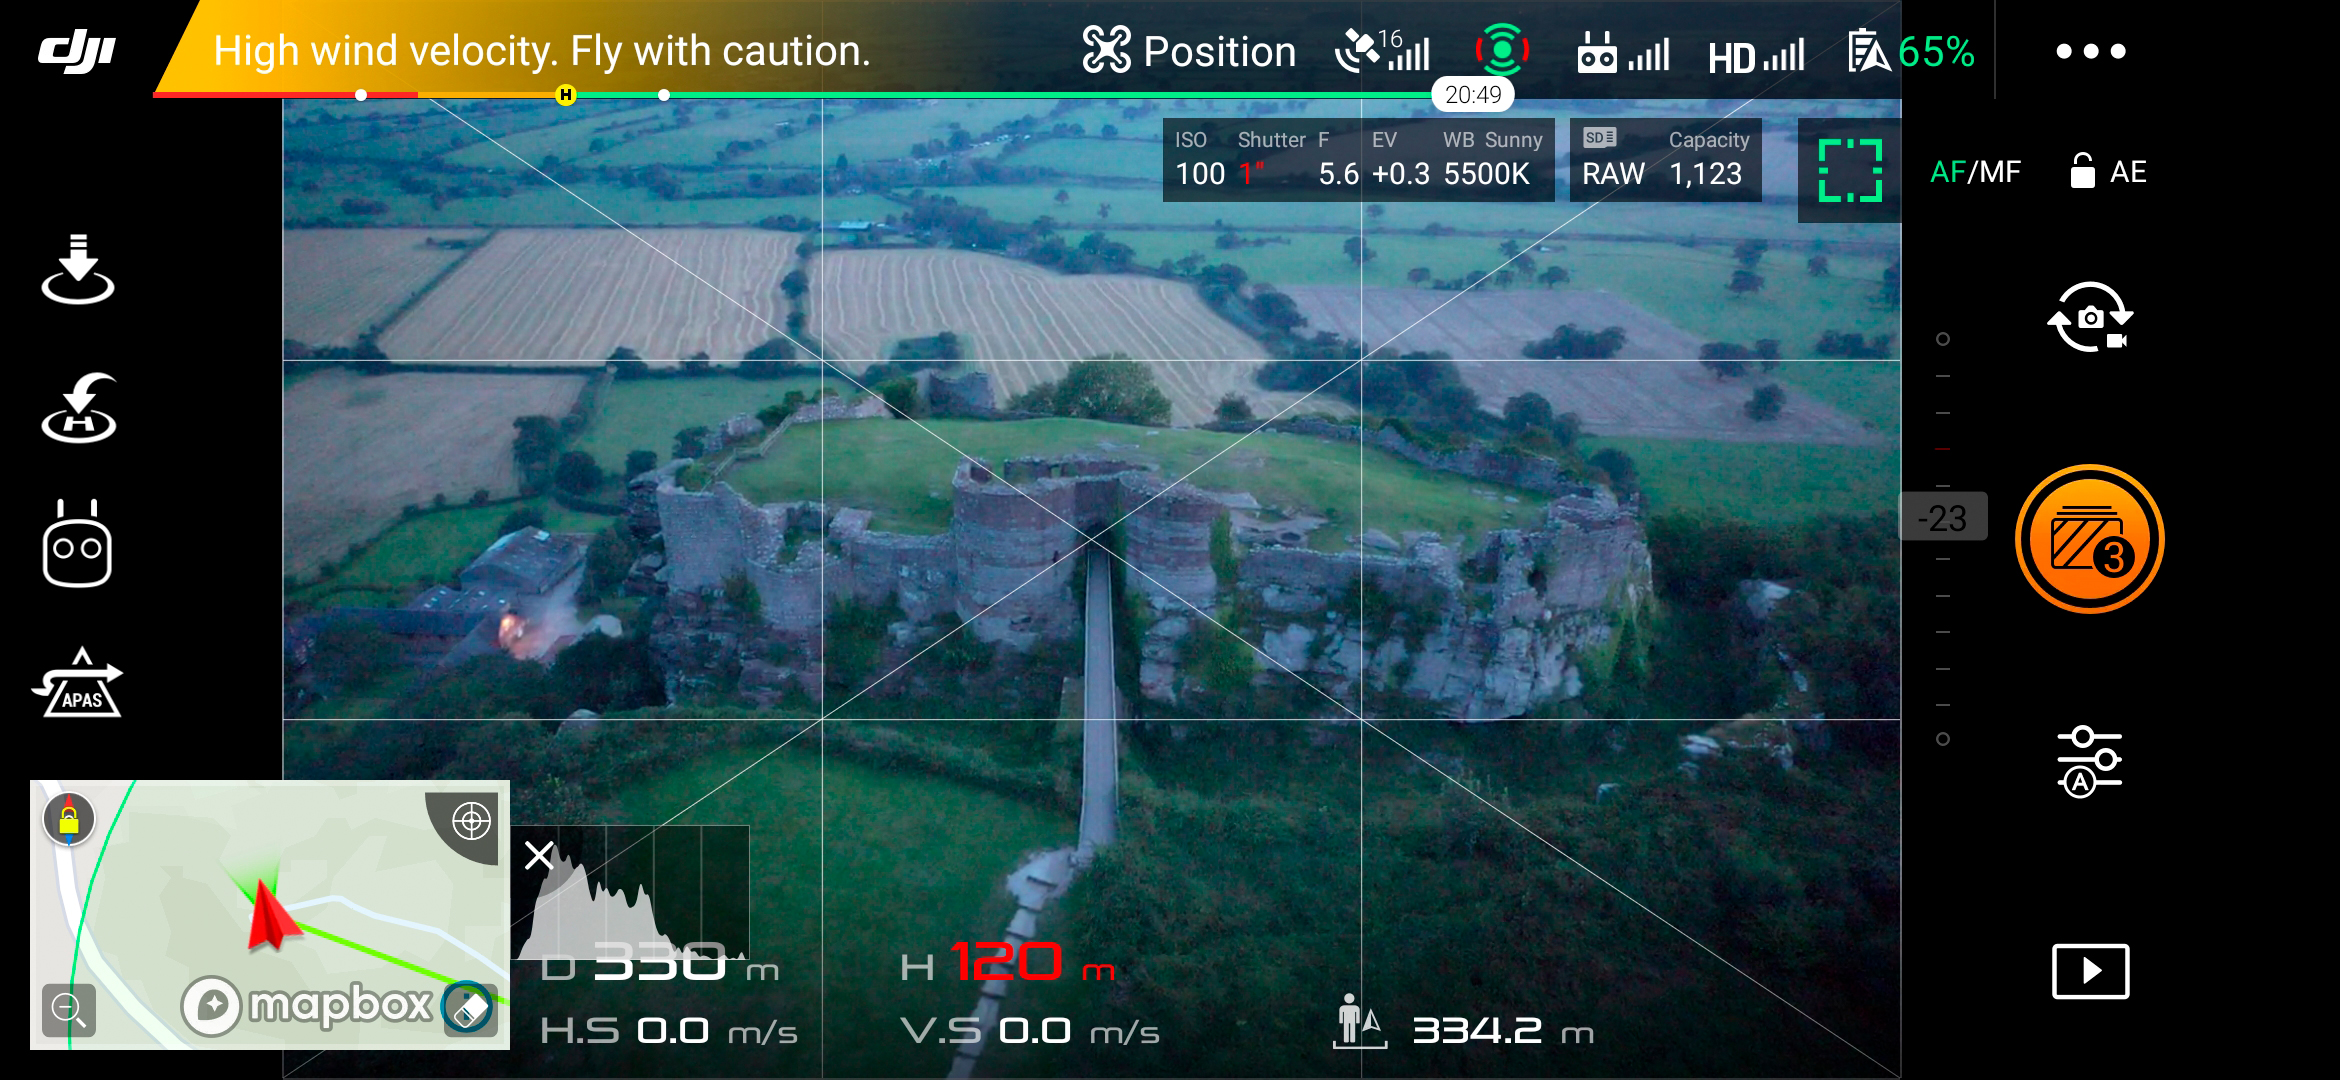
Shoot in Raw and set ISO to between 100-400, select an aperture between f/2.8 to f/5.6 if your drone has an adjustable aperture, then set the shutter speed for a correct exposure for the mid-tones. If your drone has a fixed aperture, simply adjust the shutter speed. Next, set the camera to AEB mode at three or five exposures and the camera will take the shots with a single press of the shutter button.
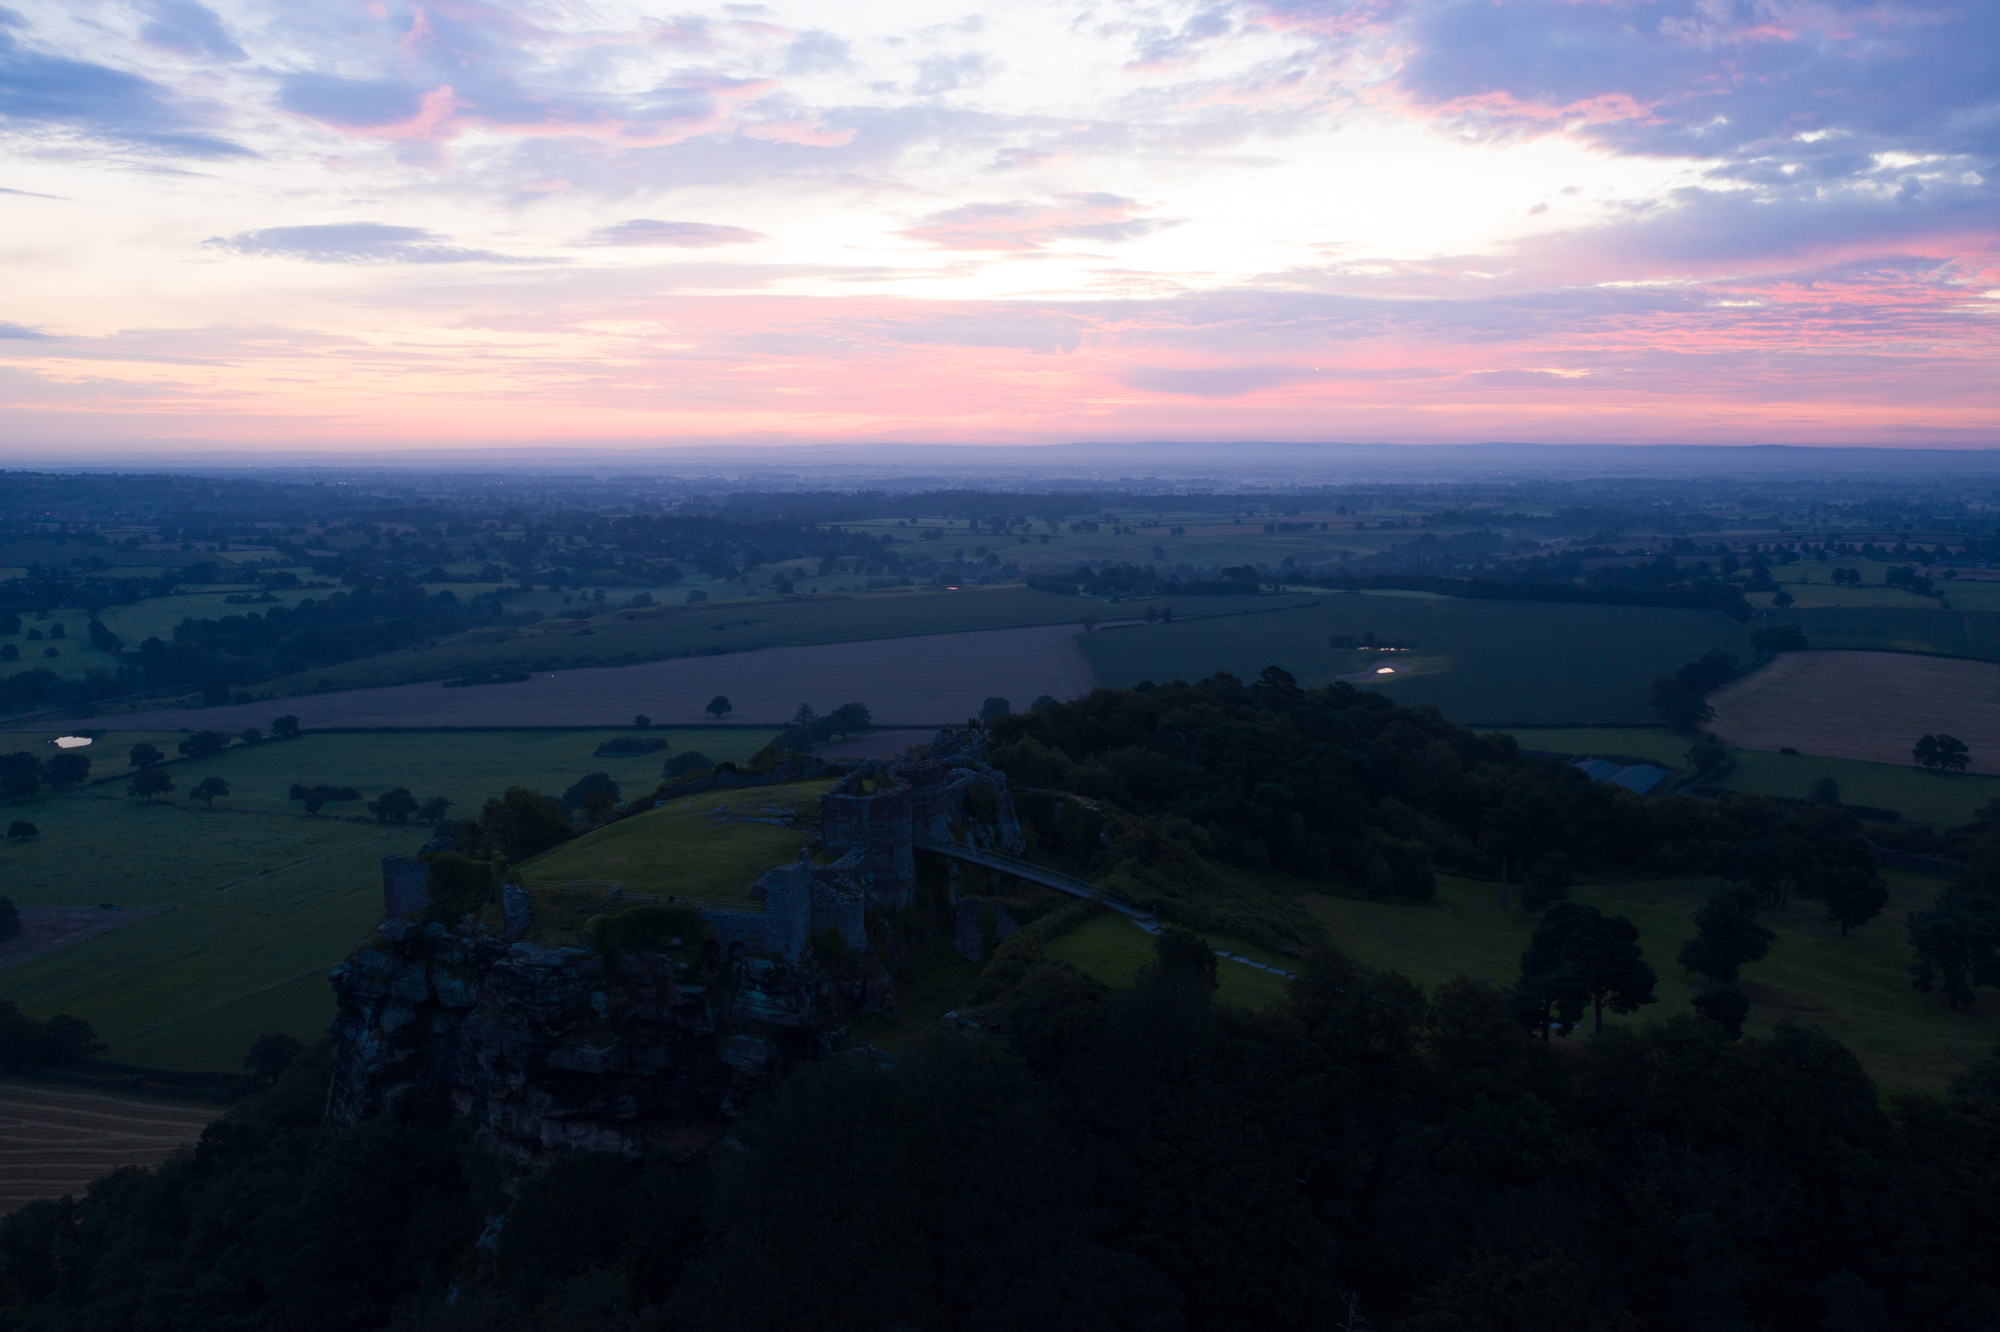
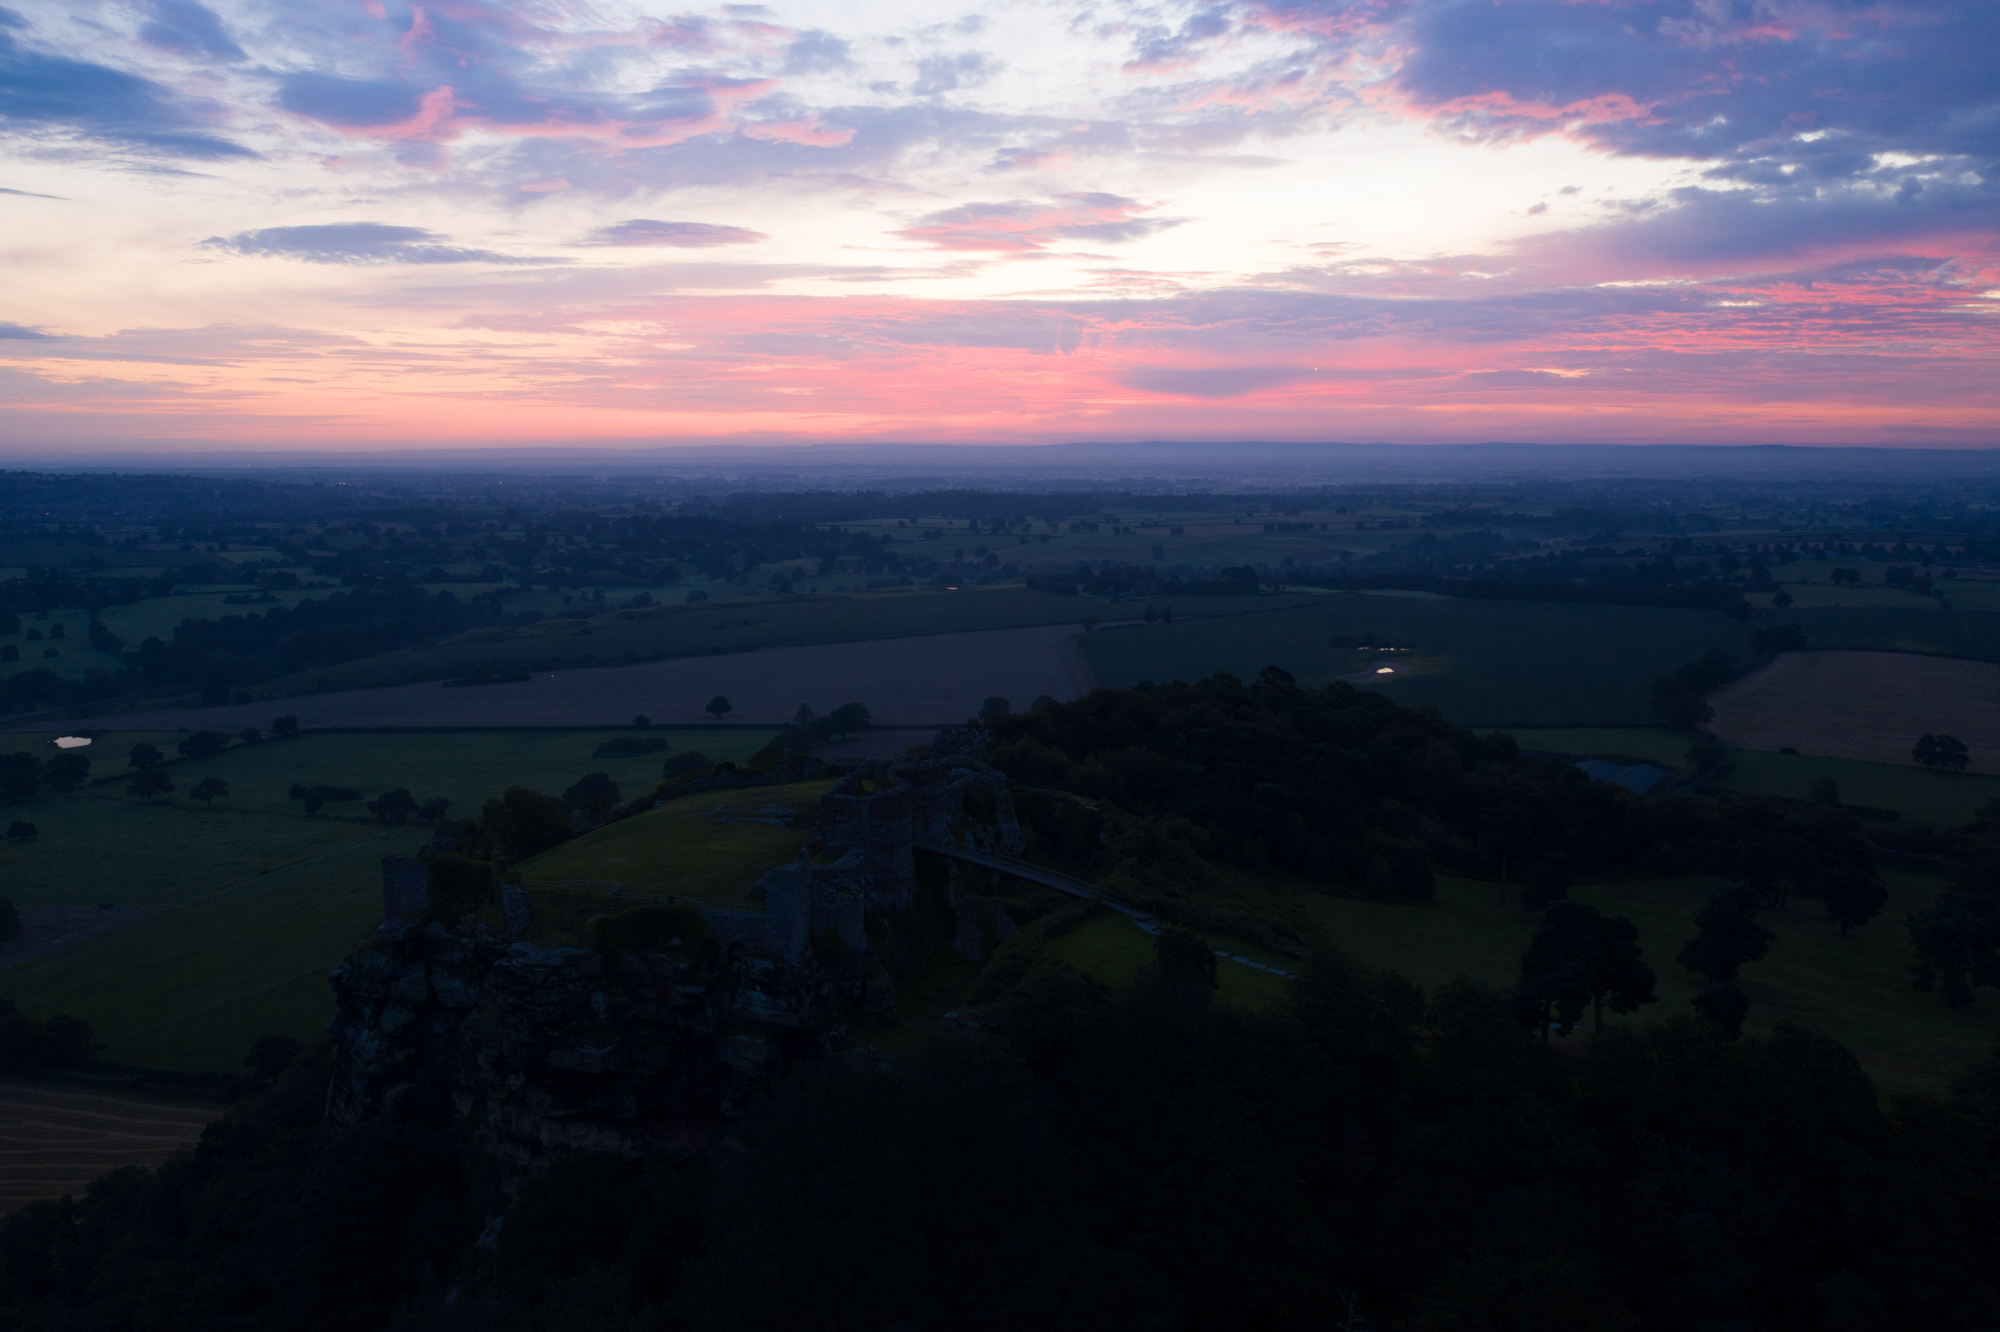
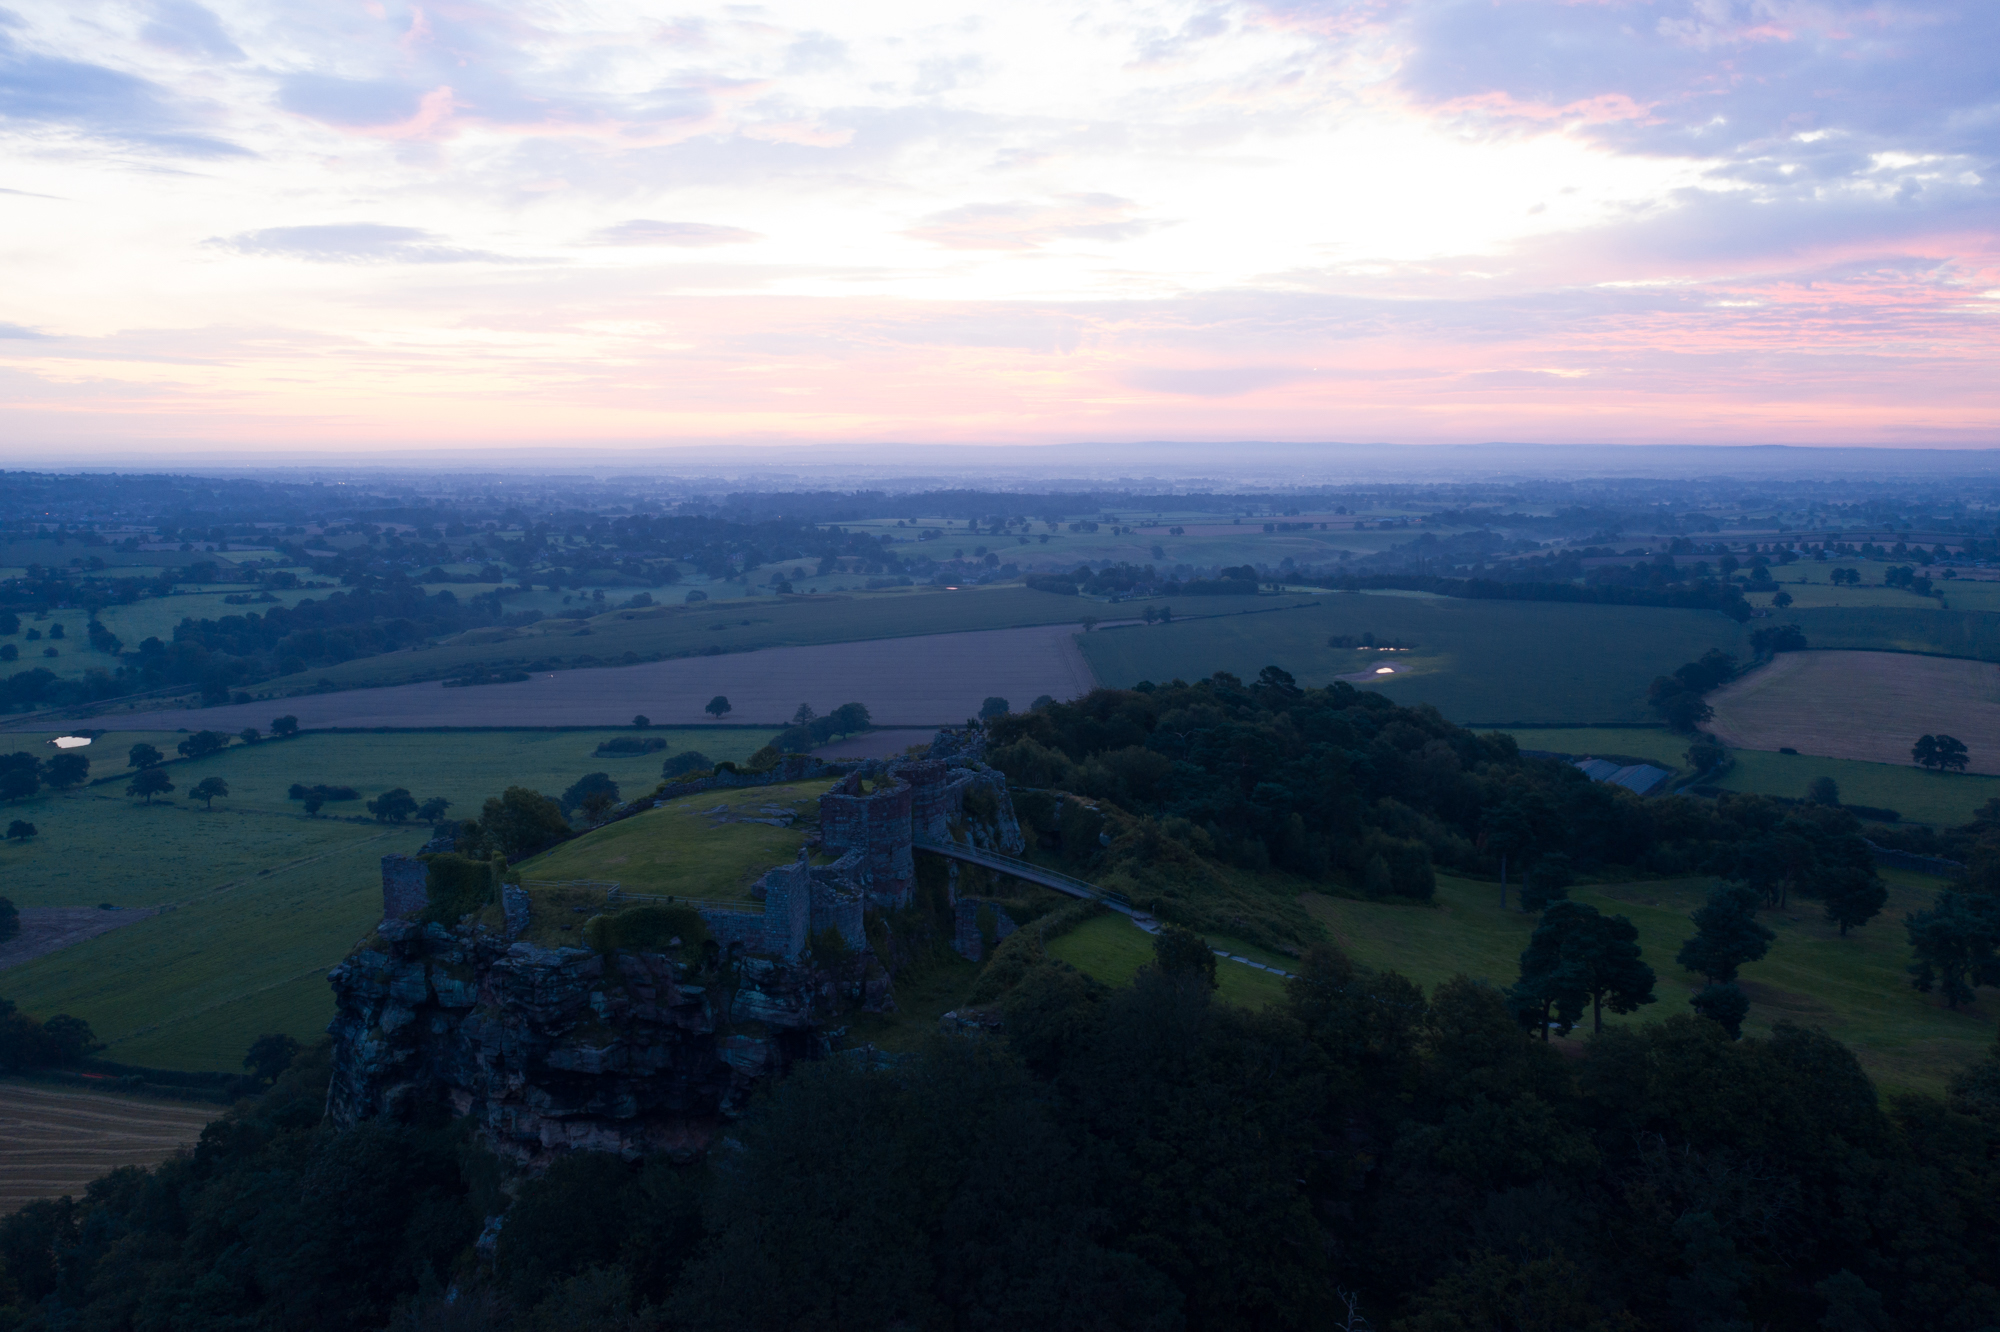
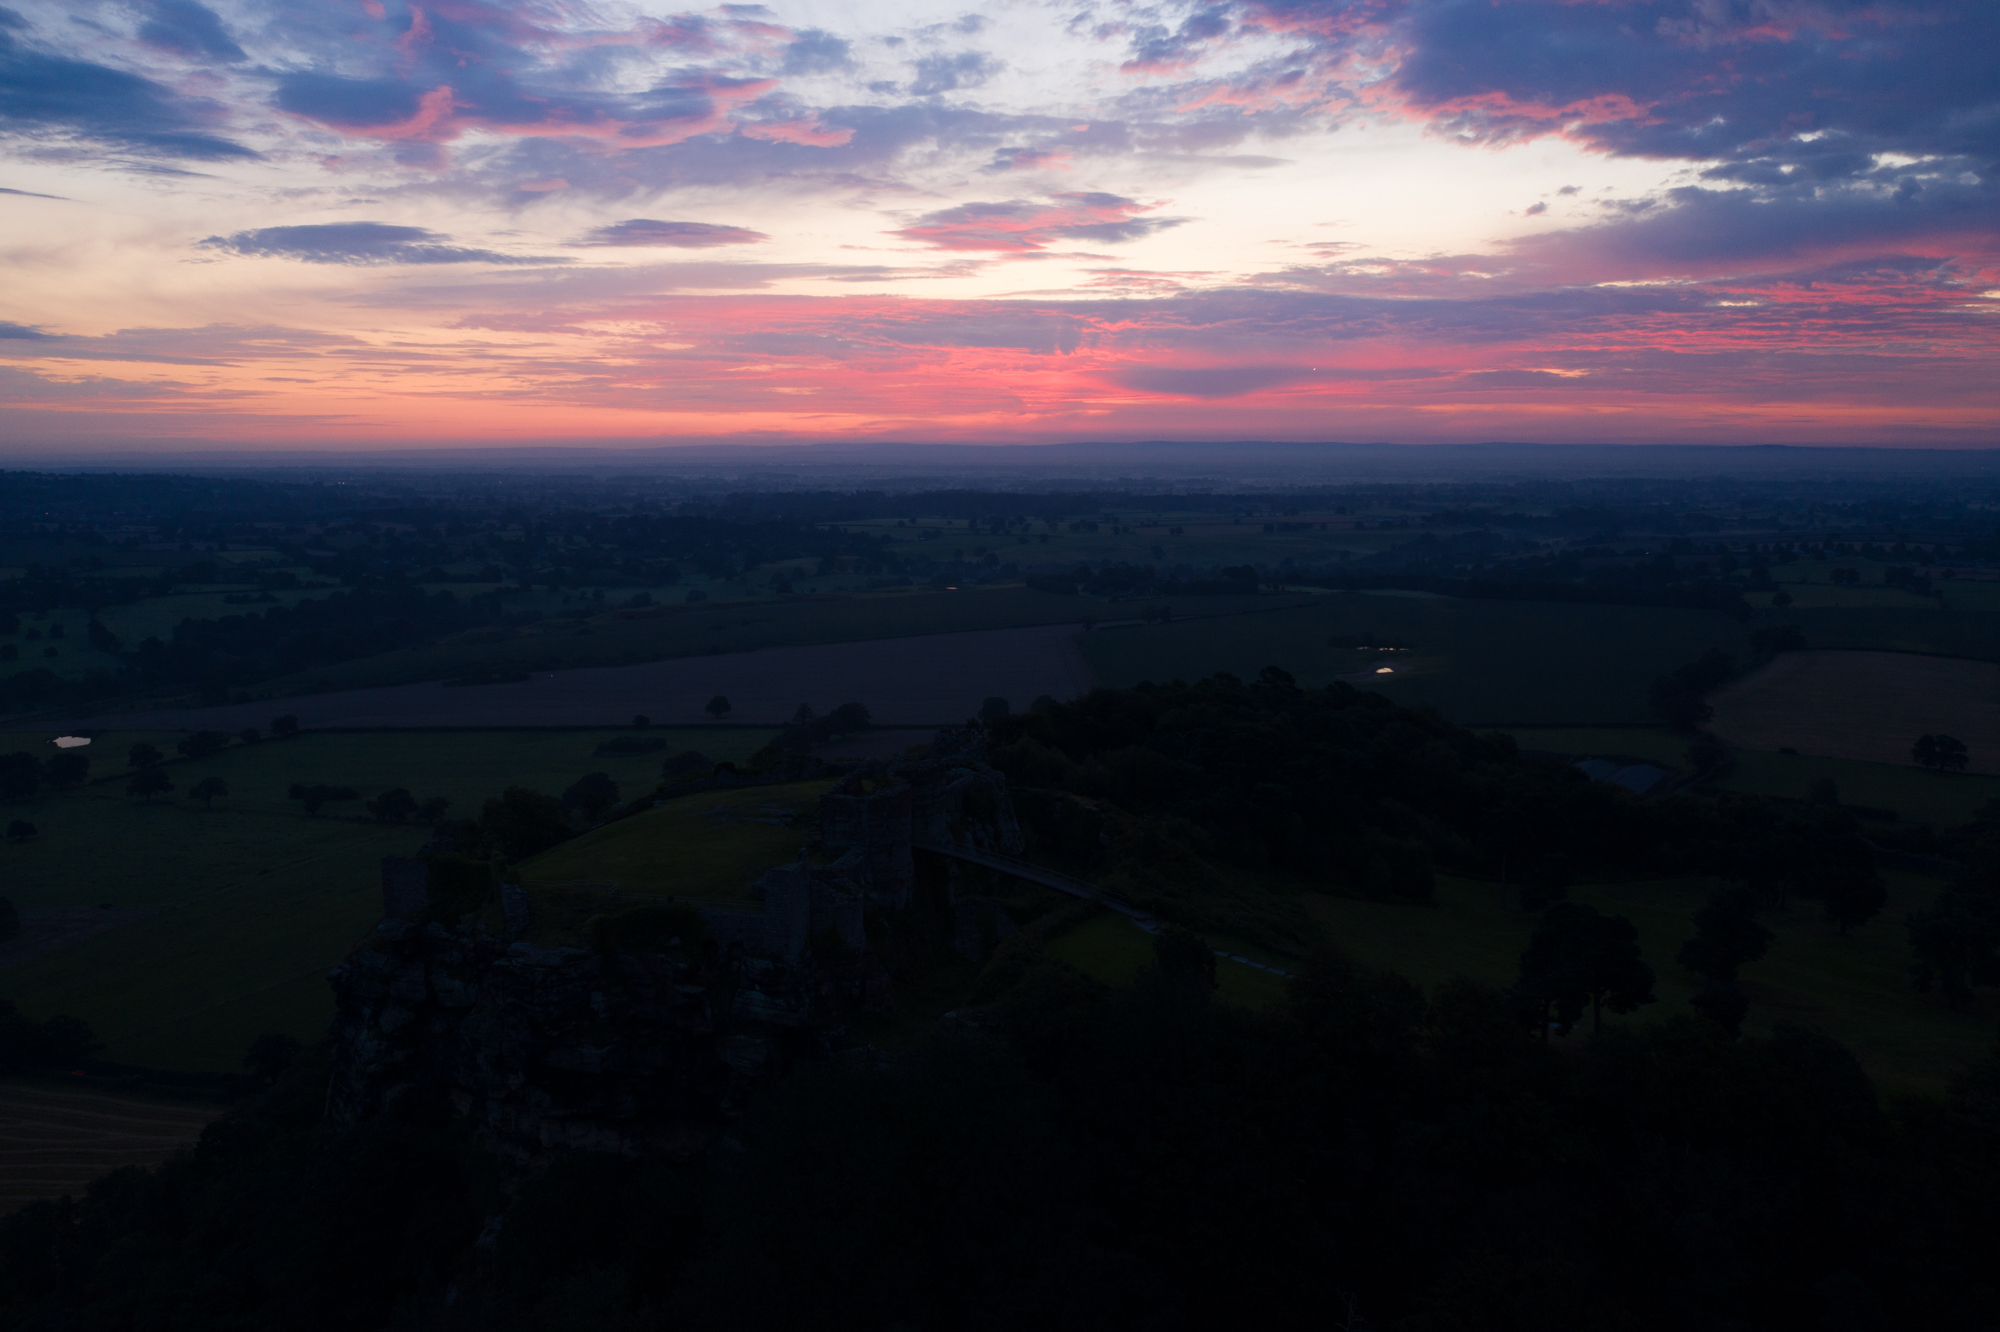
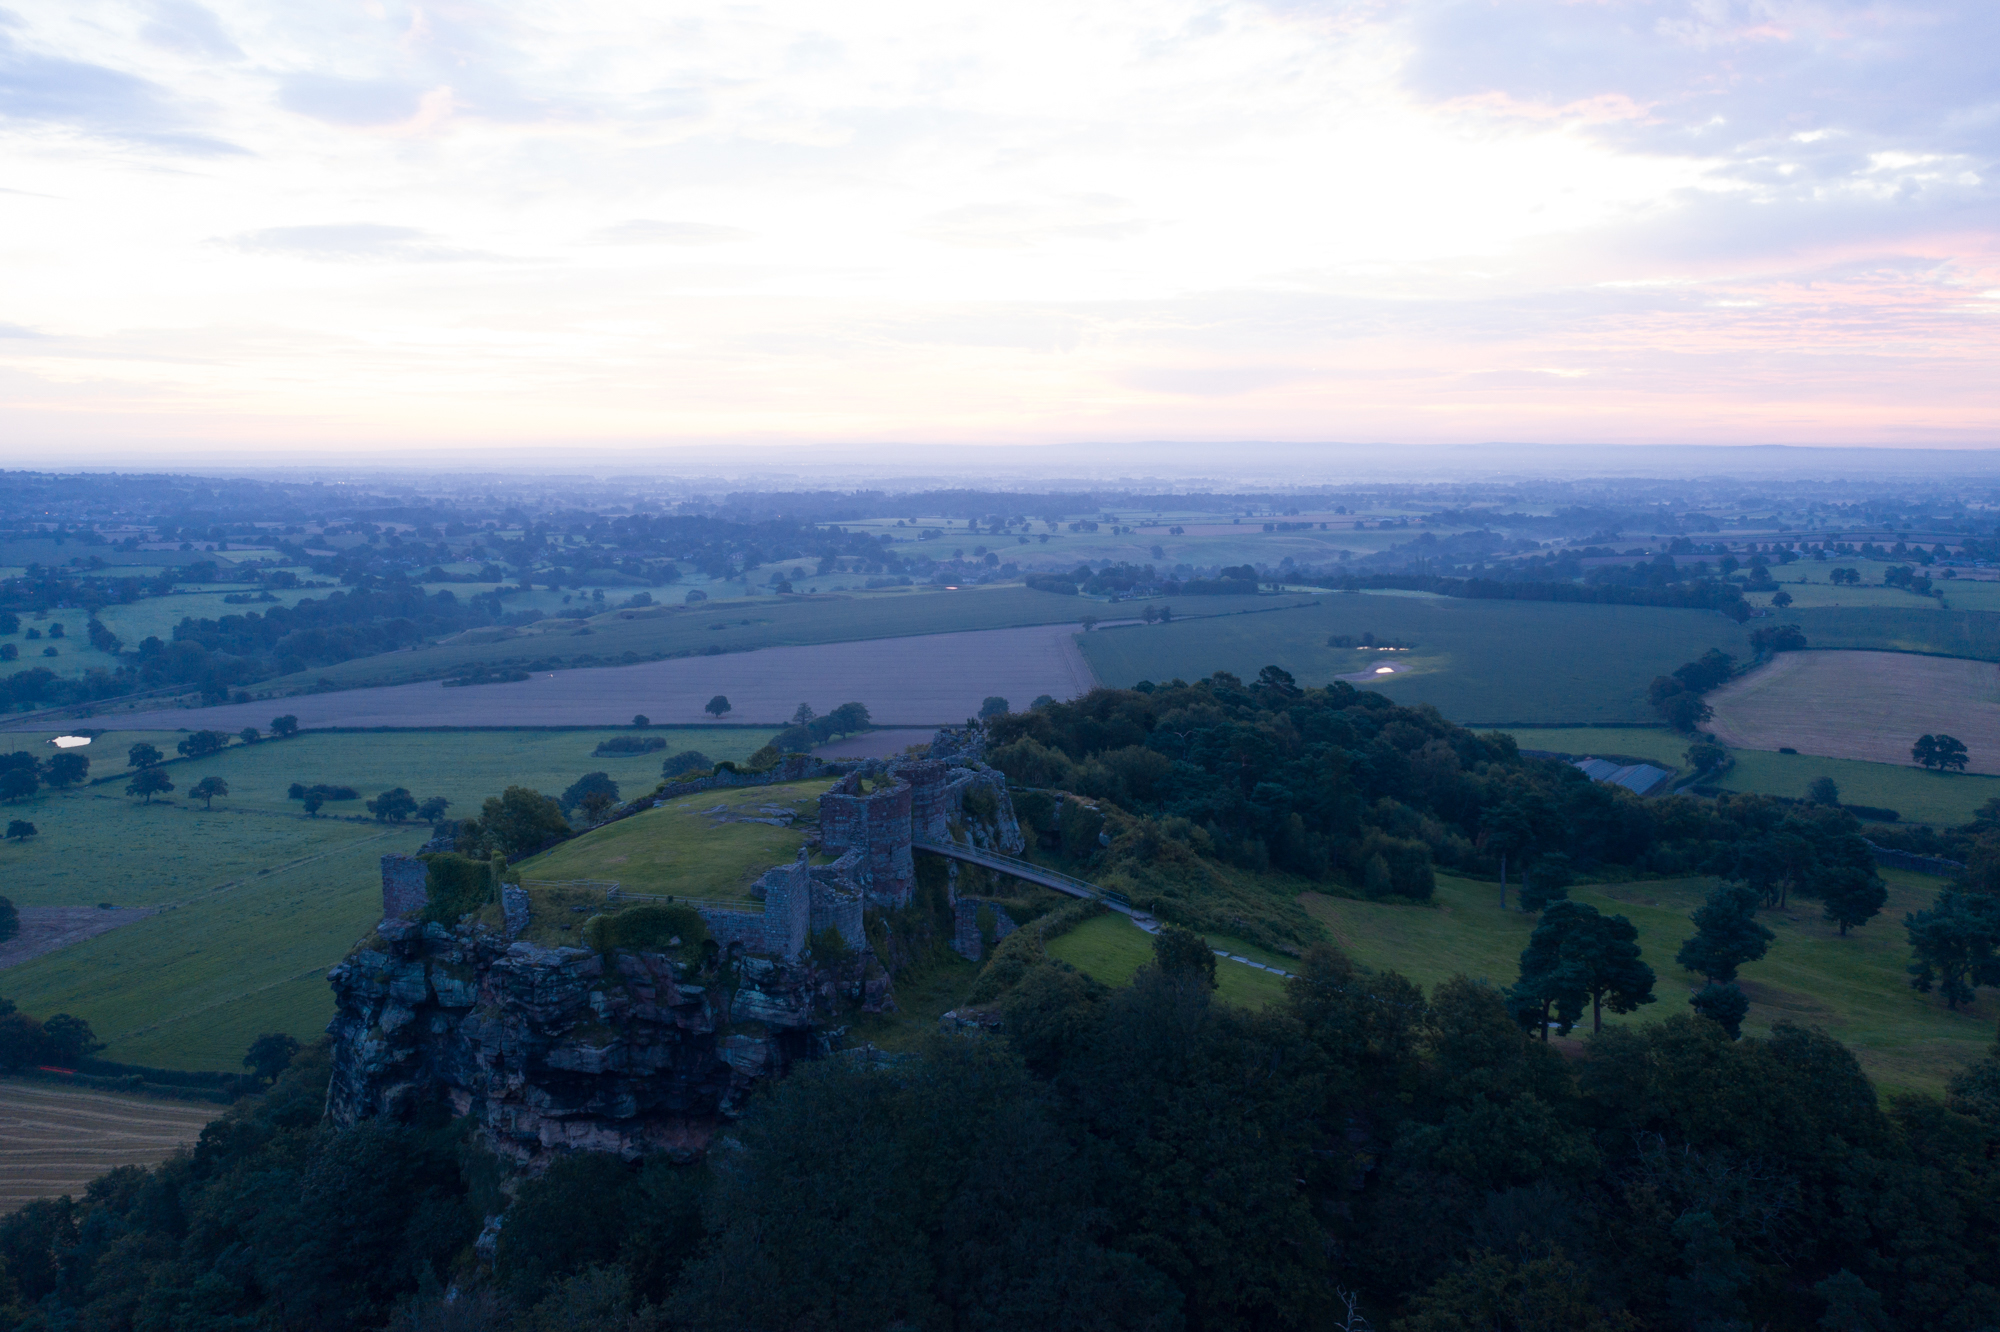
Shooting Tip
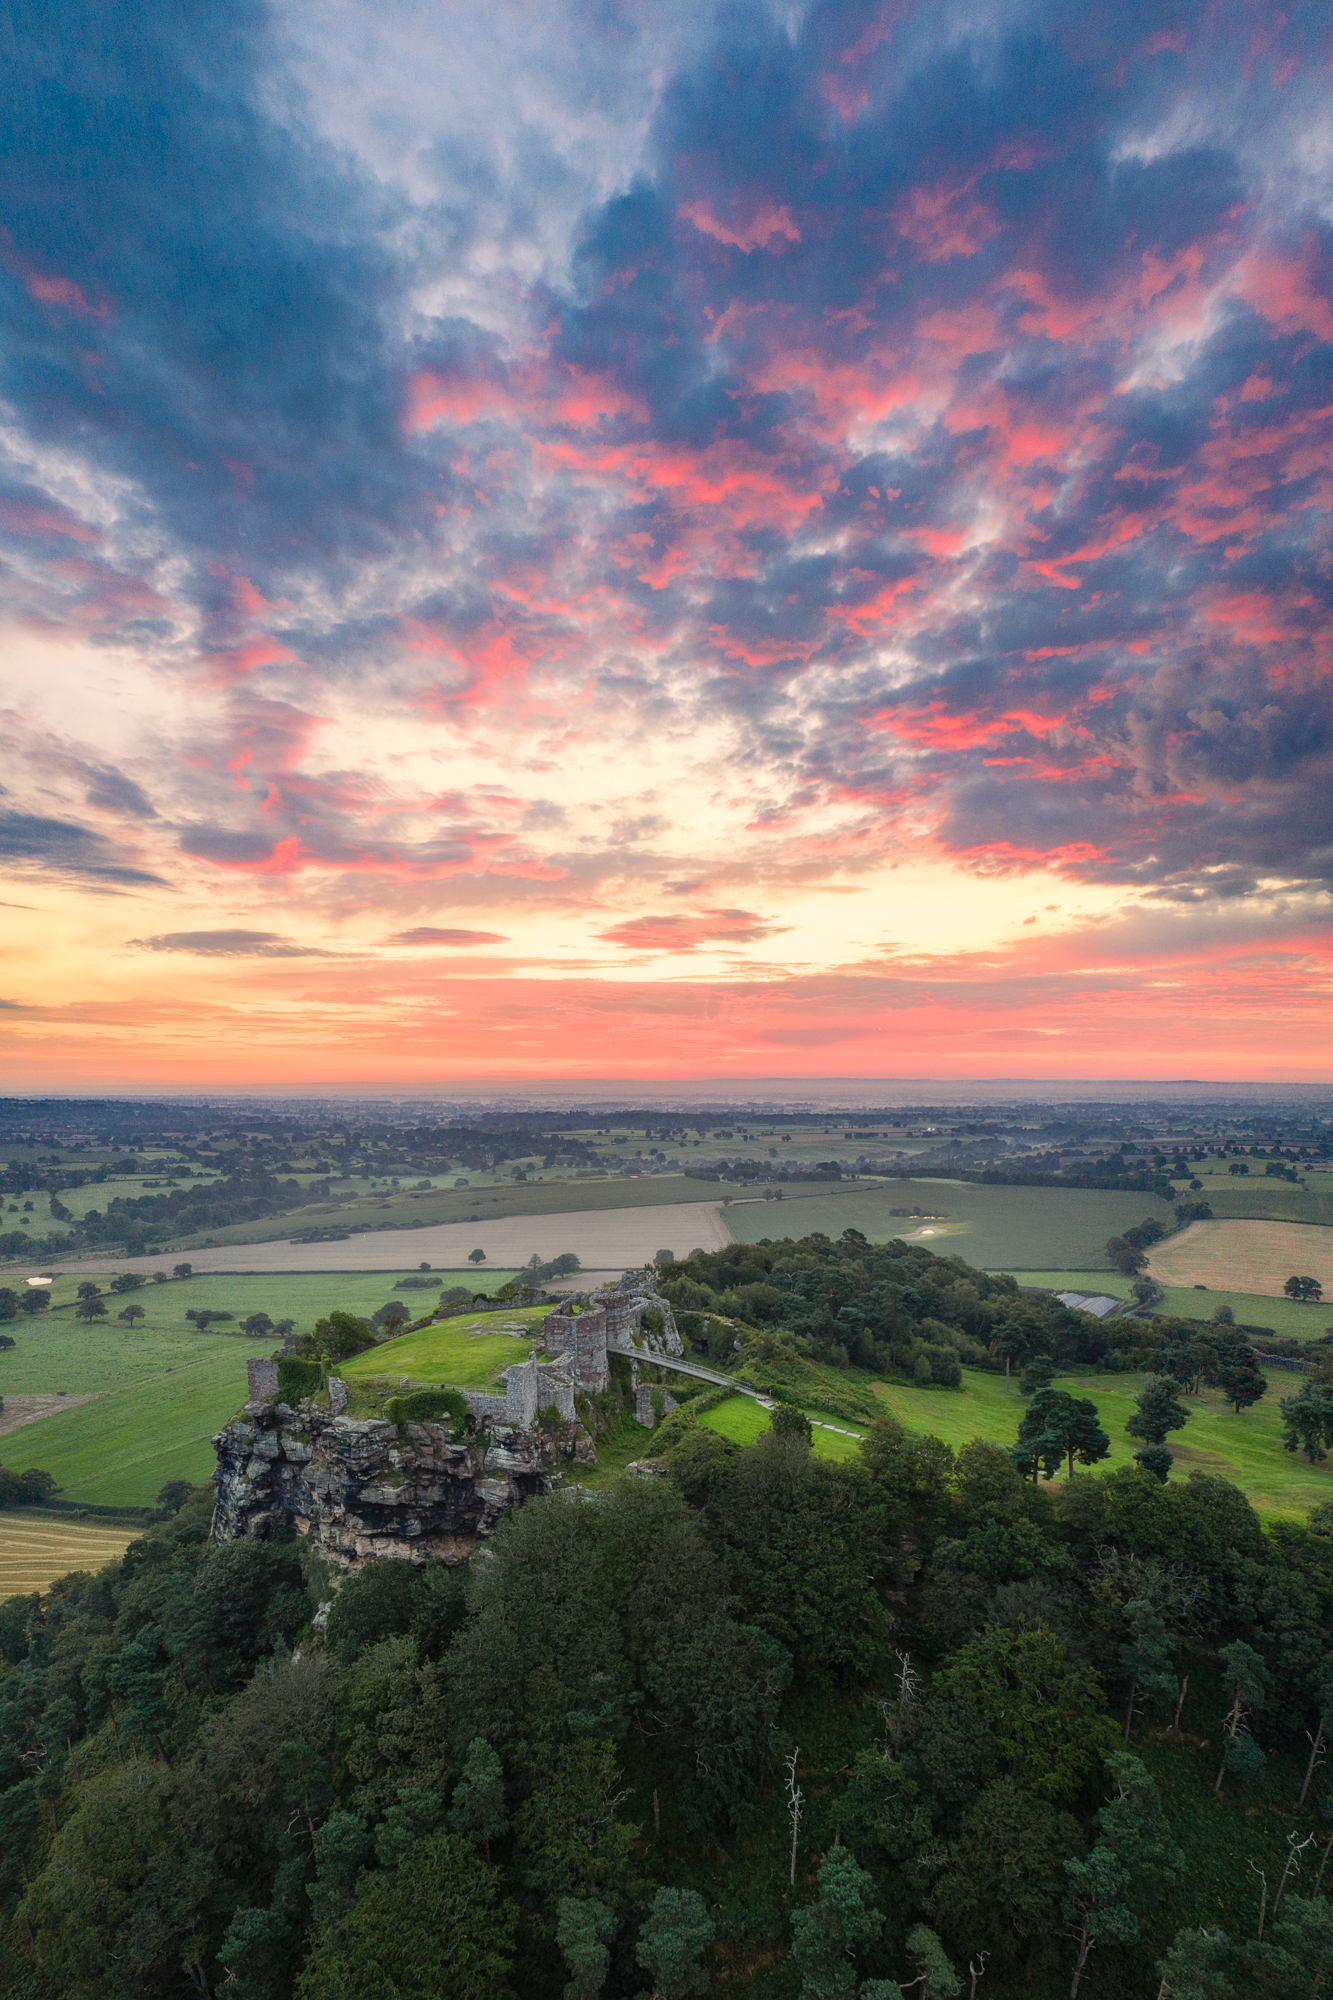
Most drones can only shoot photos in landscape format, but you can shoot vertical panoramas that can be stitched together in Photoshop to create a portrait (upright) format image. If you’re shooting a high-contrast scene and would like to create a portrait format image, you can combine shooting bracketed exposures for HDR with vertical panoramas for portrait format HDR images.
Editing Steps
Using Adobe Lightroom to merge bracketed exposures for HDR produces excellent results that look completely natural if you don’t push the settings too hard. Once the three or five bracketed exposures have been merged into a single image, Lightroom creates a large DNG file that contains all of the image data from the bracketed exposures. This allows you to recover detail from the shadows and highlights.
1. Merge exposures
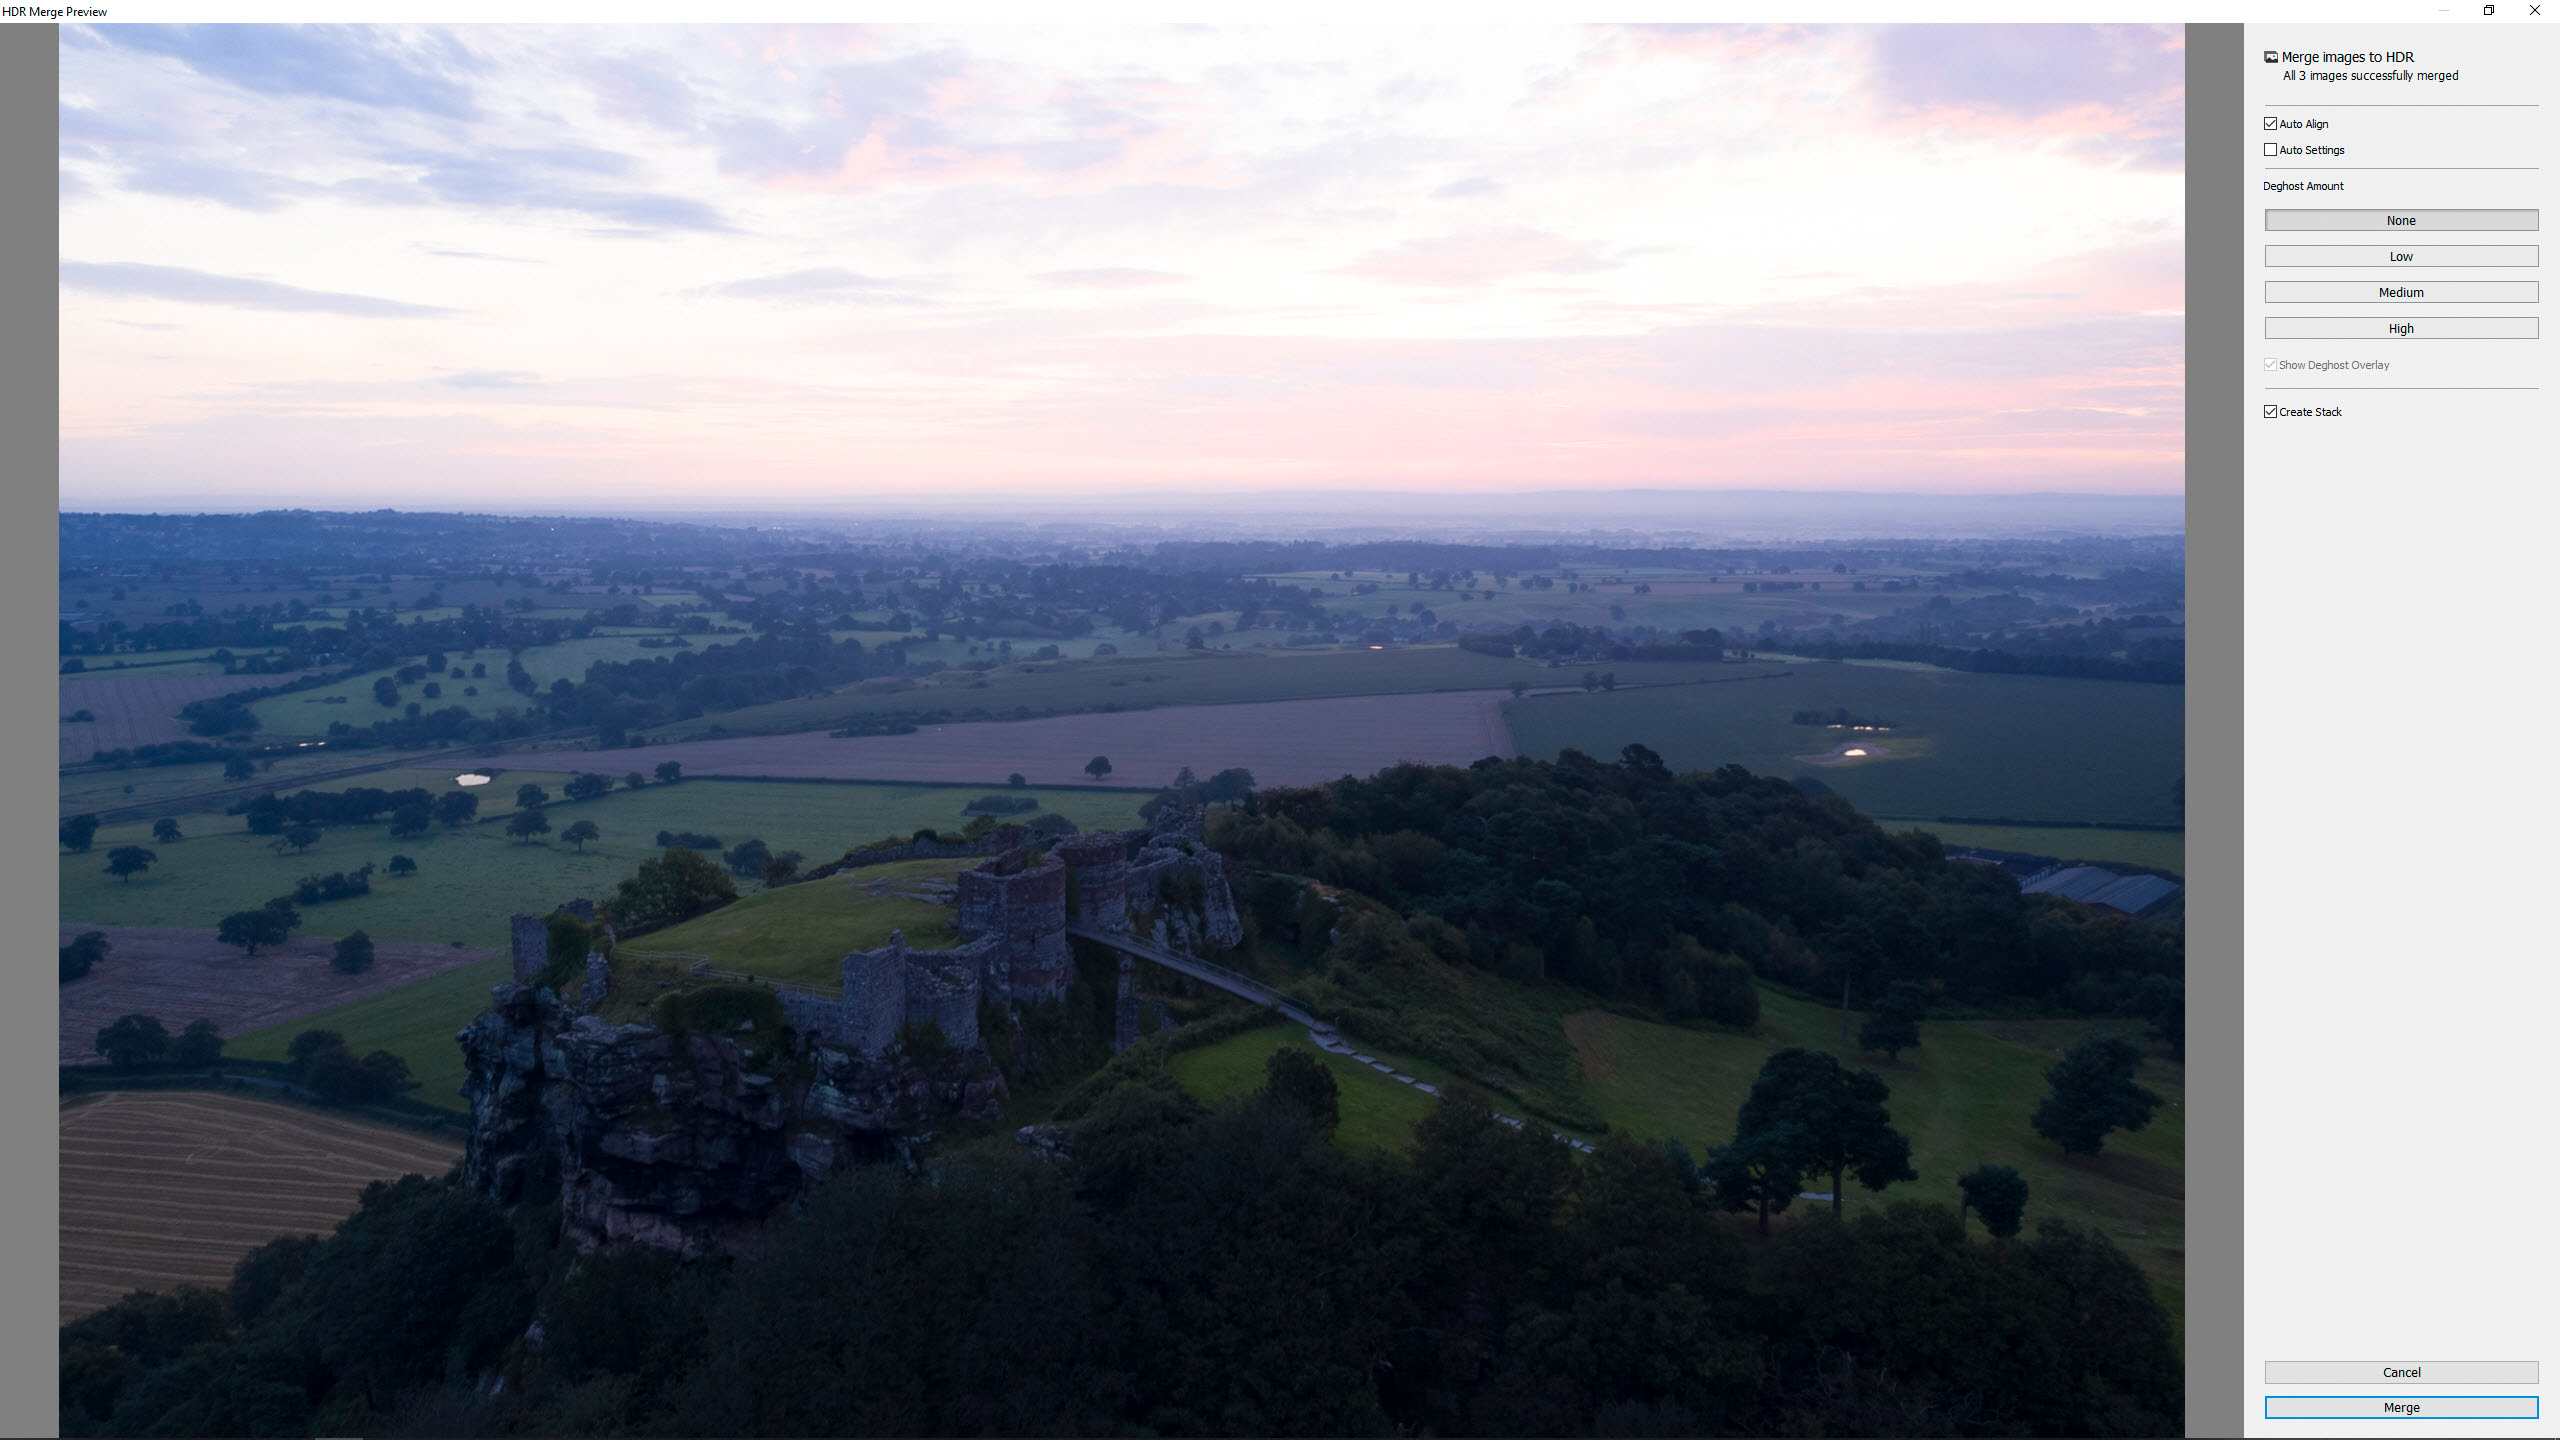
Import your Raw files into Lightroom and select your exposures by clicking on the first, hold down Shift and then click on the last image. Right mouse click on the selected images and go to Photo Merge>HDR and when the dialogue opens, make sure Auto Align and Create Stack are checked, and Auto Settings is unchecked. Next, set Deghost to High to combat any ghosting issues, then hit OK when finished.
2 Process your Image
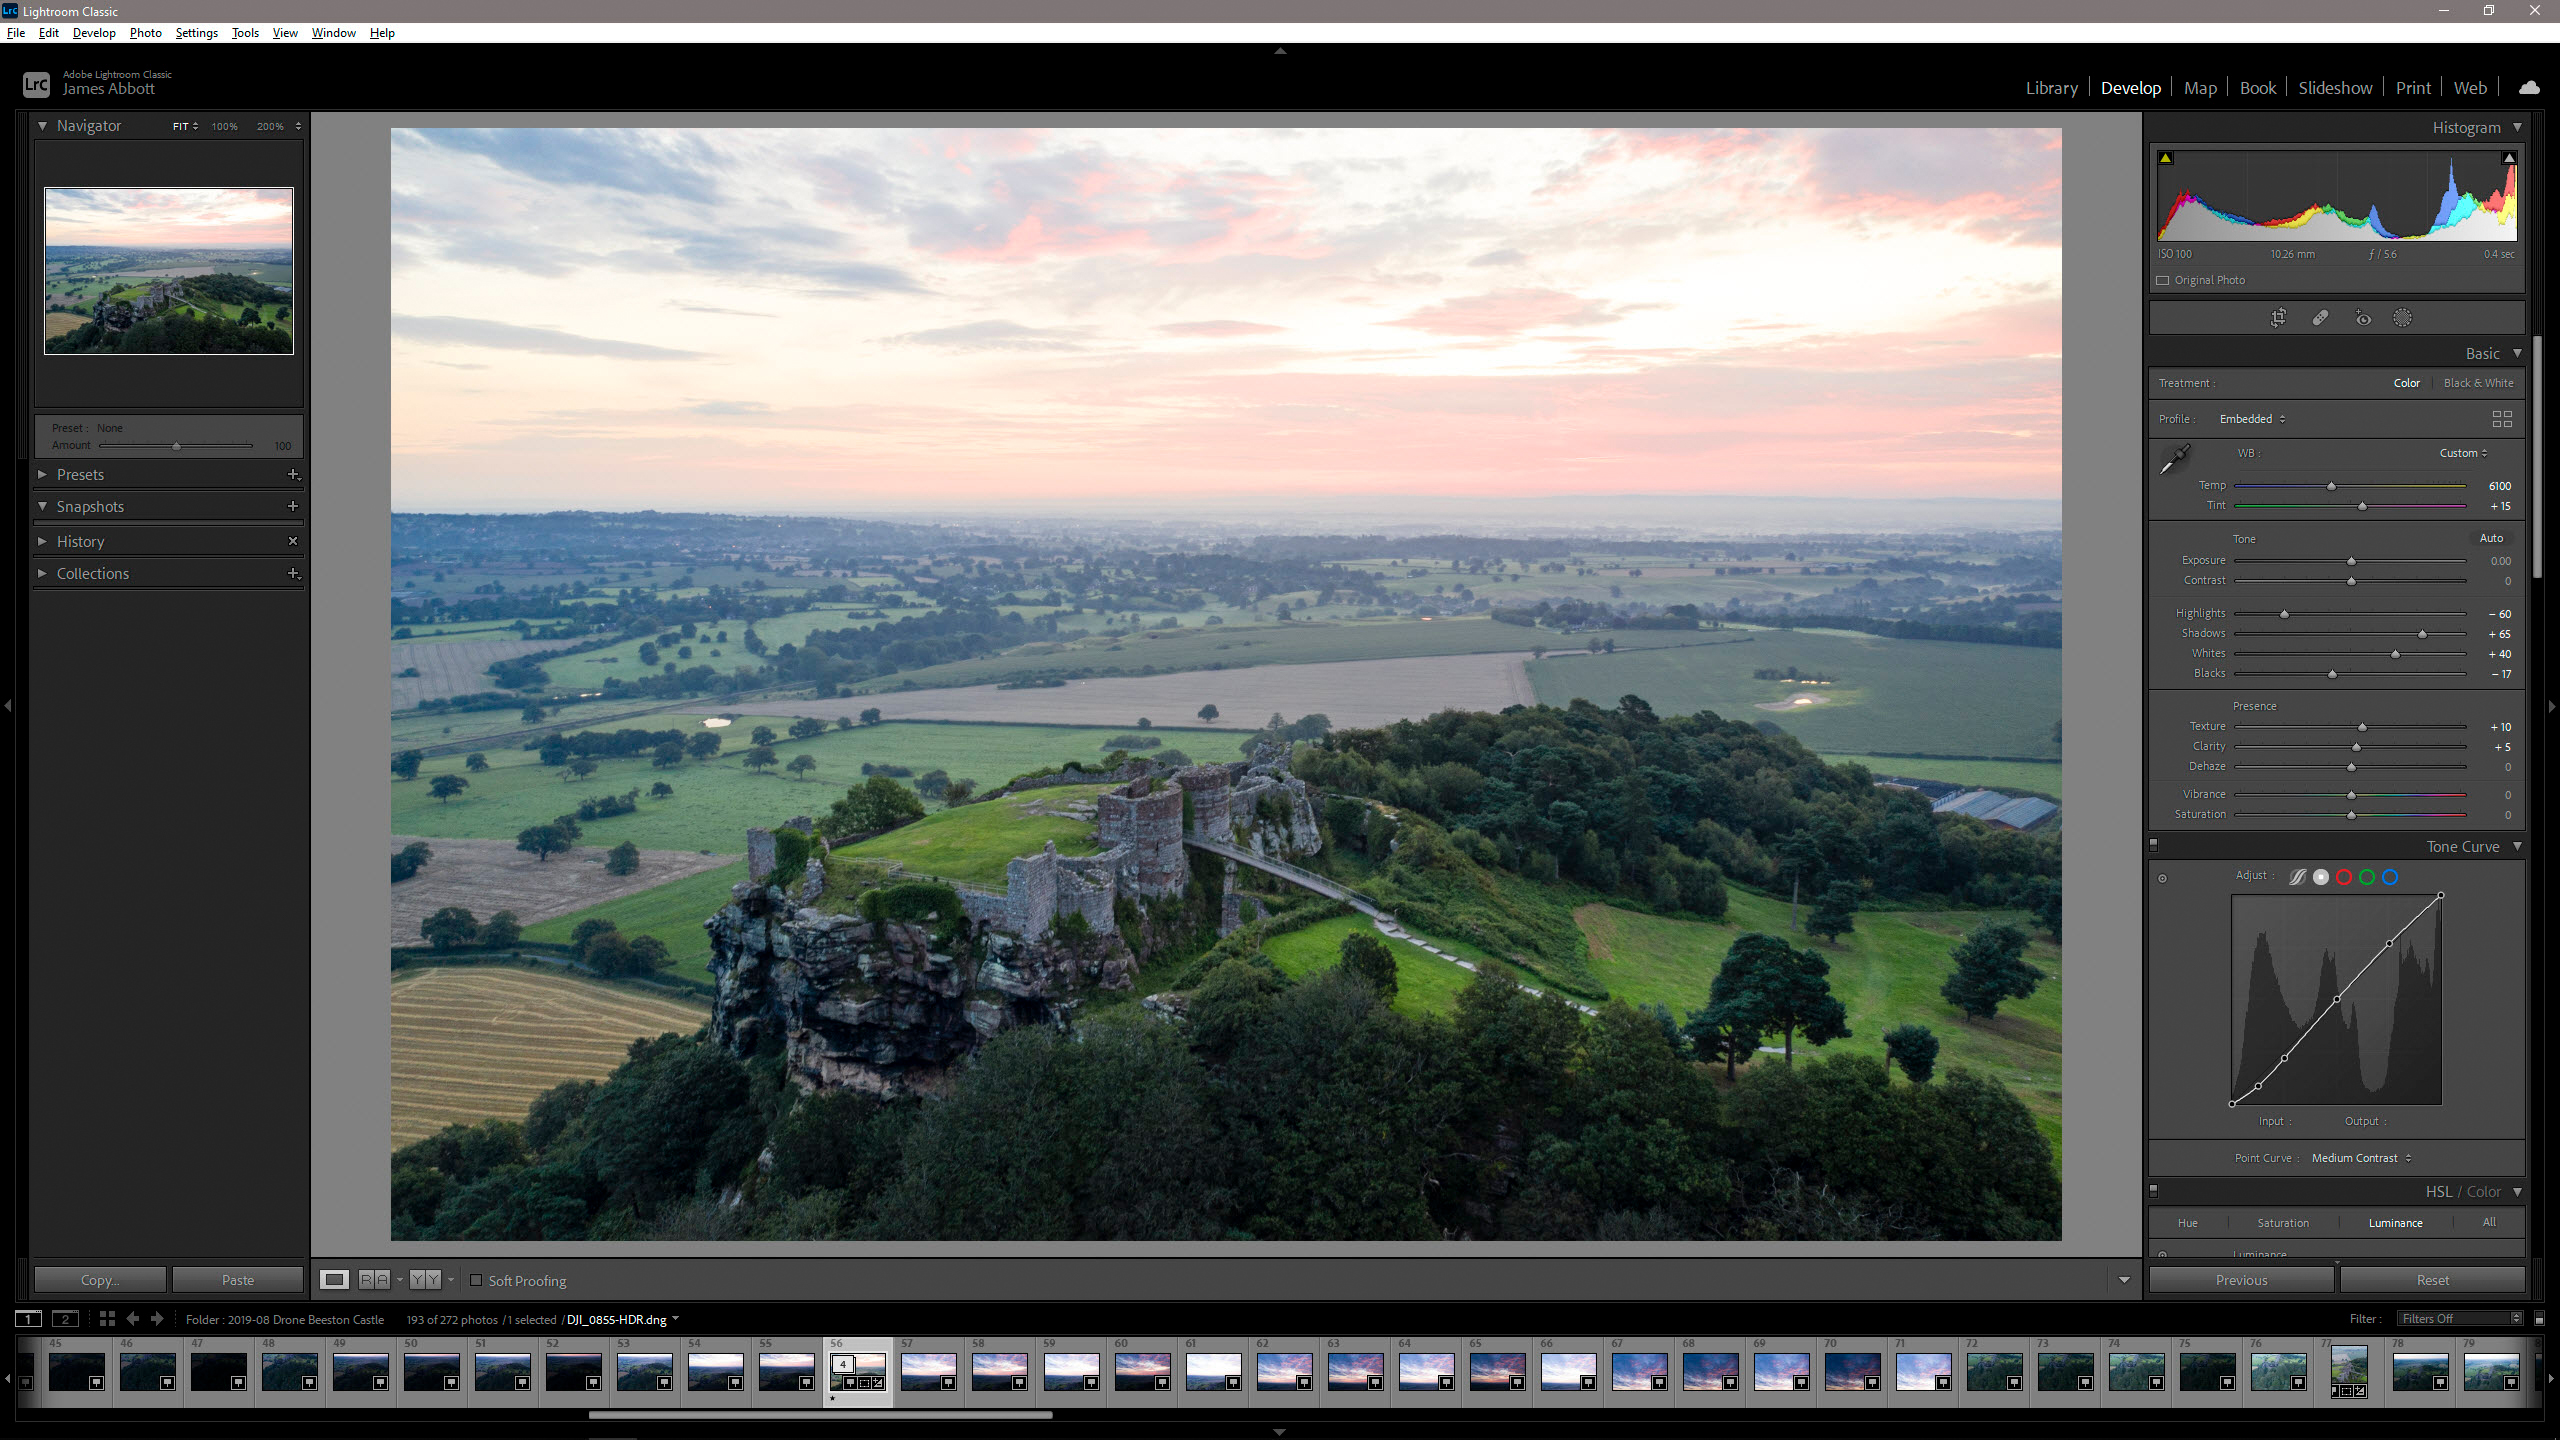
A new HDR DNG will be created in a stack above the bracketed exposures. To recover detail, drag the Shadow slider to the right, then drag the Highlights slider to the left. Now use the Blacks and Whites sliders to reduce the washed-out appearance in the image by dragging the Whites slider to the right and the Blacks slider to the left. Now you can apply any standard adjustments required.
3 Apply Local Adjustments
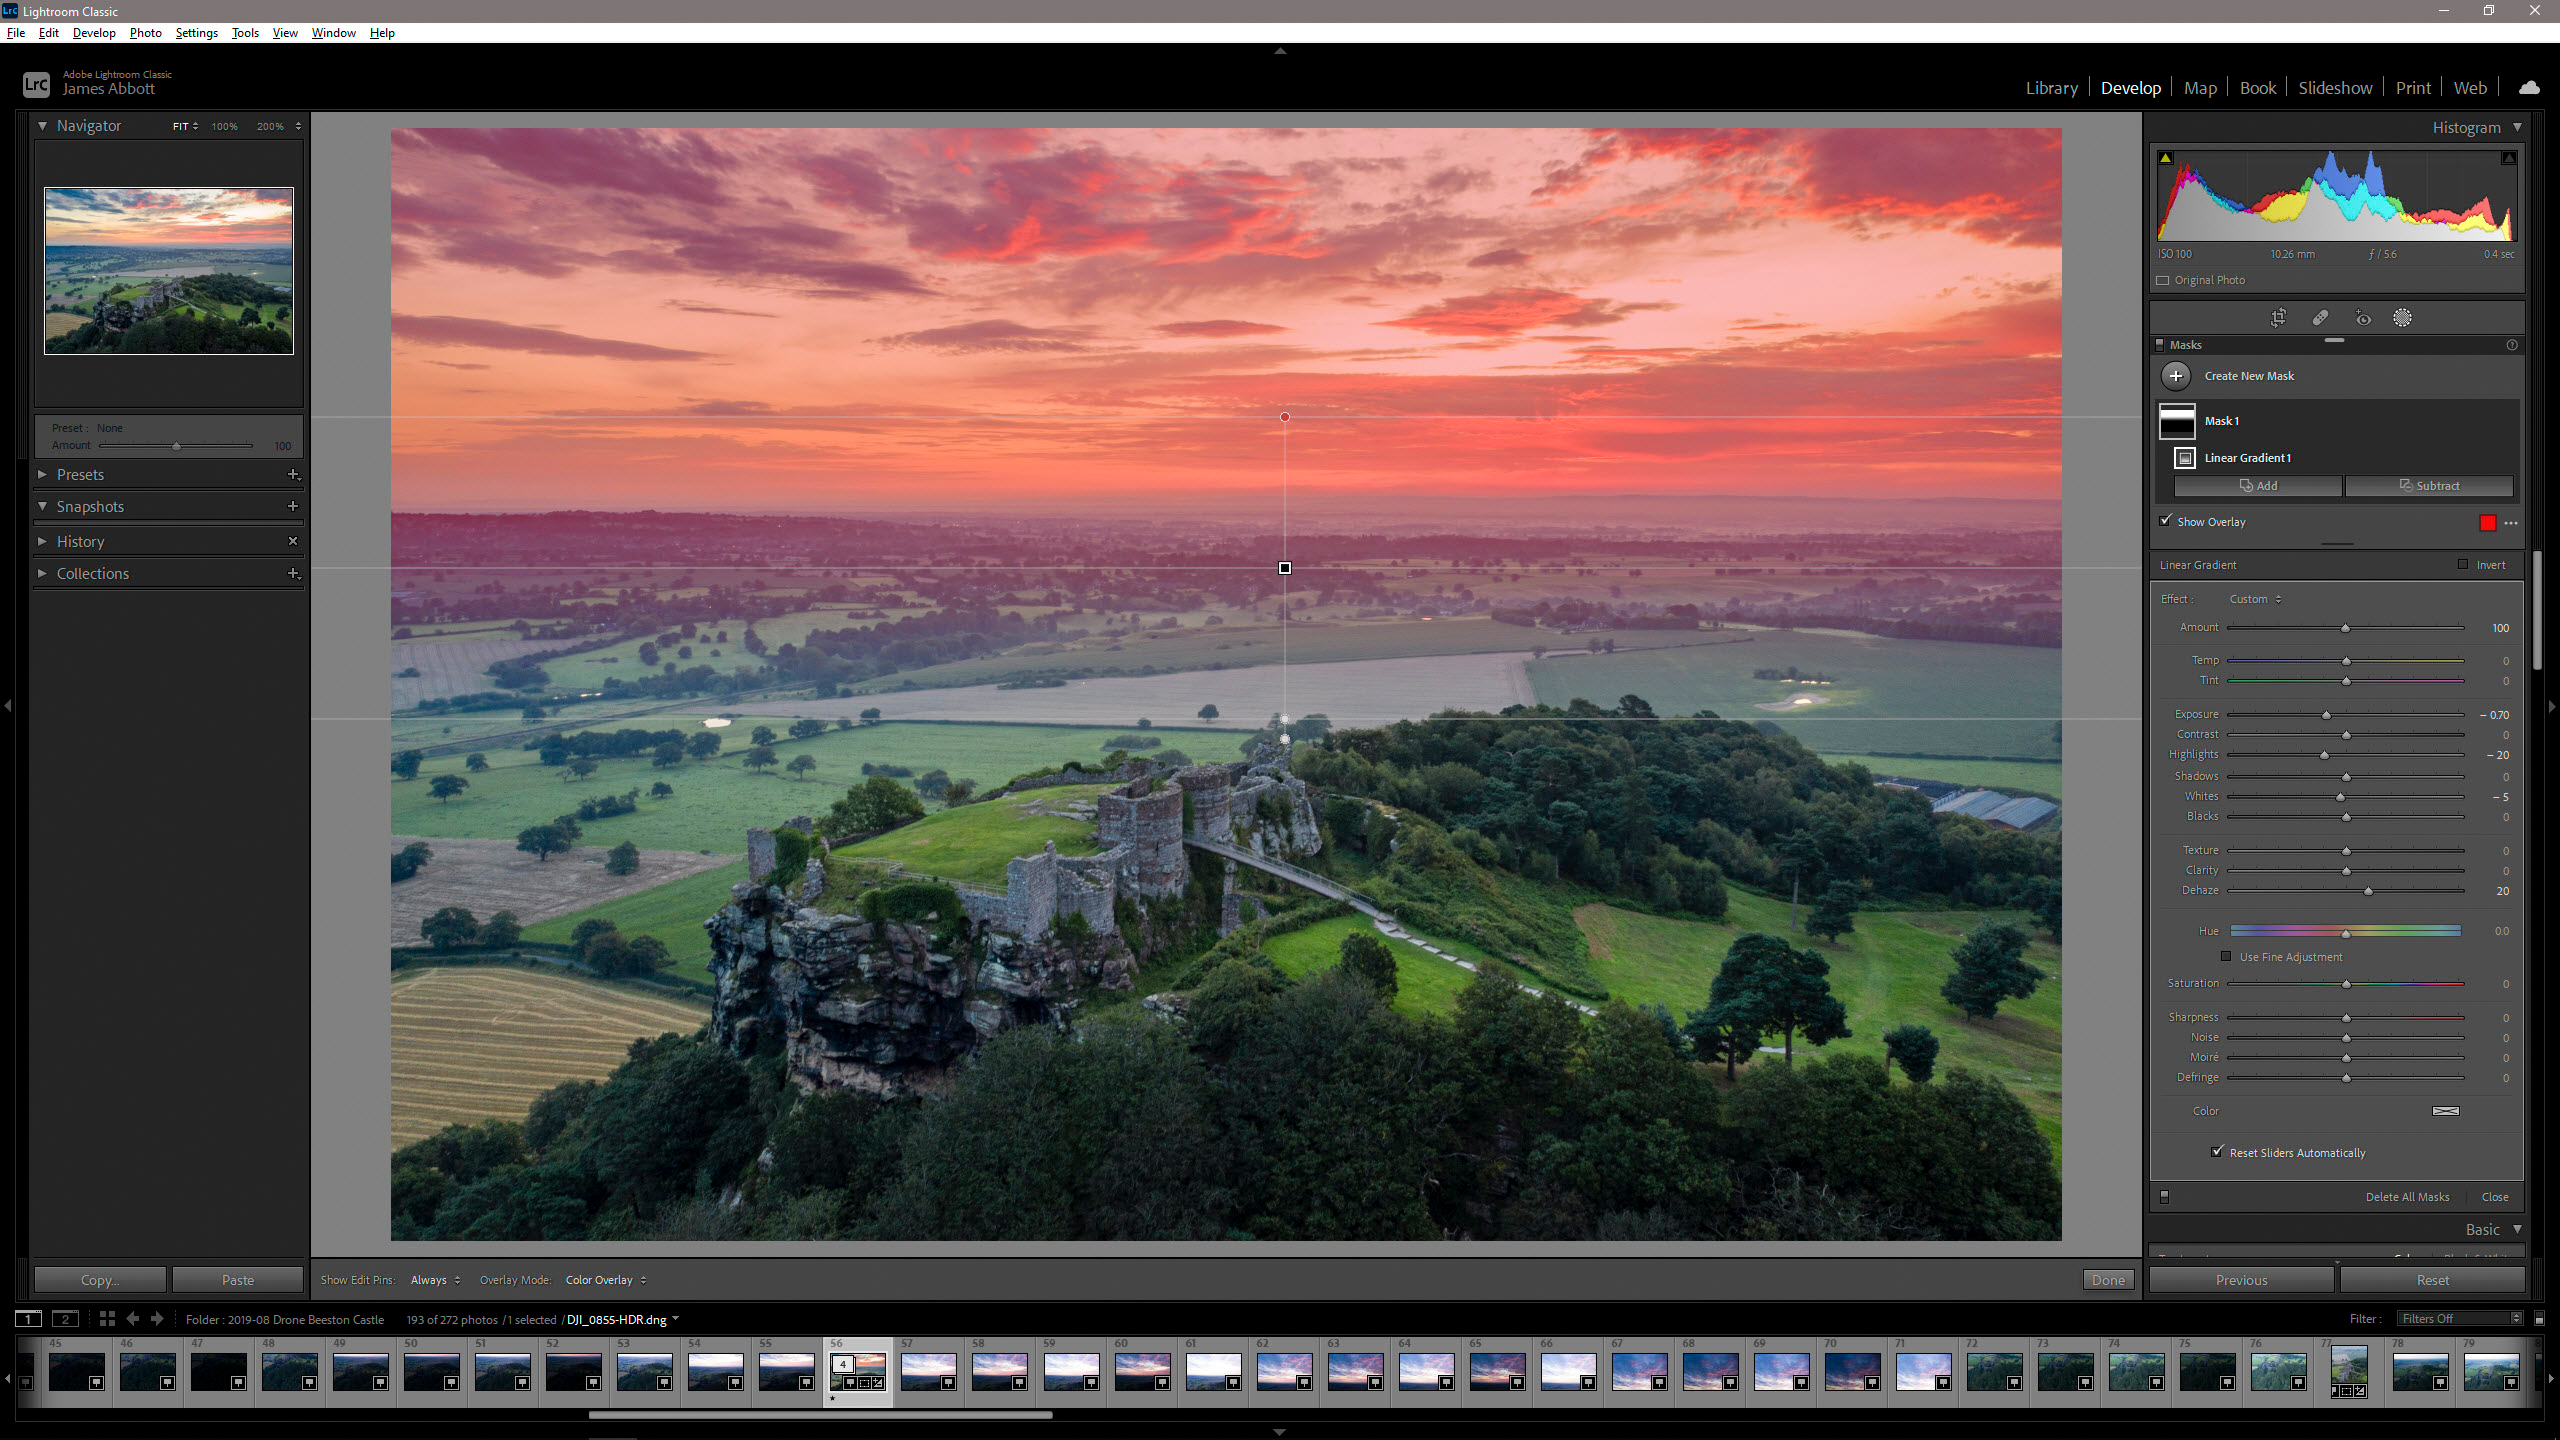
It may not be possible to recover all detail with just the Exposure, Shadows and Highlights controls in the Basic tab, so local adjustments are necessary. Here a graduated filter was used to darken the sky. Click on the Masking icon below the histogram and select Linear Gradient before dragging the guide over the desired area. Now you can apply further adjustments to just this masked area.
Join our Space Forums to keep talking space on the latest missions, night sky and more! And if you have a news tip, correction or comment, let us know at: community@space.com.
Get the Space.com Newsletter
Breaking space news, the latest updates on rocket launches, skywatching events and more!
James is an award-winning freelance landscape and portrait photographer, as well as a highly experienced photography journalist working with some of the best photography magazines and websites with a worldwide audience. He’s also the author of The Digital Darkroom: The Definitive Guide to Photo Editing. www.jamesaphoto.co.uk
