Using a Teleconverter in Lunar Photography
Capture the moon in its fullest glory with the use of a teleconverter.
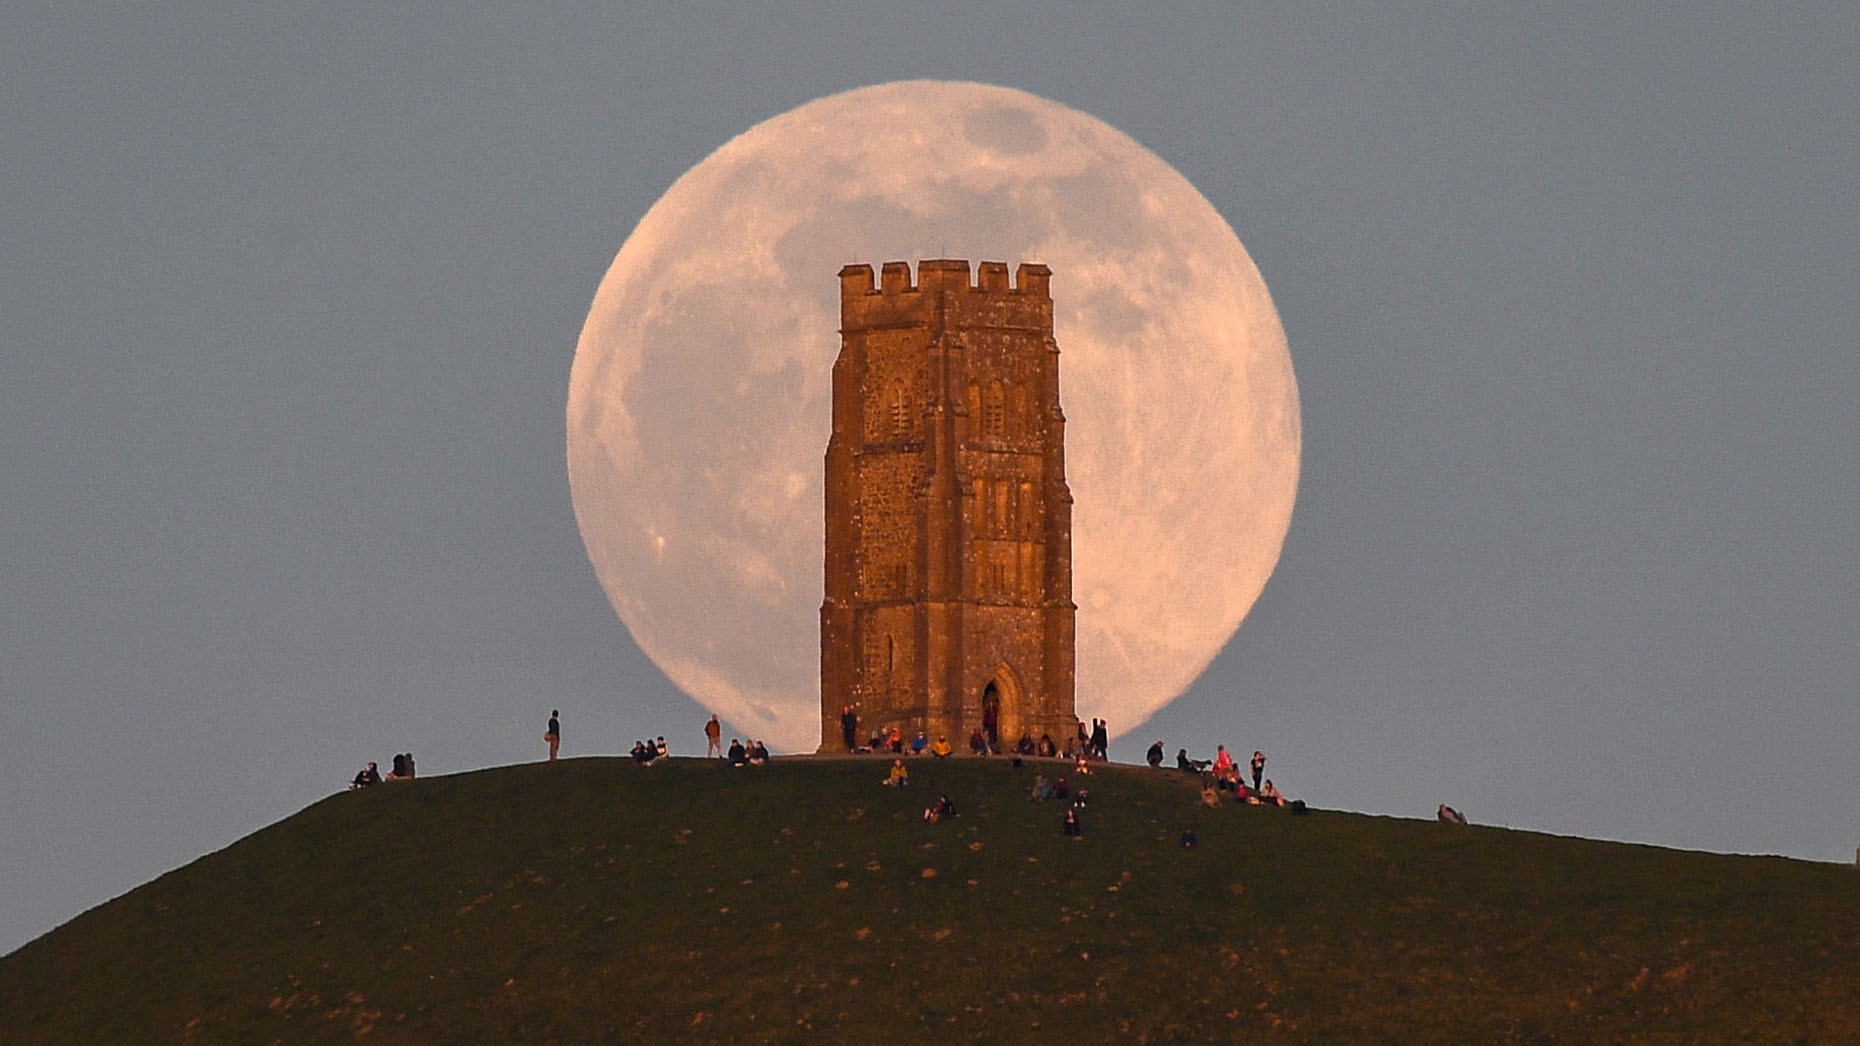
All budding astrophotographers should consider using teleconverters in their camera set-up. Because we’ve all been there as beginners, with a new camera in-hand, happily waiting out a clear night so we can capture pictures of our friendly-faced neighbour, the moon. A snap and a pap later and we’ve captured our first lunar shots. But there’s a problem.
It’s a bright white disc hanging in a void of black, like a speck in the middle of the frame. Unfortunately, you’ve just done what many other beginner lunar-loving photographers do, and that’s underestimate the focal length of your lens.
Now, using a crop-sensor camera body and a telephoto lens will help here because it will magnify the apparent focal length of the lens (a 200mm on a 1.5x crop sensor body suddenly becomes 300mm to the eye) but what if we don’t have that? Or perhaps we just want to get in closer but are happy with the current lens selection in our bags and already own one of the best cameras for astrophotography? That’s where teleconverters come in.
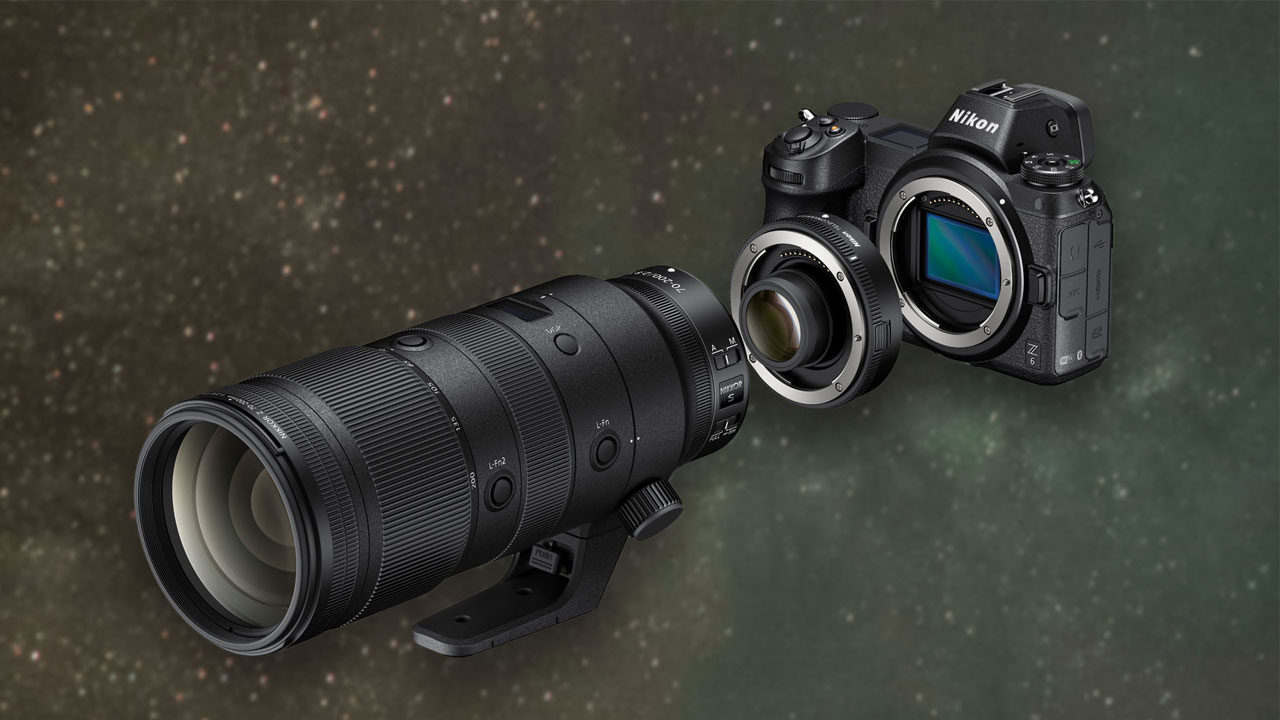
Teleconverters are small tubes that contain glass elements which sit in between the lens and the camera body. They are used to magnify the focal length of a lens for further reach. Also known as extenders, teleconverters come in different zoom amounts, amplifying the focal length by either 1.4x, 1.7x, 2x or more.
When combined with long, telephoto lenses they can give better reach when wanting to zoom in to far-away subjects. Teleconverters shouldn’t be confused with extension tubes. Although they look similar, extension tubes contain no glass elements and are instead used to force close-focusing on standard lenses to make them behave more like macro lenses.
Some Important Advantages for Lunar Photography
One benefit to using teleconverters is that they can be combined with a number of different lenses of various focal lengths. For example, if you want to shoot 400mm but only have a 200mm lens, you can use a 2x teleconverter to adapt the 200mm to 400mm without ever having to buy a 400mm lens.
This can save the user money because there’s no requirement to purchase two separate lenses. It also saves space in the kit bag as teleconverters are relatively small when compared with telephoto lenses. It doesn’t matter whether the lens is a fixed prime or a zoom, teleconverters should be able to work with both. However, due to the interruption of electrical connections there are only a handful of lenses for each camera manufacturer that are fully compatible with teleconverters, check the compatibility list at the bottom of this article for your specific camera setup.
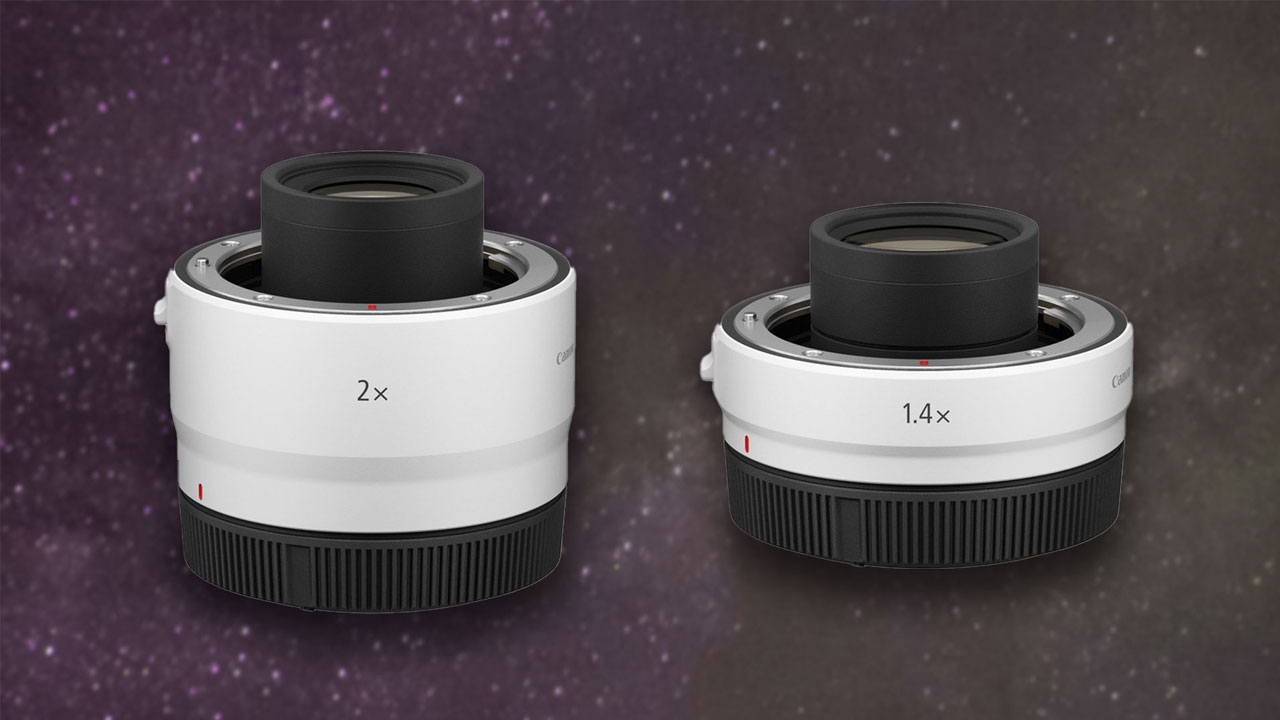
A teleconverter can be a money saver twice over as long telephoto lenses can run into the tens of thousands of pounds. Opting for a cheaper lens like a 200-400mm and adding a teleconverter can prove to be much more cost effective. A 3x teleconverter on said lens would provide a reach of 600-1200mm which is an incredible range for 35mm image sensors.
Another benefit to this technique is that the minimum focusing distance of your lens shouldn’t change, despite the magnification of the focal length. This isn’t particularly important for astrophotography, but it opens up the world of wildlife and macro photography for those interested.
Some Unfortunate Drawbacks
Although using a teleconverter with a compatible telephoto lens can prove more flexible, it isn’t always cheaper. Let’s say we want to be able to capture astro shots at 400mm. We could use a 70-200mm f/2.8 lens at $2000 and attach it to a 2x teleconverter for $430 for a total of $2430 and a maximum aperture of f/5.6. Or we could invest in a 100-400mm f/5.6-6.3 lens for $800. Sure, you’d lose half a stop of light at the longest end of the zoom but you’d also save $1630. These options are something you’ll have to weigh up when investing as budget and intended use play a big role on your purchase.
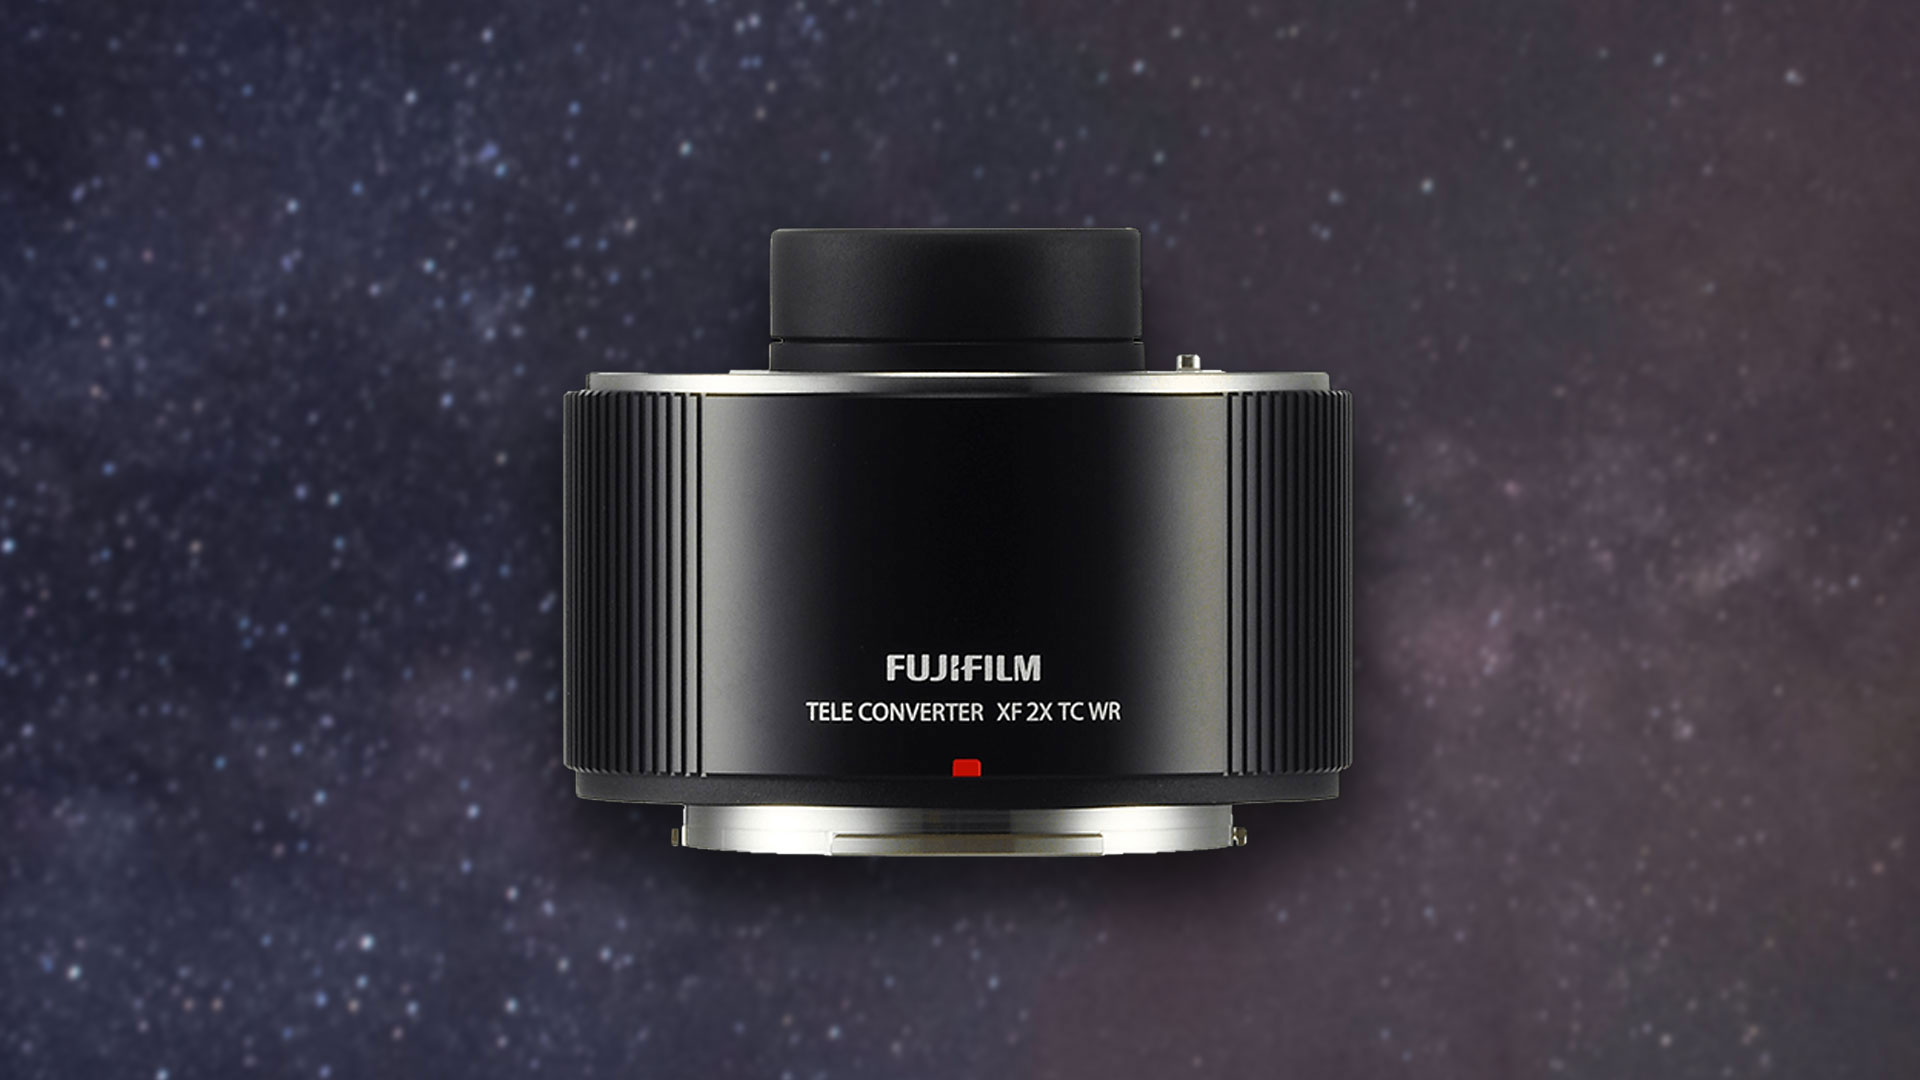
Teleconverters will affect optical quality, no matter how good they are. That’s because they’re literally adding space and glass in between the subject and image sensor. But depending on how closely you study your astrophotography you may not even notice if you get a good quality teleconverter, especially if it’s produced by the same manufacturer as your camera and lens, as these are often calibrated together for optimum performance.
There’s also another unintentional drawback to using teleconverters and that’s a forced stopping down of aperture. A 1.4x teleconverter will stop down aperture by 1 stop, 1.7x down by 1.5 stops, and 2x down to 2 stops. That makes the overall frame darker and forces us to either boost ISO sensitivity higher (adding noise and reducing dynamic range, so you'll likely have to look into other ways to manage and reduce noise in your astrophotography images) or opt for a longer shutter speed (further goading star trail blur). Autofocus speed is also affected, especially in low light situations, but this doesn’t matter a great deal for astrophotography because we mainly focus manually.
Key Points of Operation
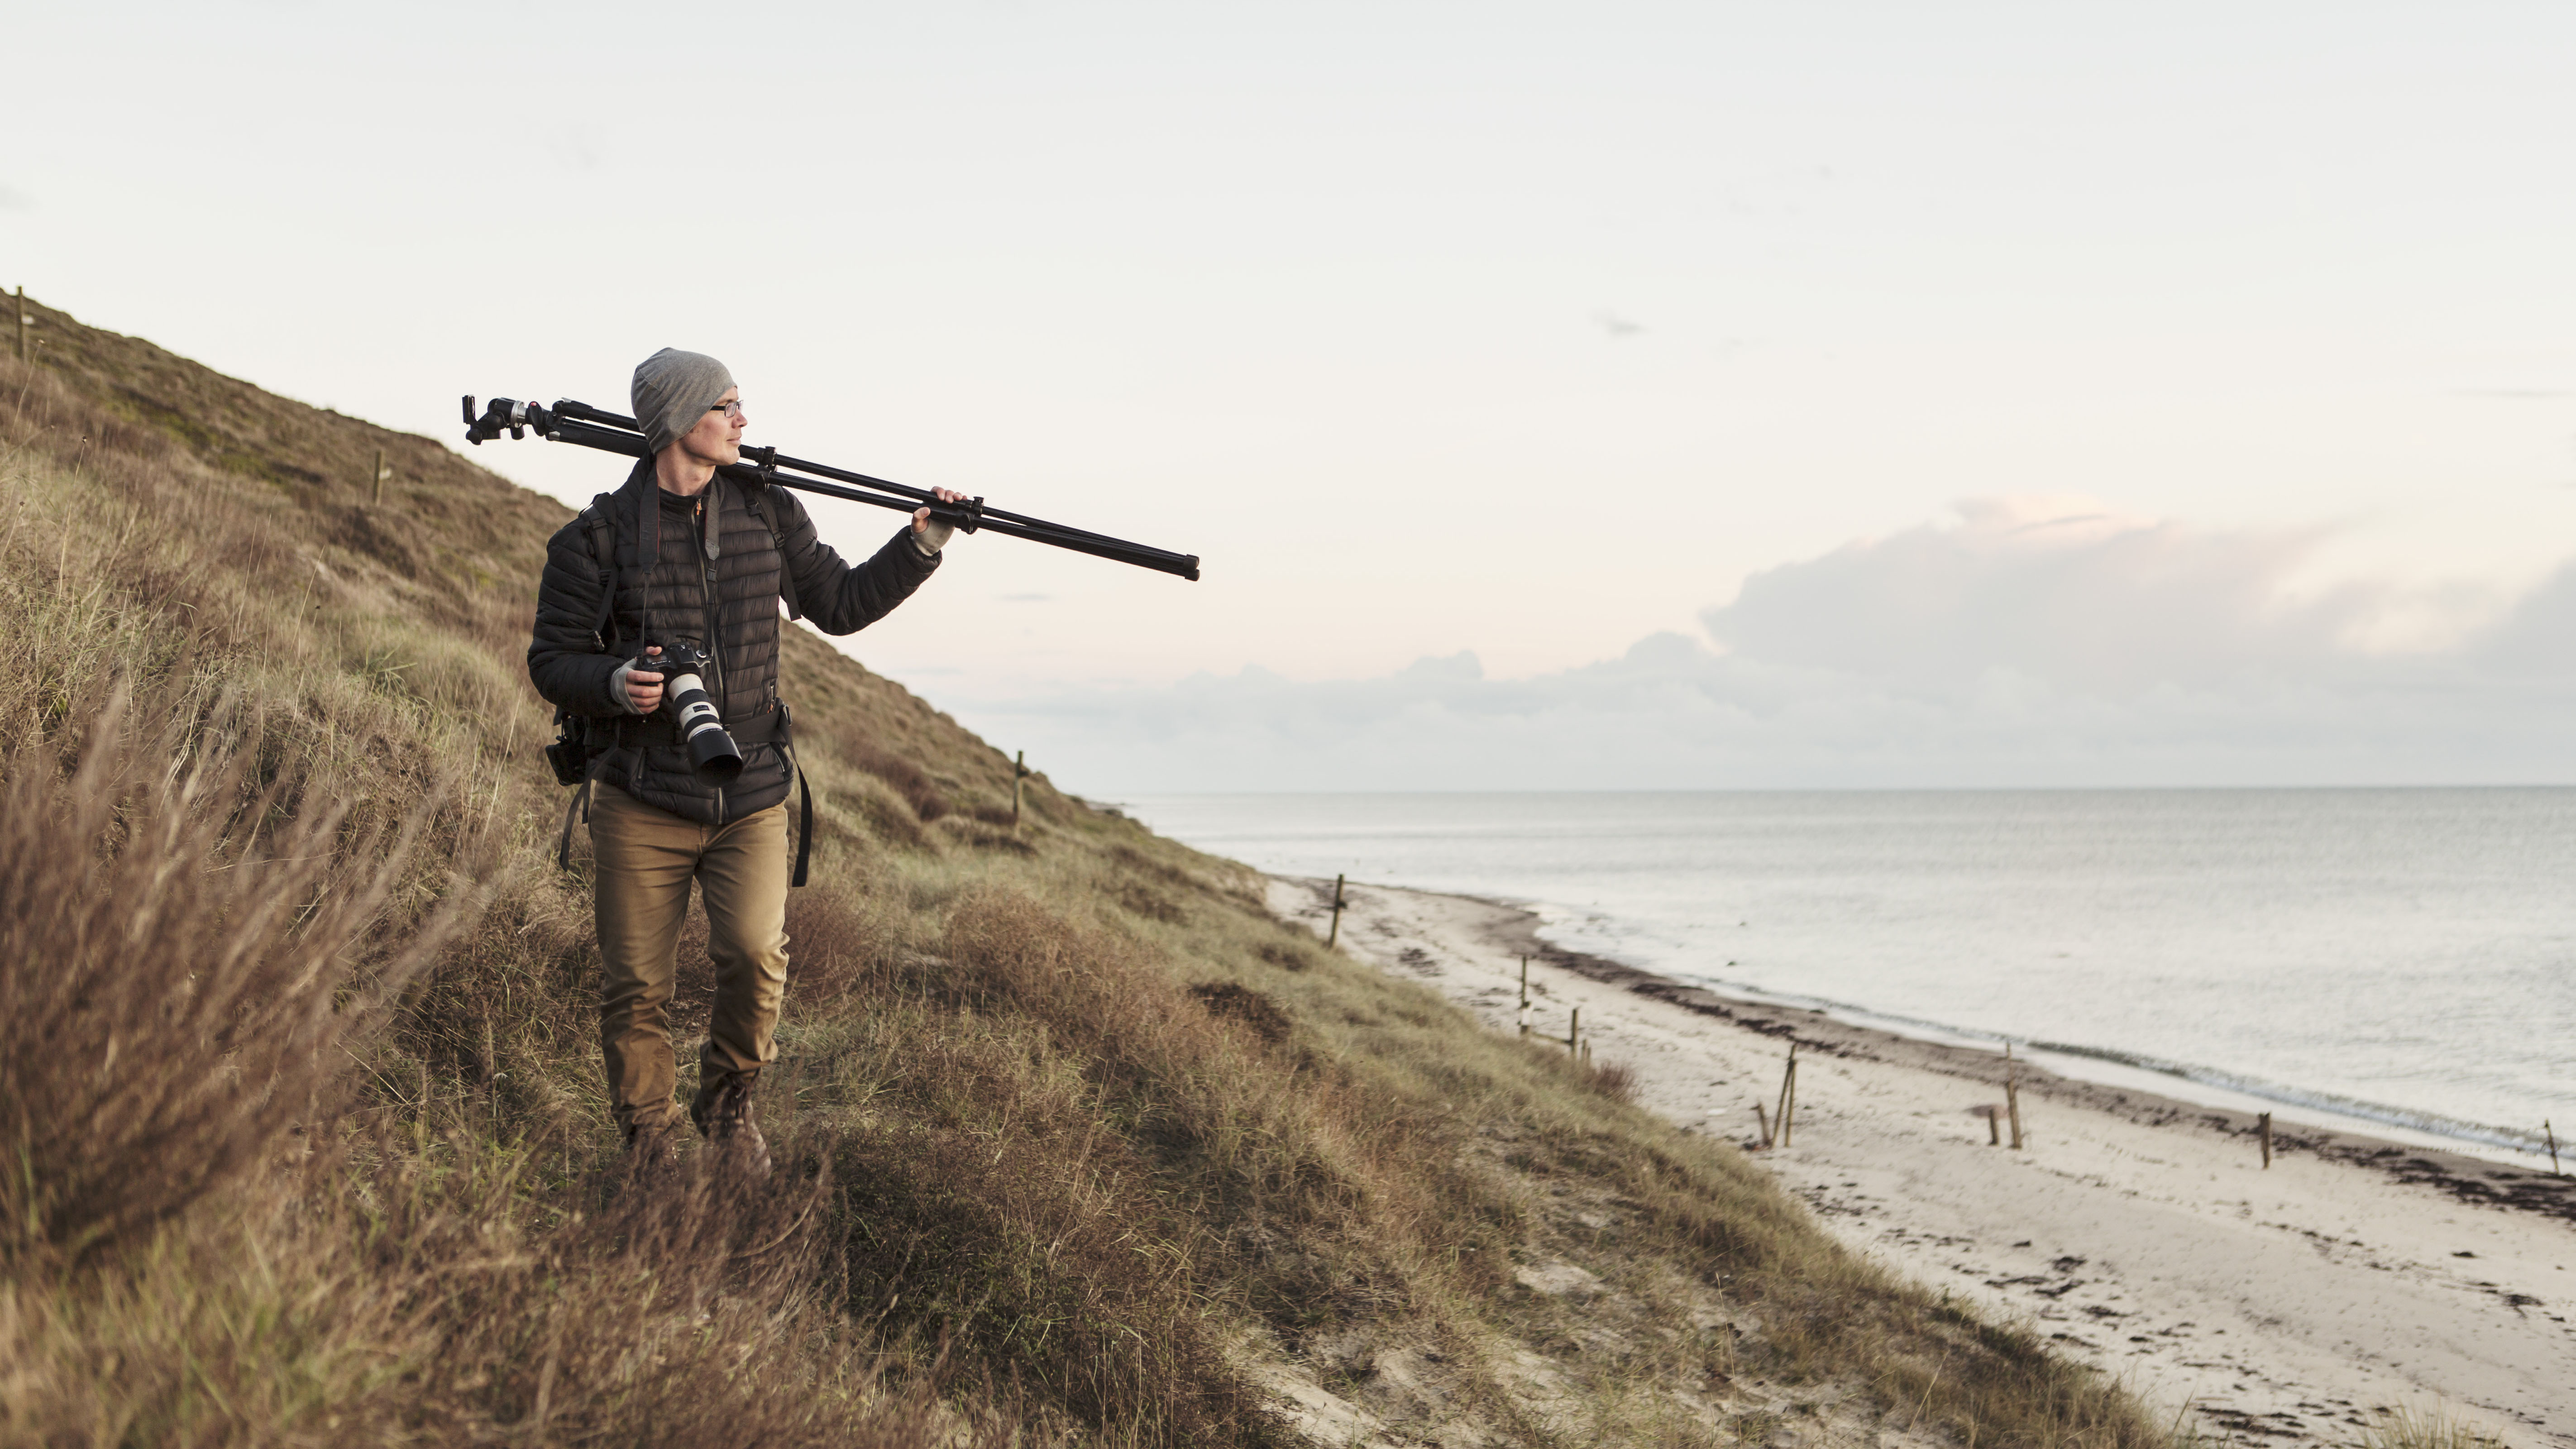
Never hold the camera by the body when attaching a teleconverter. That’s because most of the time we’re adding a teleconverter to make a telephoto lens even longer, and telephoto lenses are already pretty big and heavy. The extra weight and additional fixing mounts means the lens sits further away from the camera body and will pull even stronger on the camera mount.
At best it could flex and detach electrical connections between lens and body, and at worst the mounting could rip straight out of the body itself. It’s always best to hold the camera either via the lens, the tripod collar, or by supporting the lens and body with both hands.
Tips for Lunar Photography With Teleconverters
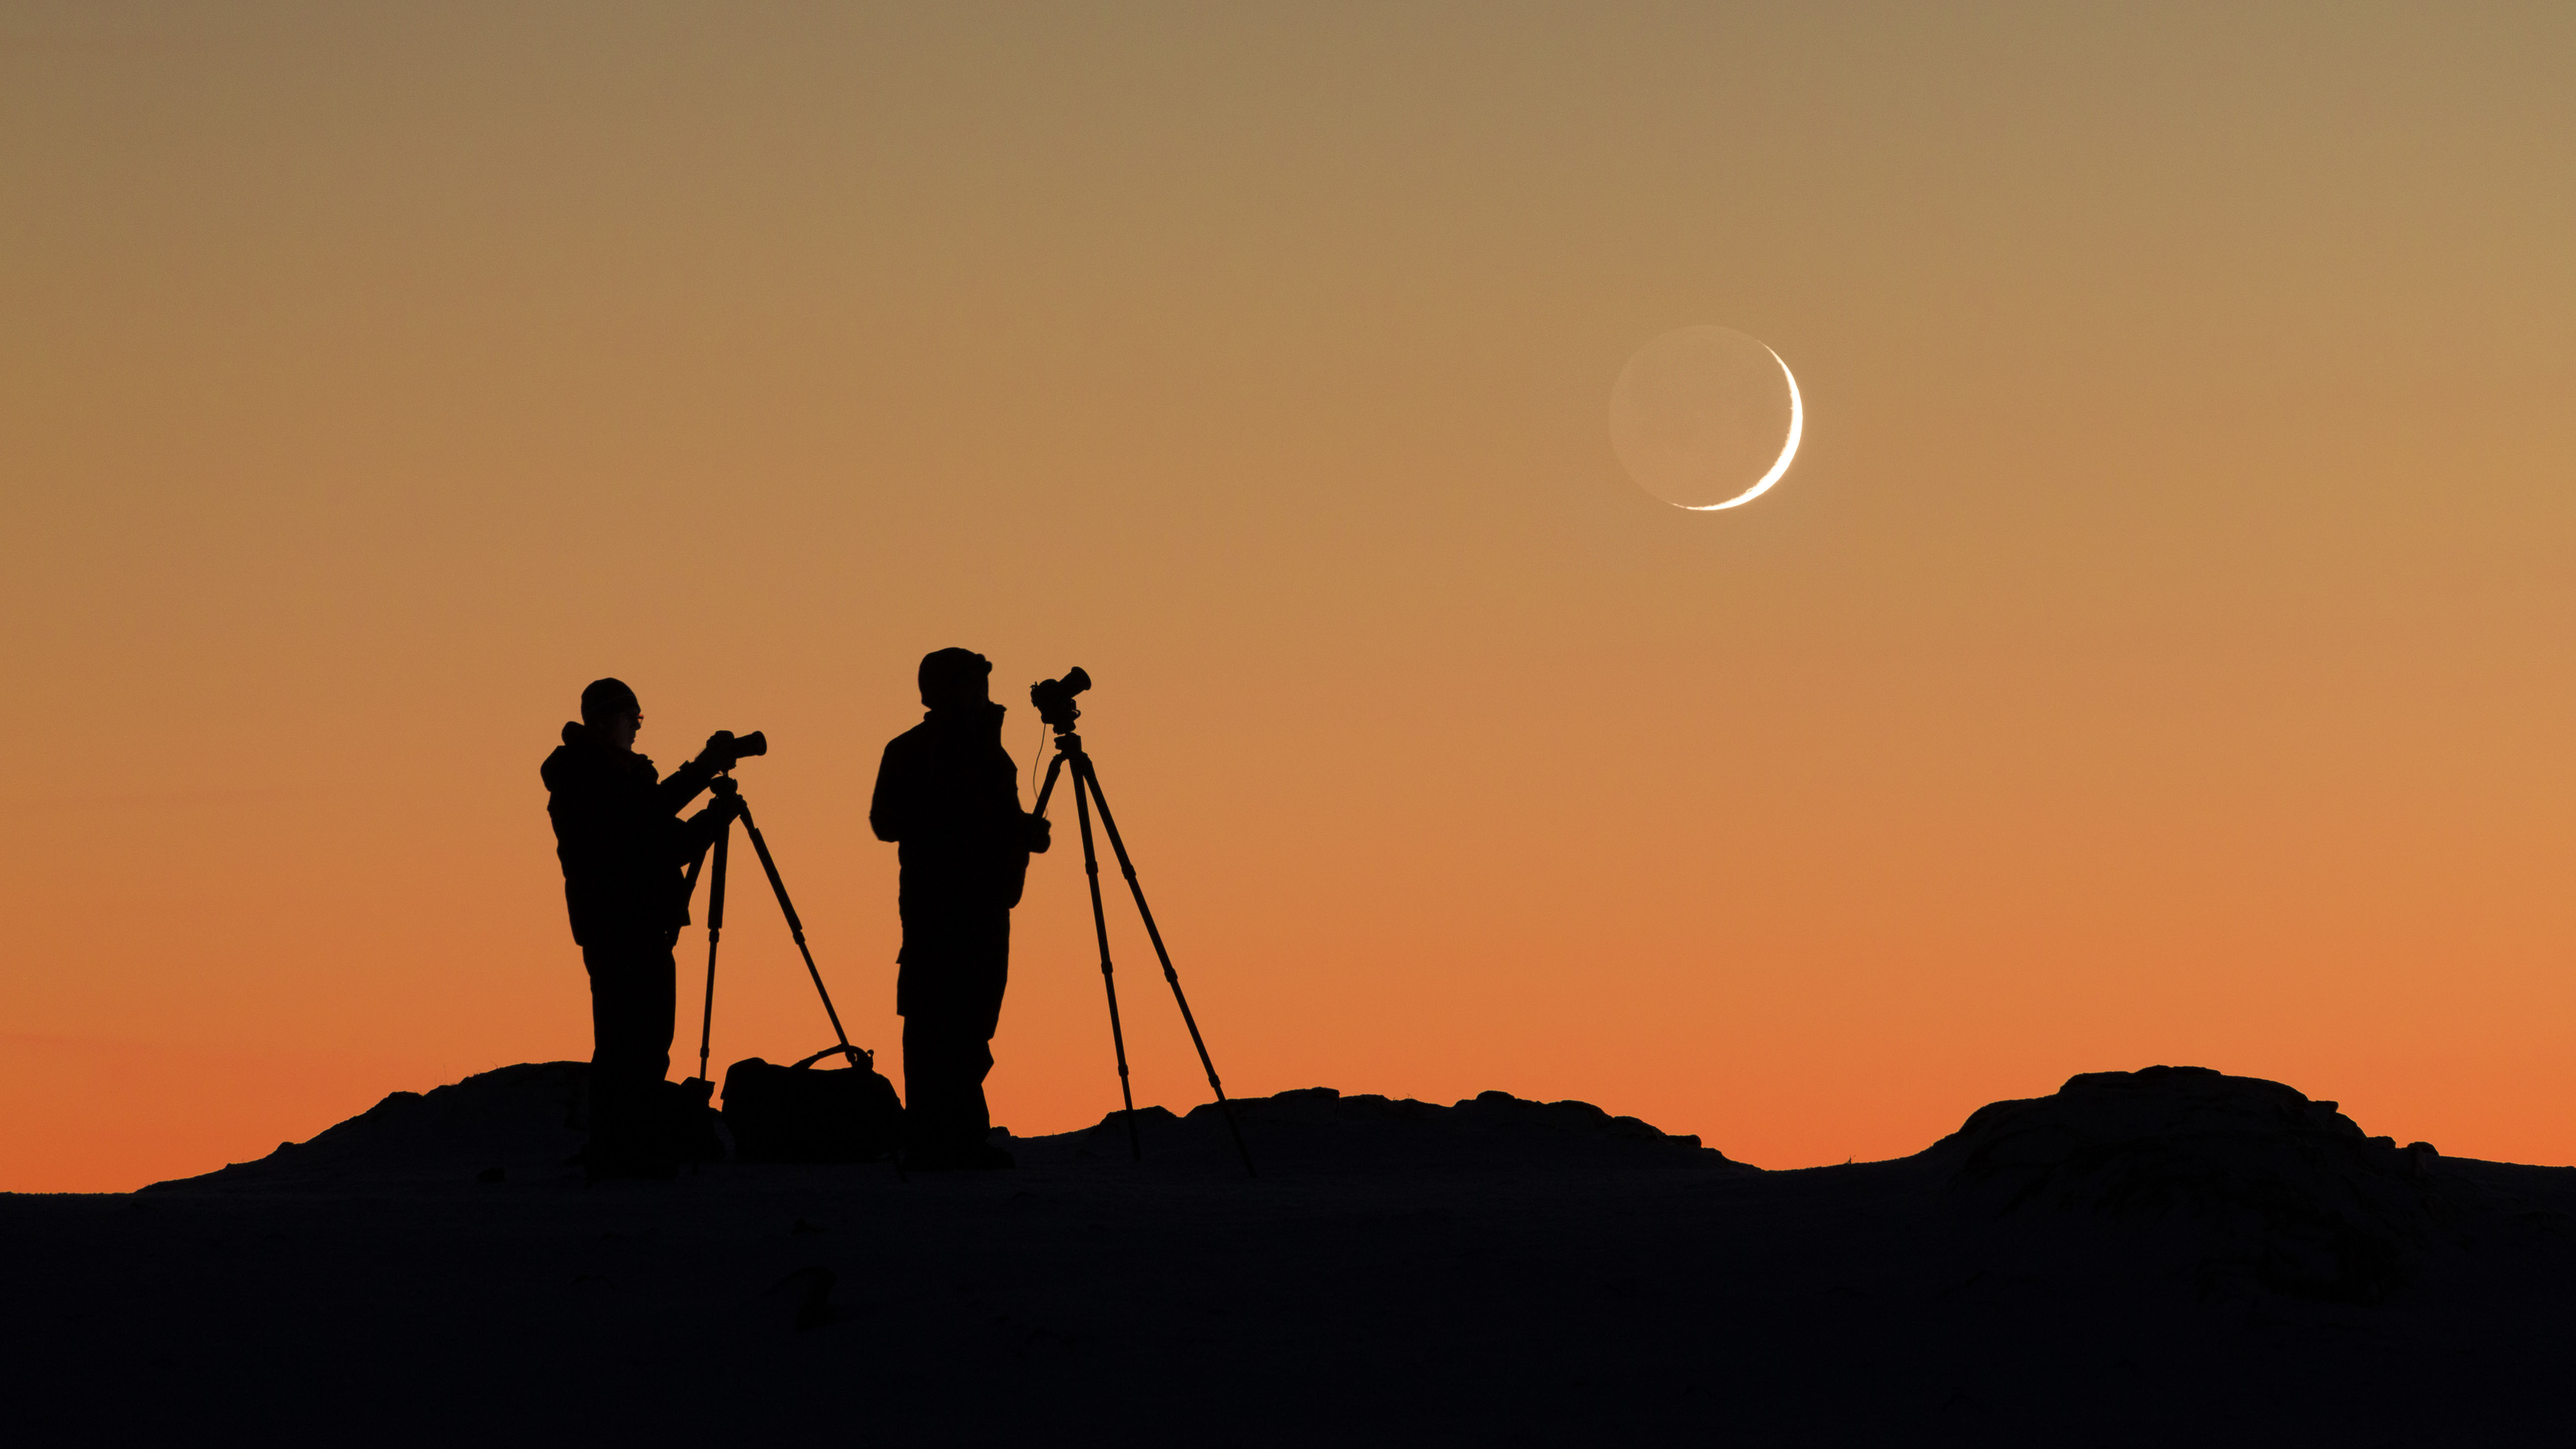
Aim to set up about 30 minutes before moonrise on a clear night (a few stratus or cumulus are okay, so long as they do not wholly block the view). Mount the camera, teleconverter, and lens on a tripod and lock in manual focus by zooming in to the rear screen and physically moving the focusing ring on the lens. Then, balance exposure by capturing with the maximum possible aperture, a relatively short shutter speed of about 1/50 sec (for longer focal lengths lower this slightly), and an ISO sensitivity appropriate to expose the scene well without clipping in the highlights on the moon.
Need some more tips? Have a look through our article on how to photograph the moon, which covers all the basics.
Lens and Teleconverter Compatibility
For the most part, teleconverters are best compatible with prime telephoto lenses and high quality telephoto zooms that use a wide maximum aperture such as f/2.8. The lenses compatible with teleconverters change between manufacturers, with some teleconverters designed specifically for use with one or two particular lenses.
It’s important to check compatibility between lenses and teleconverters before buying. Check below to discover compatibility for the most popular camera systems or search the manufacturer’s website for full details.
Join our Space Forums to keep talking space on the latest missions, night sky and more! And if you have a news tip, correction or comment, let us know at: community@space.com.
Get the Space.com Newsletter
Breaking space news, the latest updates on rocket launches, skywatching events and more!
Jase Parnell-Brookes is the Managing Editor for e-commerce for Space and Live Science. Previously the Channel Editor for Cameras and Skywatching at Space, Jase has been an editor and contributing expert across a wide range of publications since 2010. Based in the UK, they are also an award-winning photographer and educator winning the Gold Prize award in the Nikon Photo Contest 2018/19 and named Digital Photographer of the Year in 2014. After completing their Masters degree in 2011 and qualifying as a teacher in 2012, Jase has spent the last two decades studying and working in photography and publishing in multiple areas, and specializes in low light optics and camera systems.
