Top tips for astrophotography composition
Improve your composing in astrophotographs, from camera choice and framing to planning, compositional technique and the best camera settings.
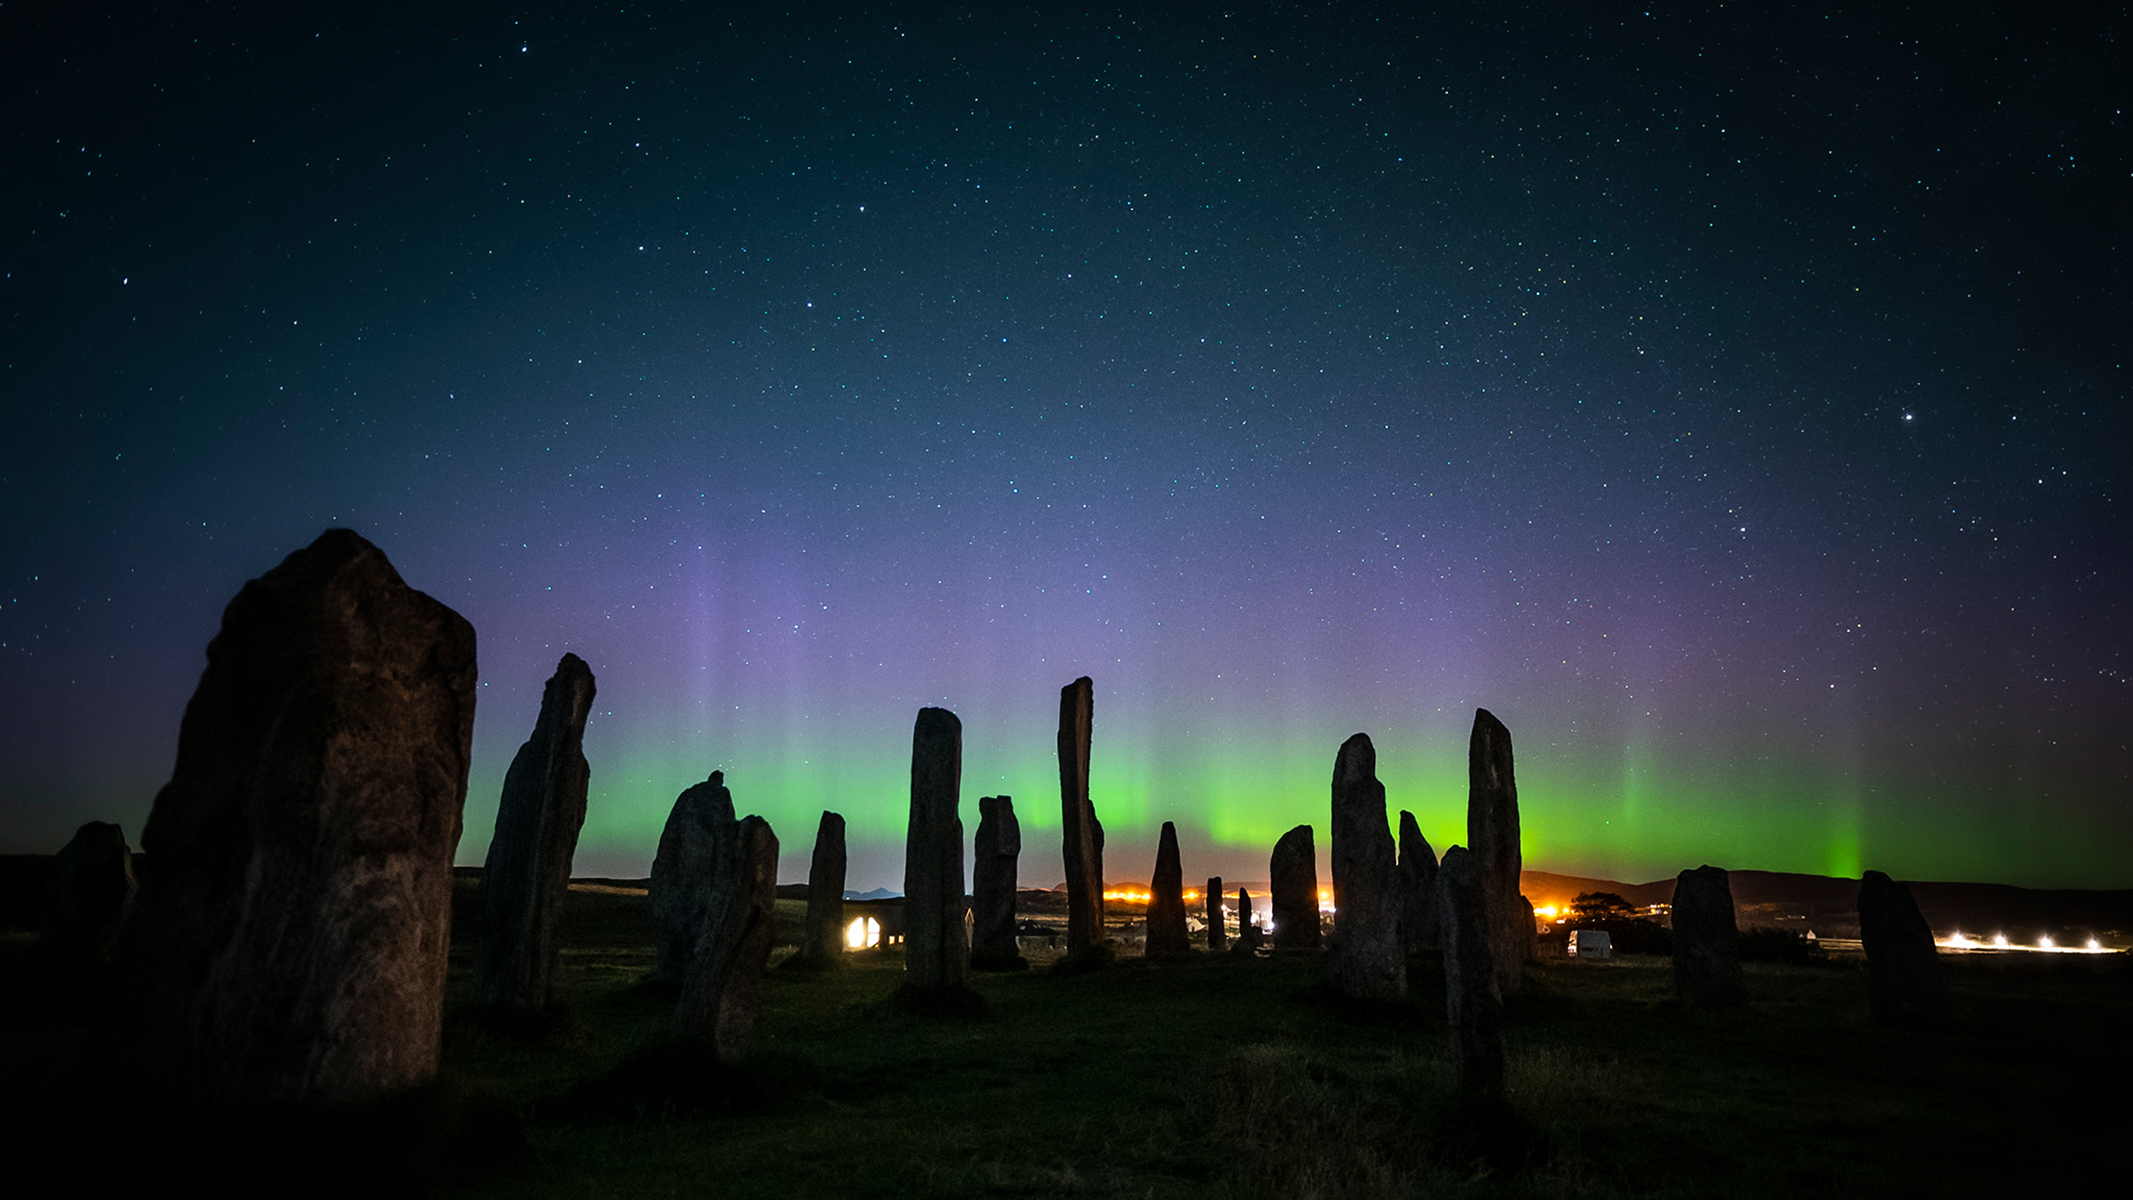
• Get the key bits of kit — a camera that performs well in low light, a suitable lens and a sturdy tripod
• Get to know the best time (of year/night) to shoot your desired subject
• Find a suitably dark location with an interesting foreground
• Monitor stargazing, aurora, light pollution and weather apps for the best shooting conditions
• Familiarize yourself with the best camera settings before you head out on a shoot
• Experiment and break the rules
• Don't be disheartened if you don't get the perfect shot first time — it takes practice
Taking photographs of the night sky can be such a rewarding yet emotional experience, and due to the challenging dark, usually cold and unpredictable conditions, it takes practice and patience to get the shots you want. In this guide, we will look at the key tips to compose the best astrophotographs possible and what you need to know before taking your camera out under a canopy of stars.
The night sky is ever-changing. Over the period of our lifetimes, light pollution has risen dramatically, and more of us are losing close connections to the heavens above. With the stark rise of satellite technology, it is estimated that by the year 2025, there will be more satellites visible than stars in our view of the night sky. Now more than ever, it is so important to look up to the stars and recognize our sense of place within the universe and capture these moments the best we can. From shooting the Milky Way to the dream-like Northern Lights, this guide has you covered.
Gear choice and framing
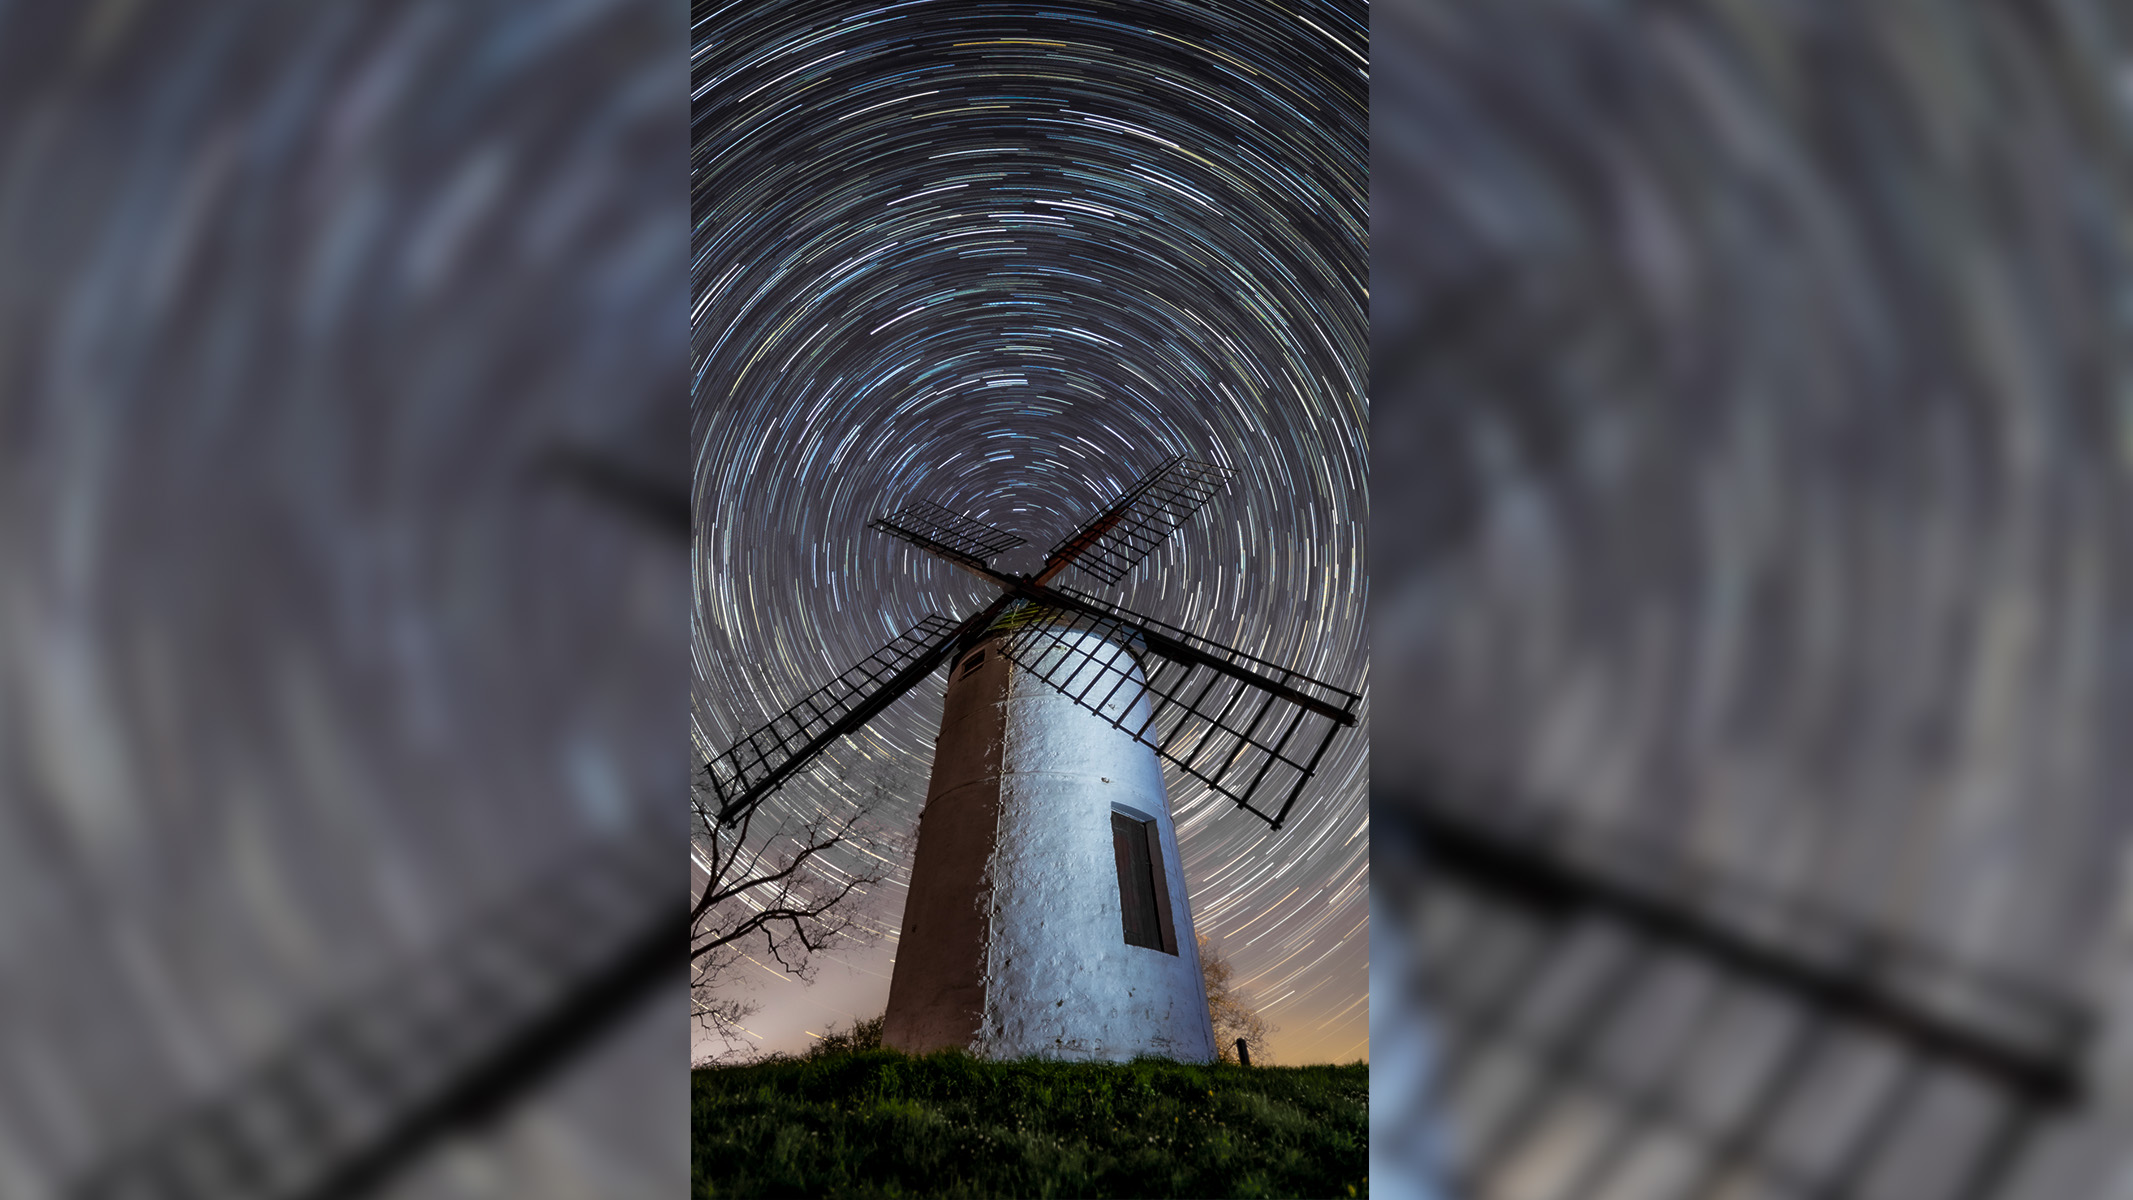
You don't need 'all the gear' to create stunning astro shots; you can get stunning results from your camera phone with practice. However, if you want to use a 'proper camera' you will need one that performs well in low light, or even better, one of the best cameras for astrophotography. Currently, we'd recommend the Nikon Z8 as the best camera overall and best camera for astrophotography because of its phenomenal features, highly detailed sensor and fantastic ability to manage high ISO noise that comes with shooting the dim starlight at night.
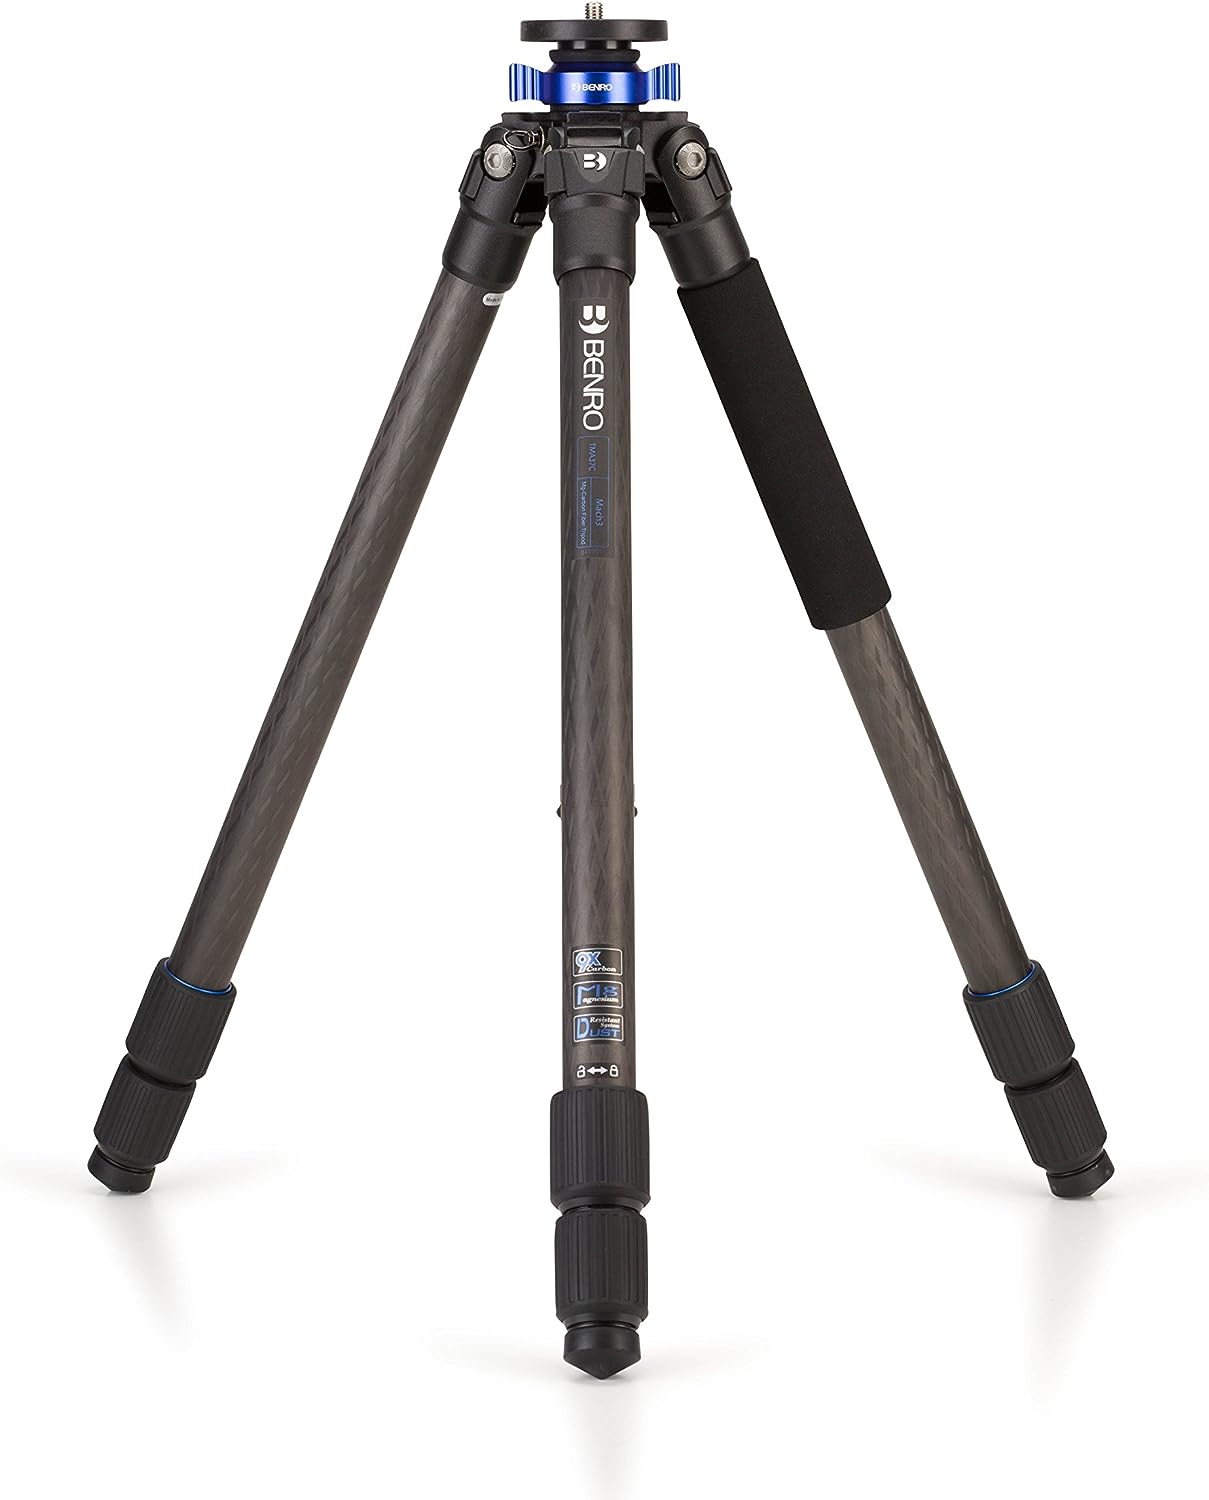
We've named the Benro Mach3 TMA37C as the best tripod for astrophotography overall because of its intuitive operation and sturdy leg locks for stability and steadiness.
When heading out on location, it is always advised to have a dual LED flashlight or headlamp (one with a white LED and a red LED). A red light is crucial for preserving your night vision. Two of our favorite models are the BioLite Headlamp 425 and the Nitecore NU31.
A strong, robust tripod is a must for most astrophotography, especially when taking long exposures; you simply won't get the results you want without one. Take a look at our best tripods for astrophotography guide to see which best meets your requirements. Aluminum tripods are very robust and generally cheaper than carbon fiber models, but the latter are much lighter and easier to carry around. You want a tripod that can withstand wind interference, which can occur with a change of wind direction or speed when shooting long exposures.
For landscape shots, we prefer to use a wider lens — somewhere in the region of 14-24mm focal length — to gather more light when capturing fainter details and nebulosity. We really rate the Sigma 14mm f1.8 DG HSM ART. That said, taking a variety of lenses can be desirable so you can experiment during your shoot. Sometimes a mid-focal-length lens (50mm) can be useful to stitch together a panorama of images to create a higher-resolution image. This process takes more time but the results deliver.
A telephoto lens (ranging from 70-600mm) may be considered for lunar photography to provide a narrower field of view and to 'zoom in' on your subject. Foreground subjects can illustrate narrative so it is the photographer's decision whether to shoot horizontally or vertically. Read more about the best lenses for astrophotography and how to choose one in our handy guide.
You need to be physically prepared for the elements when taking images outdoors at night. Wear gloves (ideally well-fitting and grippy), a hat and take warm drink. Most importantly, layer up — the more layers, the better, as the temperature is likely to drop the later you photograph into the night. It's better to make extra provisions than make too few.
Related: Best cameras for astrophotography
Location and timing
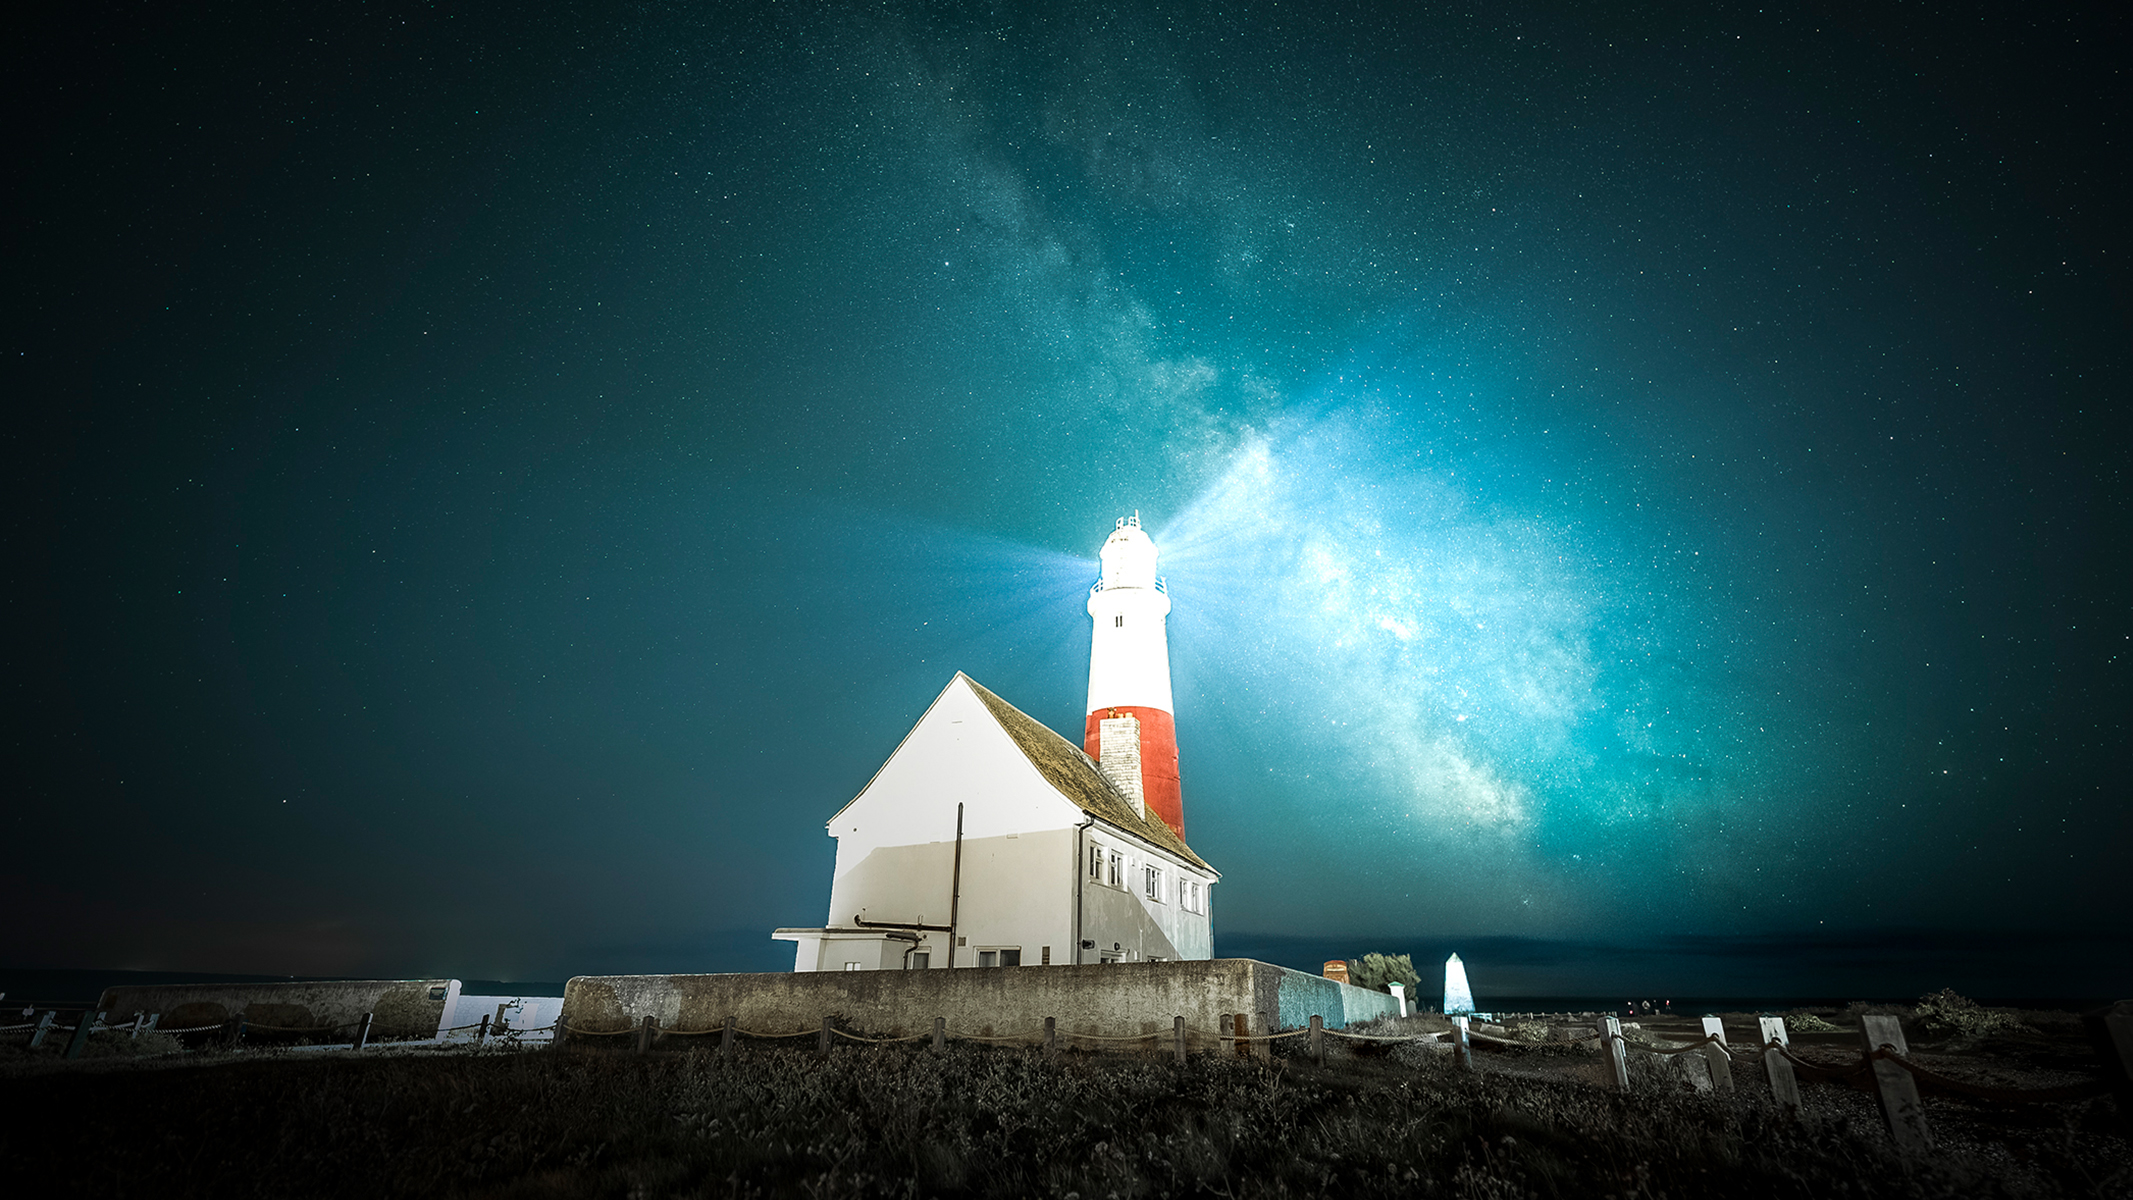
When capturing images of the night sky, the light we see from distant stars has, in many instances, traveled thousands, millions and even billions of light-years through space and our home galaxy, the Milky Way. When photographing such fragile starlight, the location we determine to capture images from is very important. Primarily, we need to steer clear of the unwanted impacts of light pollution from nearby towns and cities and find something interesting, be it a rock, building, tree, windmill or so on, to sit in the foreground of our shots.
We've done all the hard work for you, our team of experts have rigorously tested and reviewed the Best stargazing apps to help you navigate and photograph the night sky. Our top pick overall is SkySafari 7 Pro scoring full marks in our review.
Light pollution is the result of lights shining into the atmosphere — especially prevalent in urban areas — which reduces the contrast of the night sky and inevitably, reduces the amount of visible stars we can observe and capture. If you can't get completely away from light-polluted areas without traveling huge distances, using one of the best light pollution filters will give you a helping hand. They block specific wavelengths in the visible spectrum of light associated with skyglow.
If you are lucky enough to be able to travel to a protected Dark Sky Reserve, the view of the universe is outstanding. Being designated protected areas, regulations are enforced to minimize artificial light. We can see so many more stars and details within the spiral arms of the Milky Way — so much so it is even difficult to distinguish the major constellations within them.
These are sought-after locations for astrophotographers, but even so, a short drive away from the city lights is urged to get the most out of your astro shots and in turn provide everyone who sees our photos with an appreciation for the dark sky sites we have left — where we can still view our window to the universe in stunning clarity.
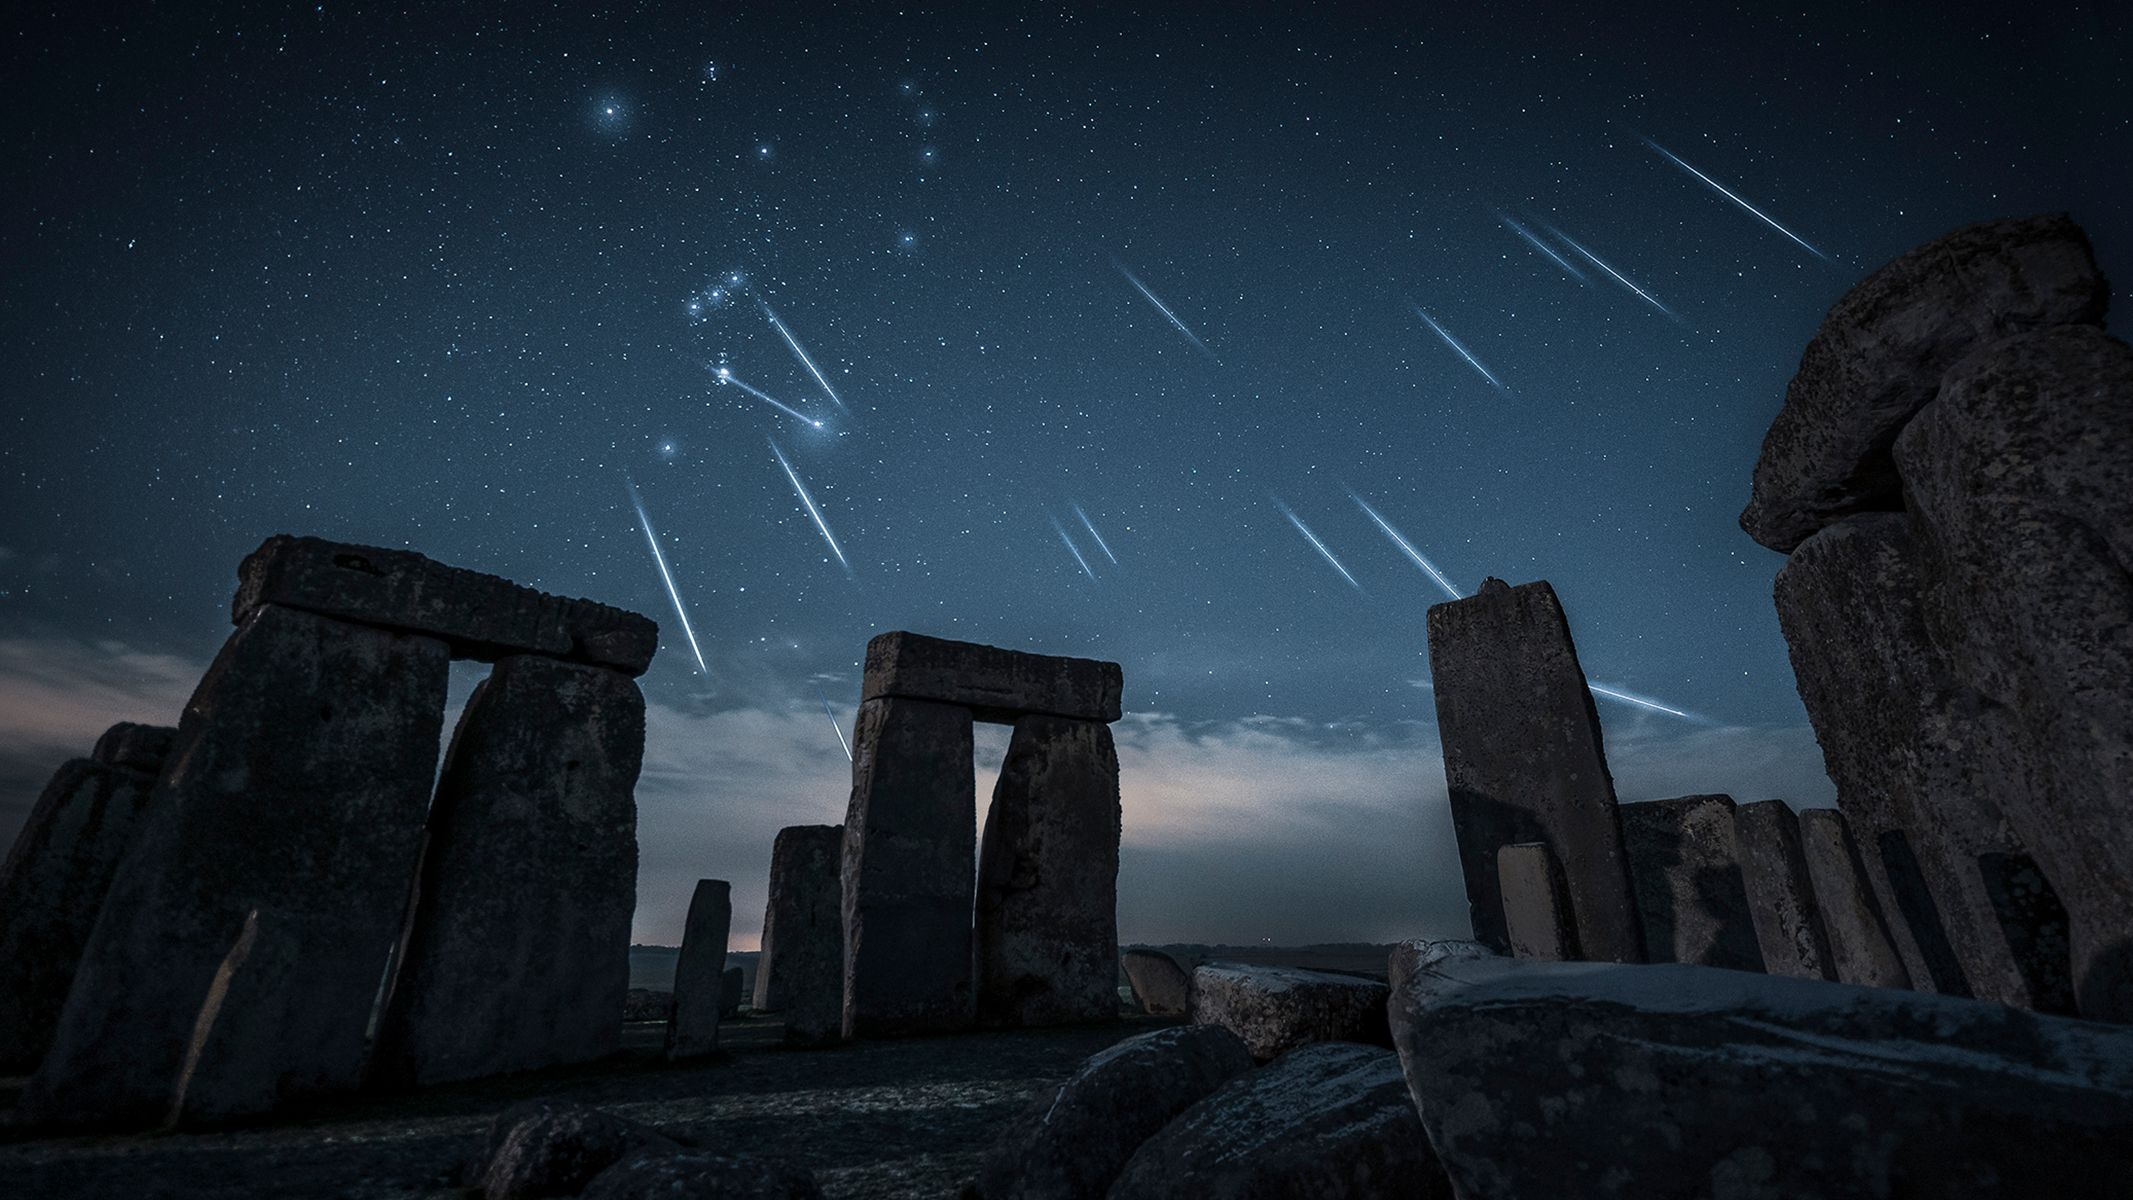
We have put some of the best locations for astrophotography into a handy guide and also compiled a list of the best stargazing apps that will help you find the ideal spot in the best conditions. Plenty of Light Pollution Maps can be accessed online or by using smartphone apps listed in the aforementioned guide. Such tools show us what is known as 'The Bortle Scale' for a certain area. On a scale of one to nine, one is the darkest skies with zero to no light pollution, compared to nine — intense levels of light pollution, typically associated with major cities.
Alternatively, if the Moon is your desired subject, make sure to look out for lunar phase calendars to know the exact timings of fuller lunar phases as well as rising and set times. Take a look at Space.com's moon phase reference page.
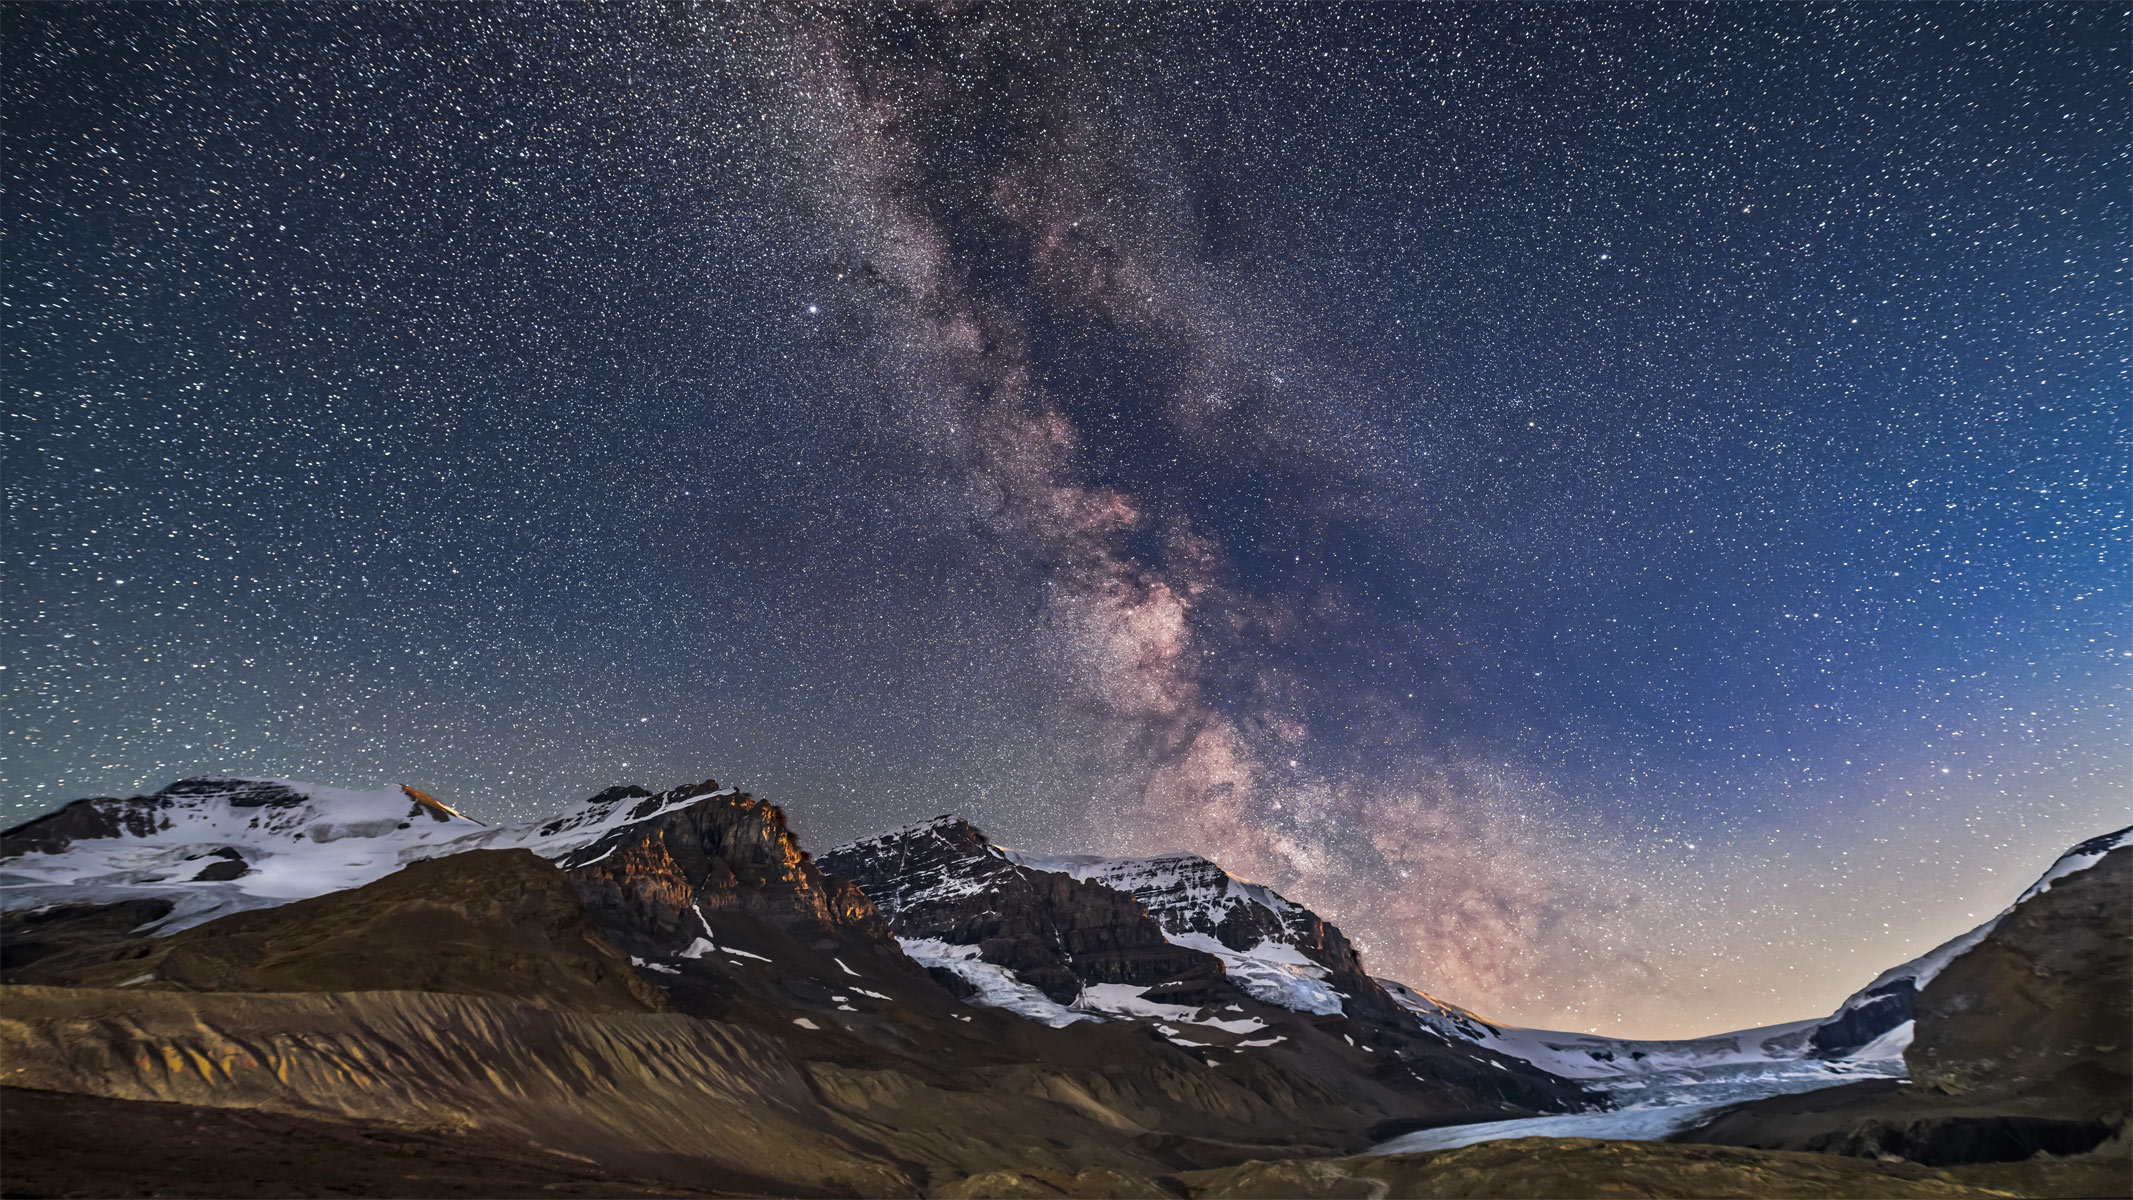
When capturing images of the night sky, you need to consider the different factors that will be at play for different astronomical subjects. For example, if capturing landscape images of the Milky Way, we need to discover where it will be most visible without unwanted distractions in the frame and we'll need a clear night. Ideally, we want to head out around the time of the New Moon. This is a time when no (or very little) sunlight is reflected off the lunar surface and thus when the darkest skies can be seen during a given month, making the Milky Way look its most impressive.
Space.com has a continually updated Space calendar detailing events of pertinent skywatching events such as lunar eclipses and meteor showers, with links on where best to see them (and how to find them), how long they will last, and so on.
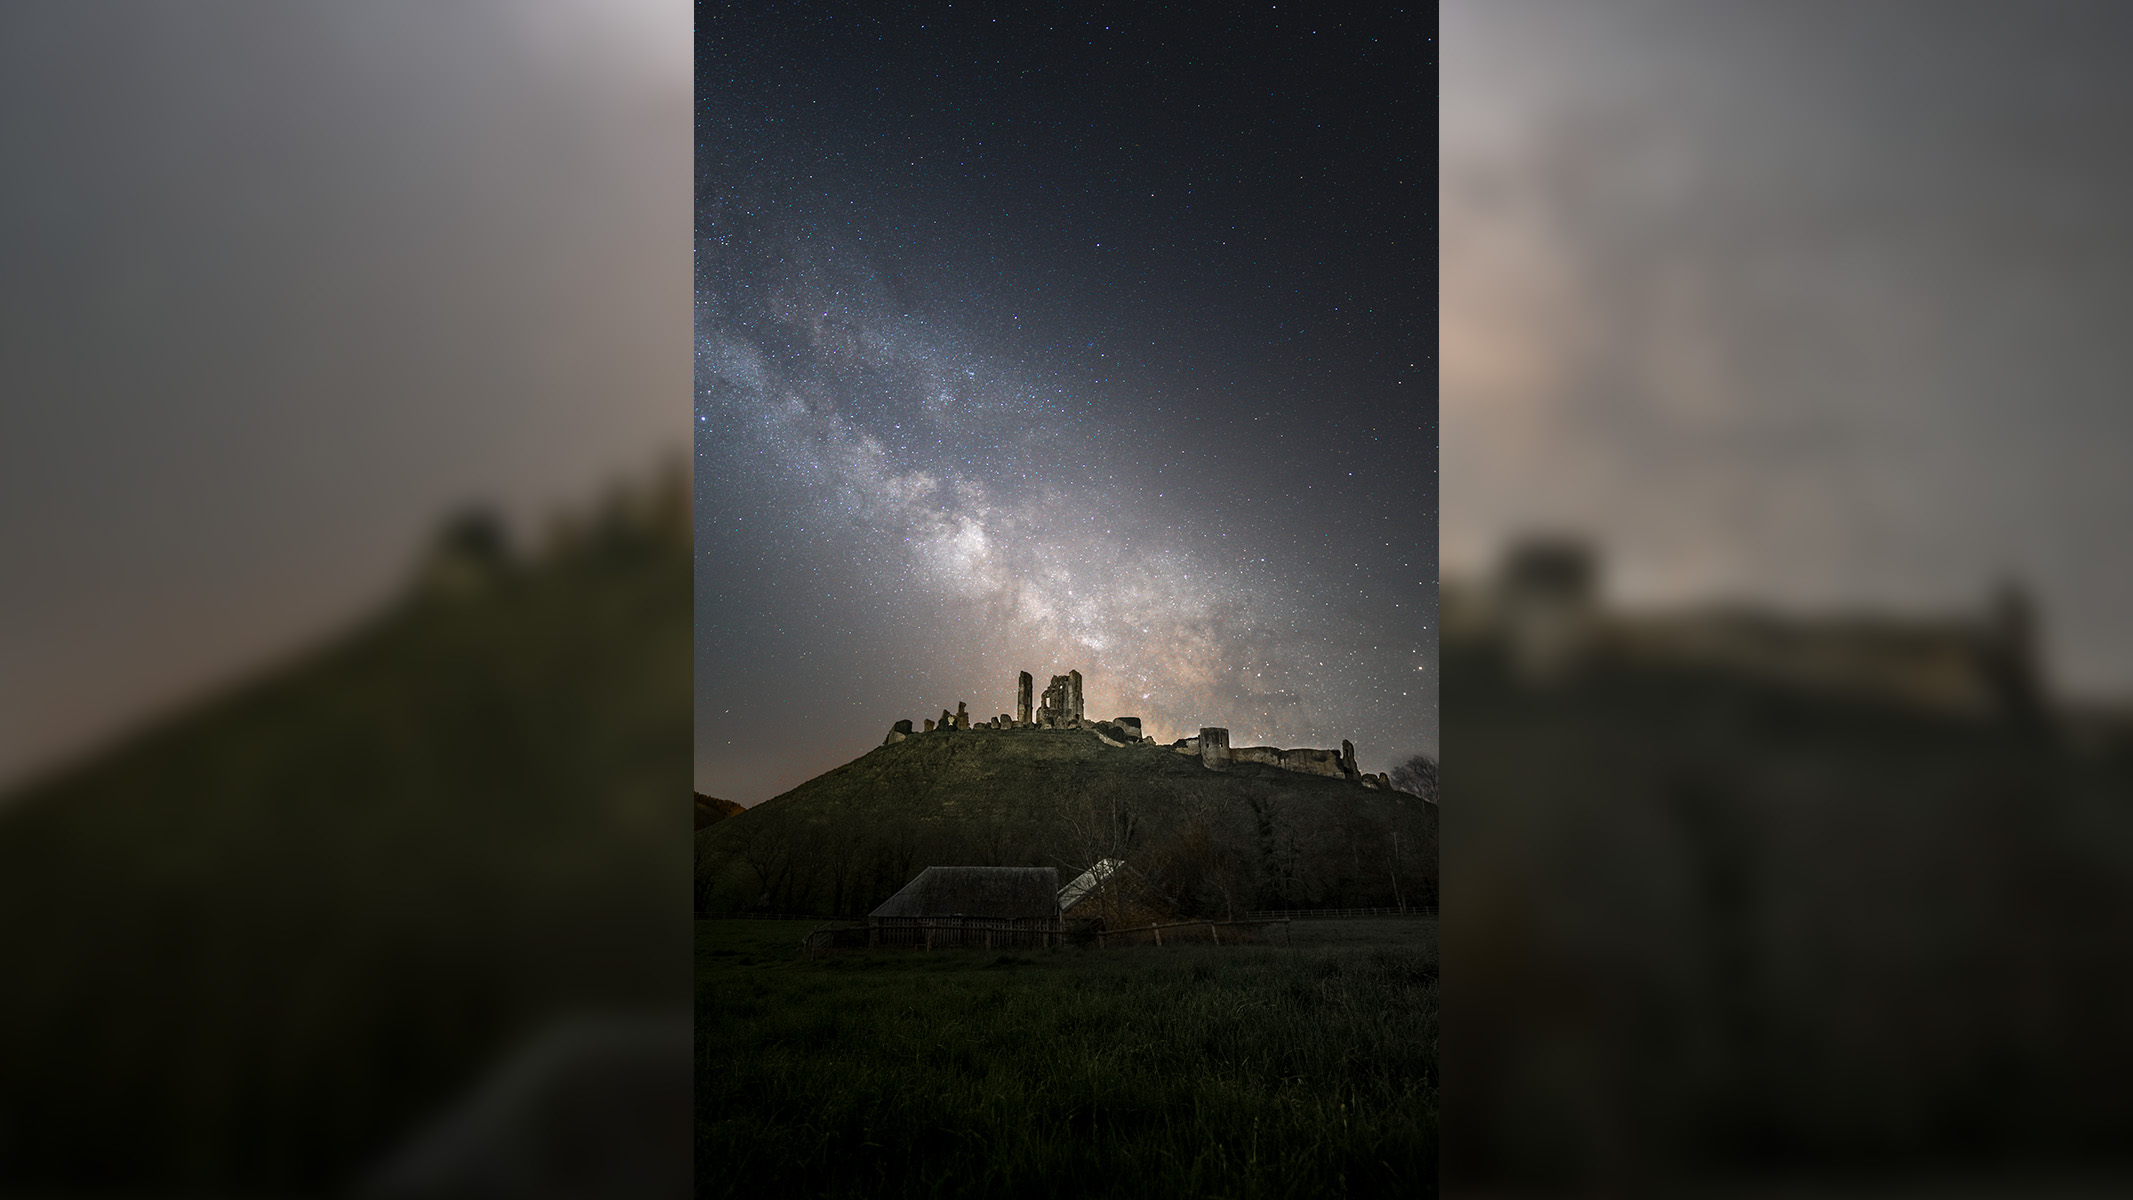
As our planet revolves around the Sun, we observe different areas of Space throughout the year — exhibiting the winter constellations (Orion, Taurus, Auriga, Canis Major etc) from winter through to spring where nights are at their longest, and the Milky Way season throughout the summer months when nights are at their shortest.
It is good practice to plan ahead and have a basic awareness of targets to view in the night sky and when they appear; from the planets to constellations, the names of brighter stars, and the amount of time you have to photograph the heavens; also known as 'astronomical darkness'.
Good astronomy apps like Stellarium and PhotoPills are the go-to apps to determine what is visible to you in the night sky on a given night, the moon phase of that time and for how long you can capture images at certain times of the year. They will also help you to orientate your camera setup, i.e. which way to point the camera if your subject isn't obvious using your naked eye.
The Northern Lights, alongside other extra-terrestrial phenomena, are unpredictable, so it is useful to have the latest aurora apps downloaded on your smartphone to determine the likelihood strength of the aurora on a given night if capturing this is your aim. We must also consider the 'normal' weather forecast — it is good to reference a number of forecasts as each will differ slightly — we've found Ventusky to be a reliable site for providing accurate up-to-date weather information. The last thing you want to happen is to prep for a night under the stars only to find yourself under thick cloud cover or worse, in heavy rain.
- Read more about the Northern Lights
Compositional Basics
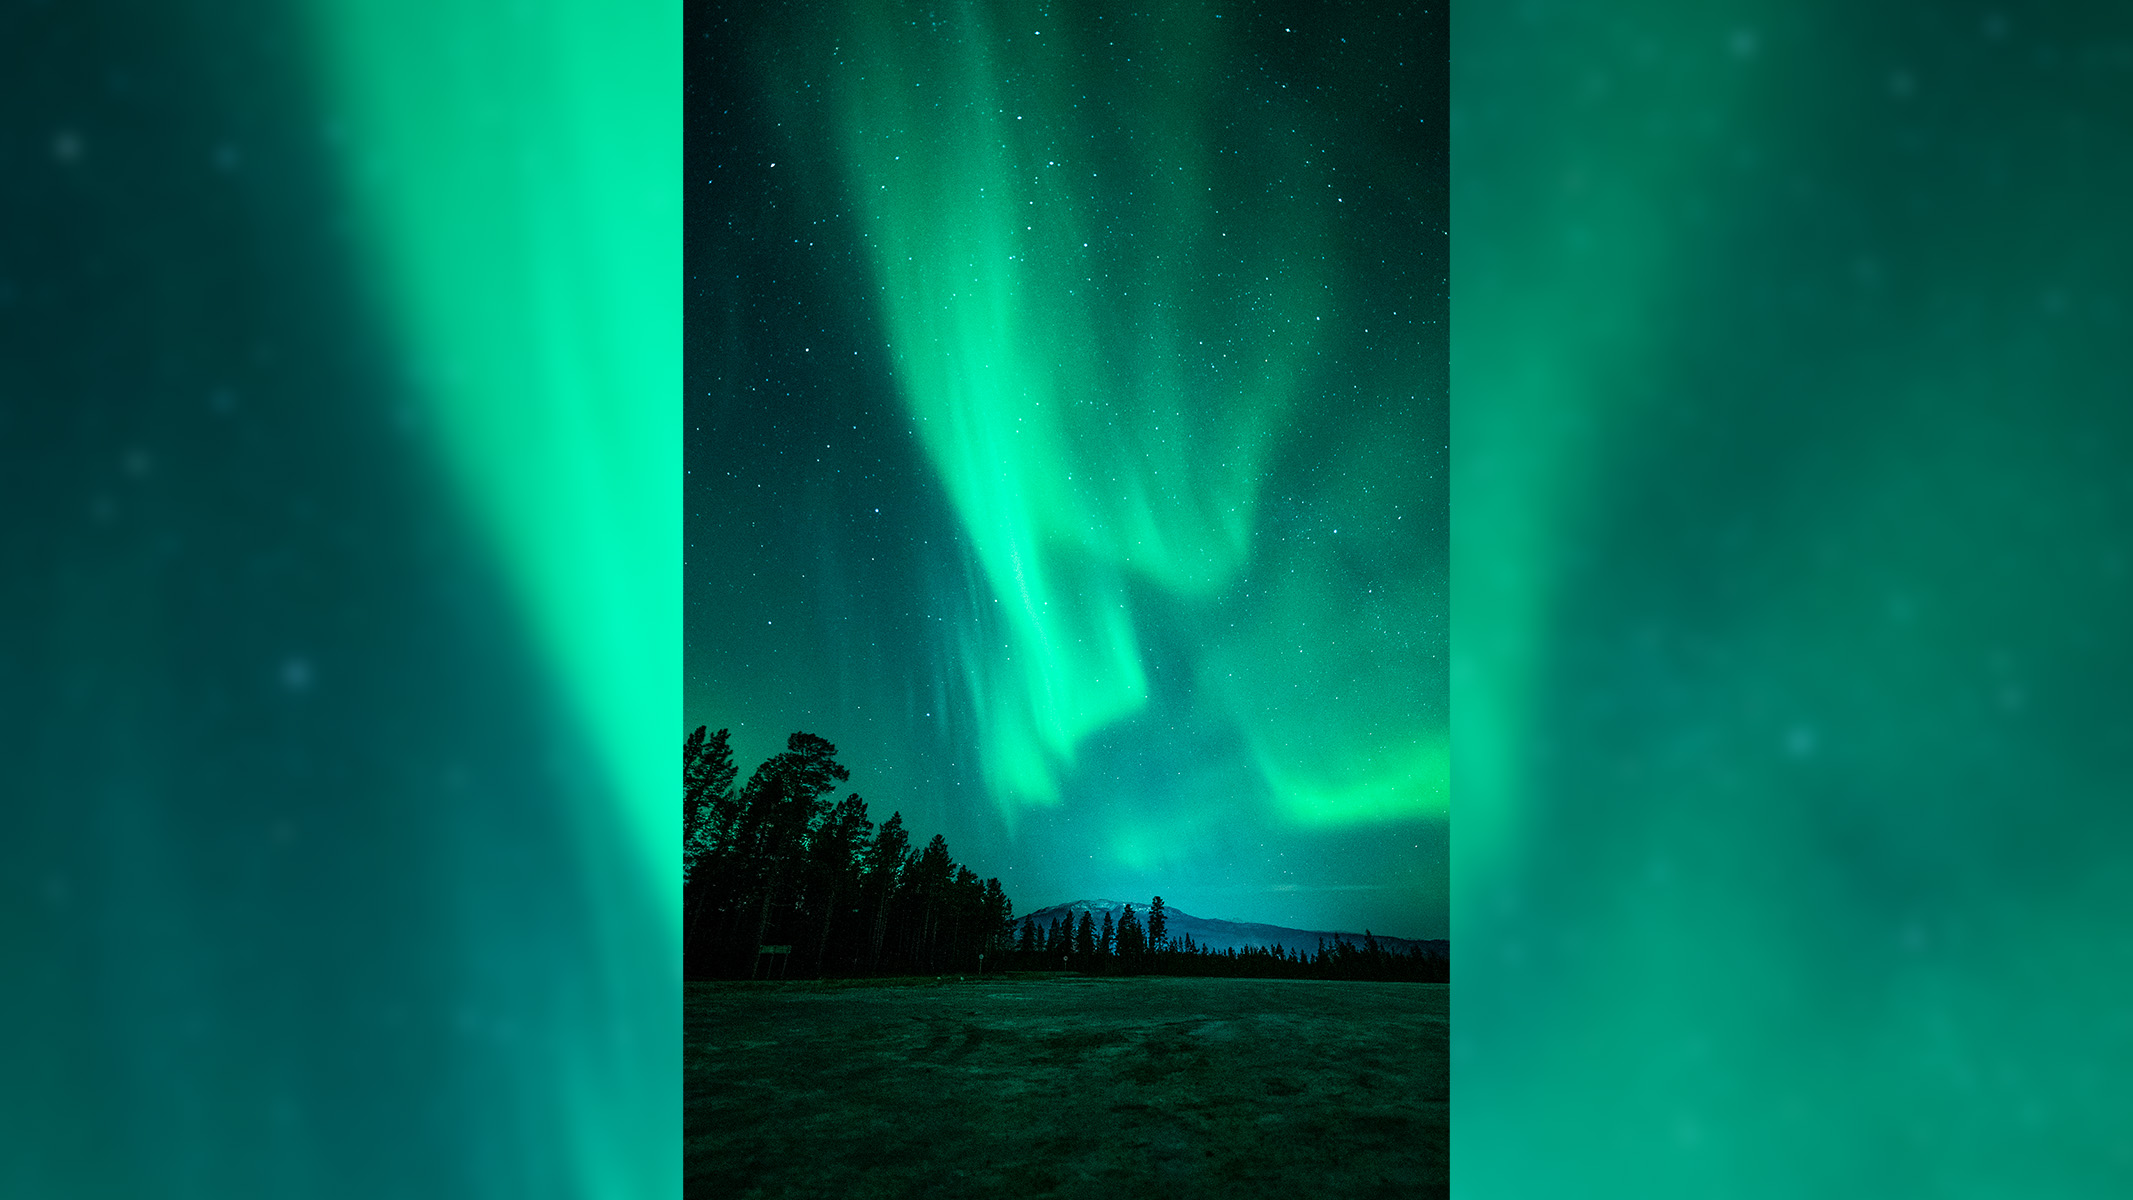
A general rule of thumb for creating compositionally strong astro-images is to use the rule of thirds. The rule of thirds is a composition guideline that divides an image into nine equal parts by two equally spaced horizontal and vertical lines (if you don't have a grid on your camera, you can imagine one). The important compositional elements (i.e. your subjects) should be placed along these lines or their intersections. This creates a more balanced and visually appealing composition than simply centering the subject. The person viewing the image will be drawn to the points of interest in your image, both astronomical and foreground subjects.
Centering the subject is typically not attractive, and what's more, you could miss out on other interesting objects that sit just outside your field of view by doing so.
Always be mindful of 'empty space.' If using the rule of thirds, this should inherently not be a problem — what it means is having all of the 'interesting' elements of your photo in one area, leaving large uninteresting spaces in the rest of the image. In other words, don't stack all of the interesting subjects on one edge of your image and forget about the other side.
As with all photography, the composition of your shot has to be revised each time you take out your camera. Your composition can be determined by the location you are shooting, any interesting foreground objects, the weather, where other photographers might be standing, or the appearance of an astronomical event (such as seeing the Northern Lights). Your goal is to create a close relationship with your subject, to understand the dynamics of what you are shooting and ultimately, create your own sense of identity within your images and your perception of the universe.
Experiment with different angles and distances from the foreground subject, and try the same shot with portrait and landscape orientations to see which works best. Ultimately keep experimenting until you have an interesting image that you are happy with that will draw other viewers in.
Perfecting the shot

Getting great astrophotographs is a result of a lot of practice and a lot of trial and error. Sometimes, some images and the environment work; other times they do not. For example, an unexpected bright object in the form of car headlights appearing over the horizon or an astrophotography honeypot during an exciting celestial event that makes it difficult to find your own 'other photographer-free' spot, potentially causing frame distraction within your images. A sudden temperature drop may result in your equipment being 'fogged'.
As a result, astrophotographers have to be both prepared and to make compromises. If there are unexpected changes, you may have to reconsider how you shoot your composition or otherwise make a fine adjustment to your tripod head so that any defects are out of the field of view. Does it follow the same narrative if, say, photographing the Milky Way above your subject? Do you have the equipment to prevent fogging lenses, such as a lens heater? All of this comes with experience and the closer you become to your subjects, the more you get to know them and what you need to adjust. Before you know it, your workflow becomes second nature.
Tips on camera settings
How to focus
Most cameras can't automatically focus on objects in the night sky because it is so dark. We have to do this manually. There is a tried and tested technique for doing so, as follows:
Find the brightest star/planet in your field of view (on the screen), zoom in and navigate to it. Make sure your camera is set to manual focus and not autofocus.
Turn the focus ring until the star/planet appears as a sharp pinpoint of light (rather than a circle). On the screen, zoom out again and don't adjust the focus for the remainder of the shoot unless it is obviously out of focus or has been knocked accidentally, or if you want the focus to be on something else, i.e. a rock, person or structure in the foreground.
Exposure (aperture, shutter speed and ISO)
Here, test shots are crucial — take some test shots and check your exposure using the histogram. The histogram gives us a visual representation of the brightness values of all the pixels in our photo; it's best to use this method, as relying on the screen alone isn't always reliable.
If all of the 'mountain peaks' in the graph are on the left, the image is too dark; on the right, it's too bright. We're aiming for most of the peaks to be on the left but with some data nearer the middle of the histogram (meaning the image is dark but with points of light).
Make adjustments as necessary — a wider aperture (lower f-stop number) will gather more light and, when dealing with something as dark as the night sky, we need that as wide as possible — if the lens you're using opens to f/2.8, set aperture to f/2.8.
The shutter speed determines how long the image sensor is exposed to light. To see stars as pinpoints of light, a shutter speed of 1/2 sec or faster is required, which means the image sensor's sensitivity to light must be increased dramatically. The slower the shutter speed, the more light is gathered, but if you leave the shutter open for too long, you will start to see some movement — of course, this is a desired effect for things like star rotations.
You can use the 500 rule to determine the rough exposure length before you start to see star trails in your images. Take 500 and divide it by the focal length (in millimeters) of your lens. I.e. 500 / 24mm = 20.83 seconds of exposure before star trails are noticeable in your photos.
It is a good idea to use the camera's inbuilt exposure delay (self-timer) or use a remote release to minimize the risk of camera shake.
If it's too dark and you can't open the aperture wider, slow the shutter speed down further. If that still doesn't work, raise the ISO, but be mindful not to bump it up too much, as too much image noise can be tricky to edit out in post-processing.
Post-processing
Sometimes there are defects within your astro images that you will simply not notice when shooting in low-light environments so it may be necessary to edit your images post-shoot using one of the best editing apps for astrophotography. You can adjust colors (often to pull out detail from the darker shadows), crop your images and even revise your composition. The main thing to remember is to have fun when taking your astrophotos and experiment with them — always be prepared to expect the unexpected and don't be too hard on yourself if you don't get the shots you want on the first outing.
Join our Space Forums to keep talking space on the latest missions, night sky and more! And if you have a news tip, correction or comment, let us know at: community@space.com.
Get the Space.com Newsletter
Breaking space news, the latest updates on rocket launches, skywatching events and more!
Josh Dury (B.A. FRAS) is an Award-Winning Landscape Astrophotographer, Presenter, Speaker and Writer based in Somerset, UK. His work has been recognized by NASA, Astronomy Picture Of The Day, BBC, CBS, and CNN, amongst others. With endorsements from Apollo 11 Astronaut Buzz Aldrin and ESA British Astronaut Tim Peake. His work has been recognised by major photographic and astronomical bodies, including The World at Night (TWAN), Astronomy Photographer of the Year, Historic Photographer of the Year and PetaPixel, whilst collaborating with photographic brands: Canon, Sigma, Benro, NiSi and Tenba. As a Delegate of The International Dark-Skies Association (IDA) he uses astrophotography as a platform, in raising awareness of dark-sky conservation and the impacts of light pollution to the natural environment.
- Tantse WalterContributing Writer
